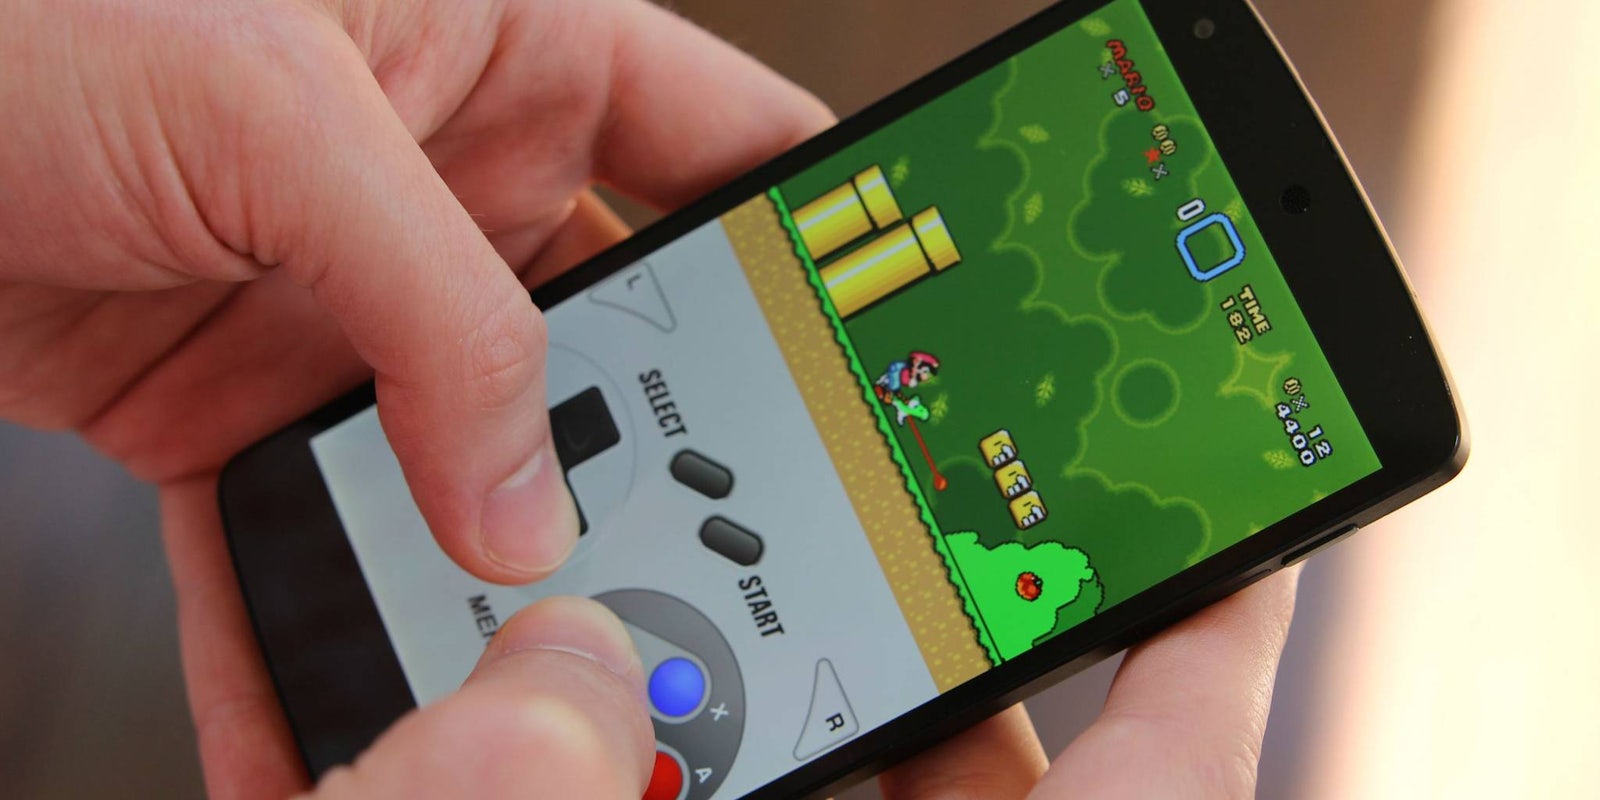
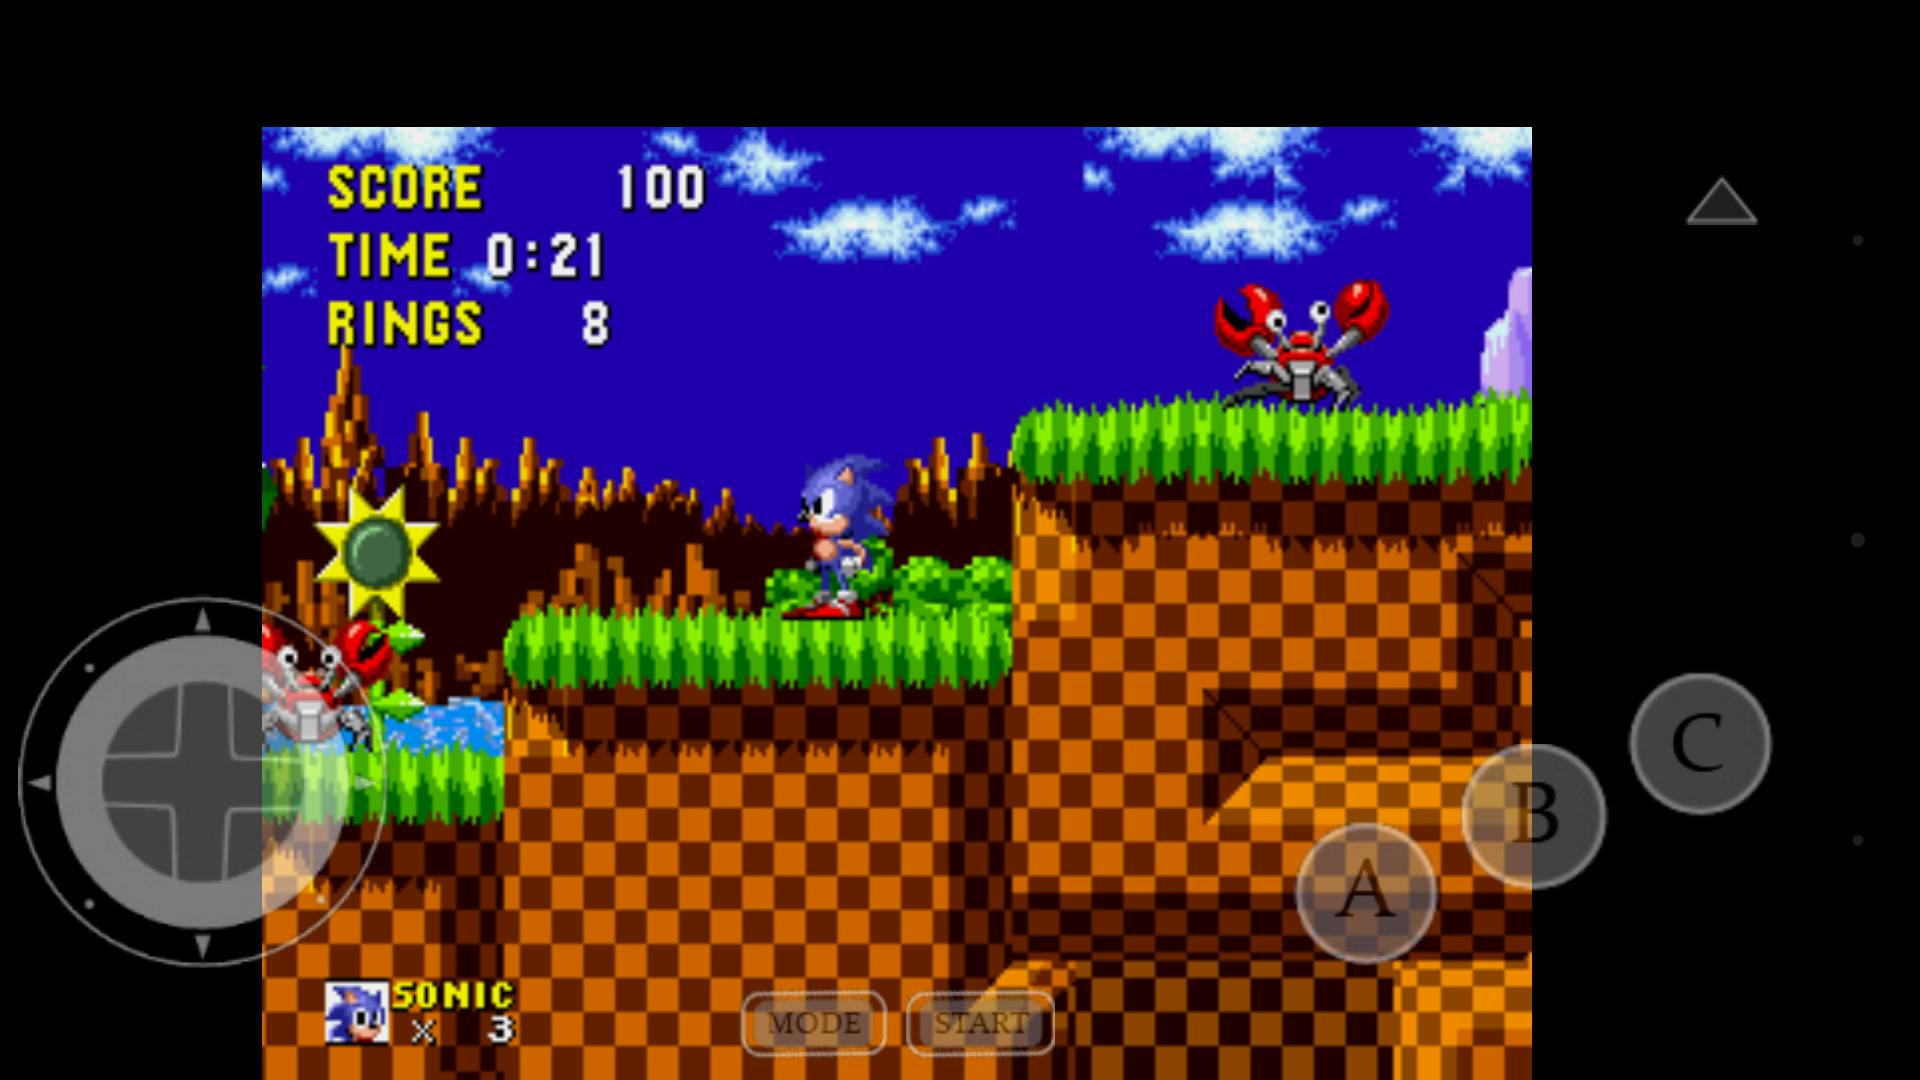
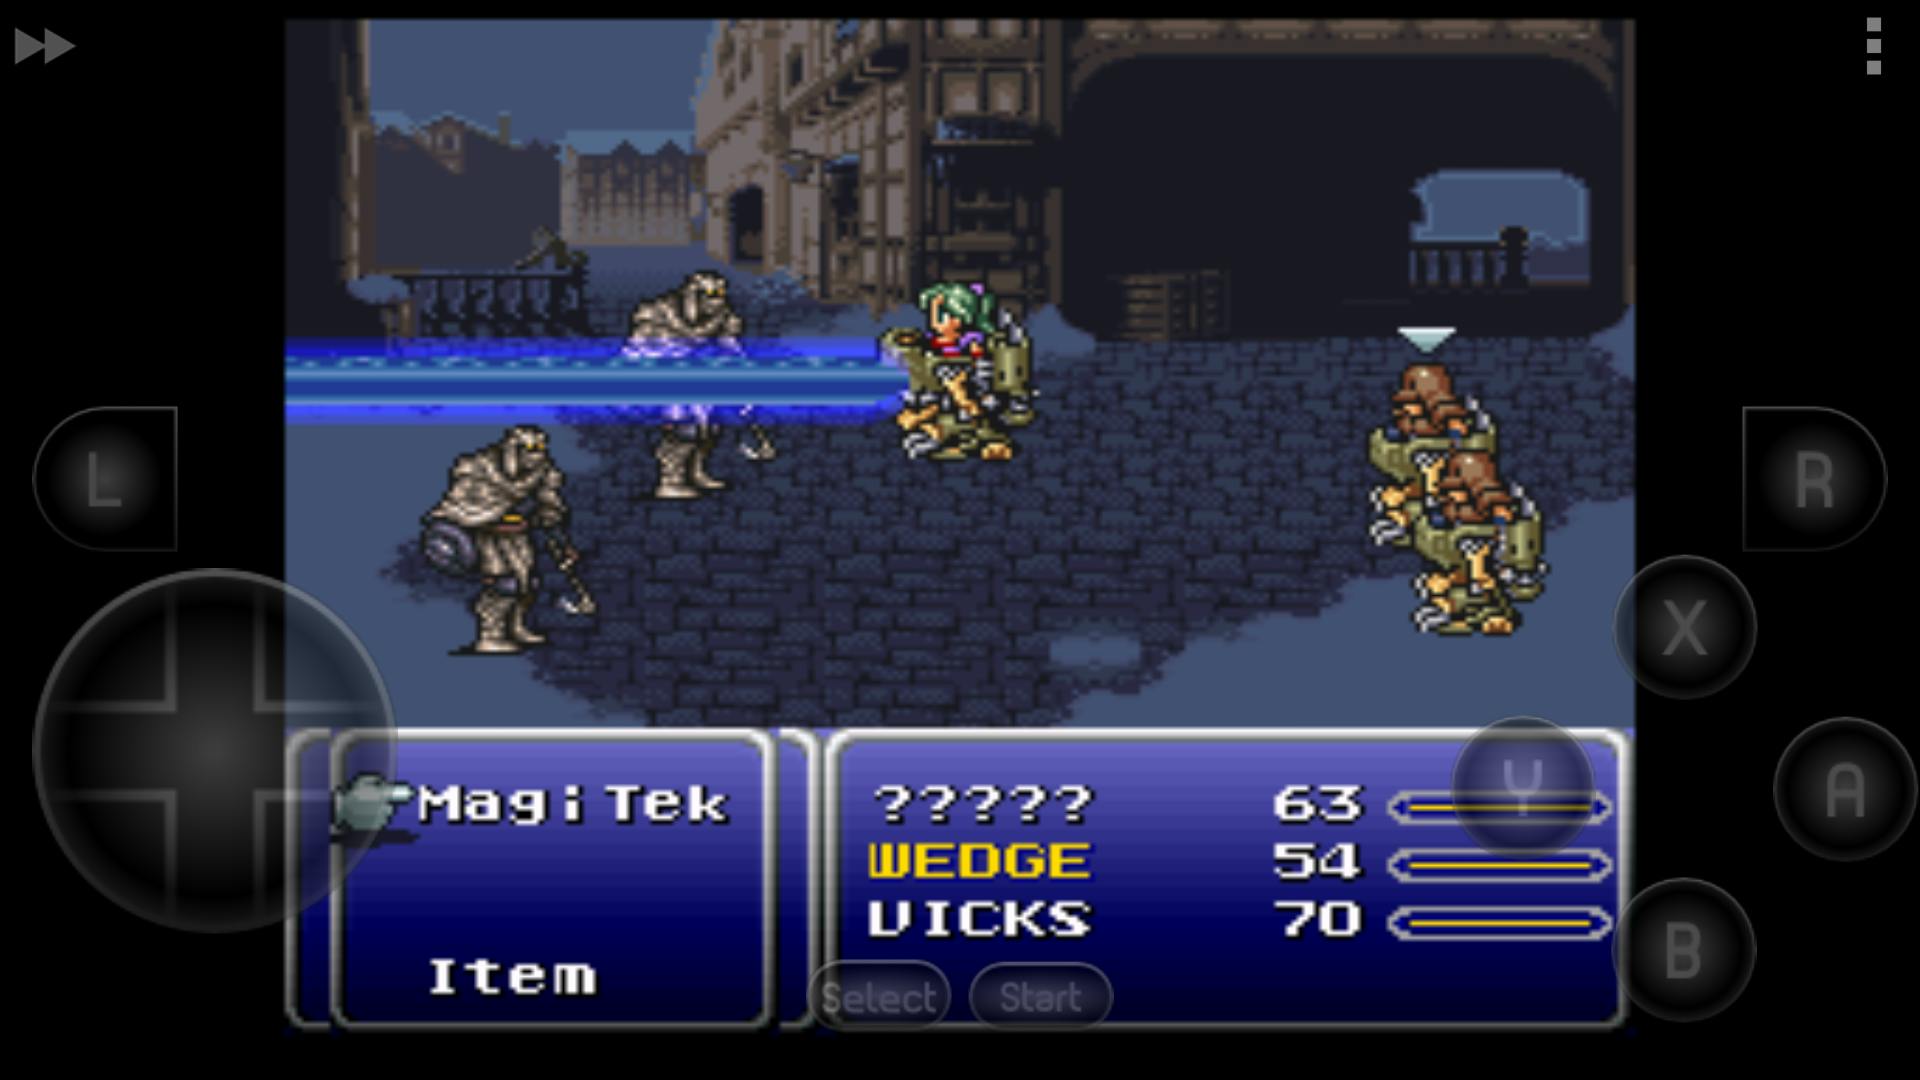
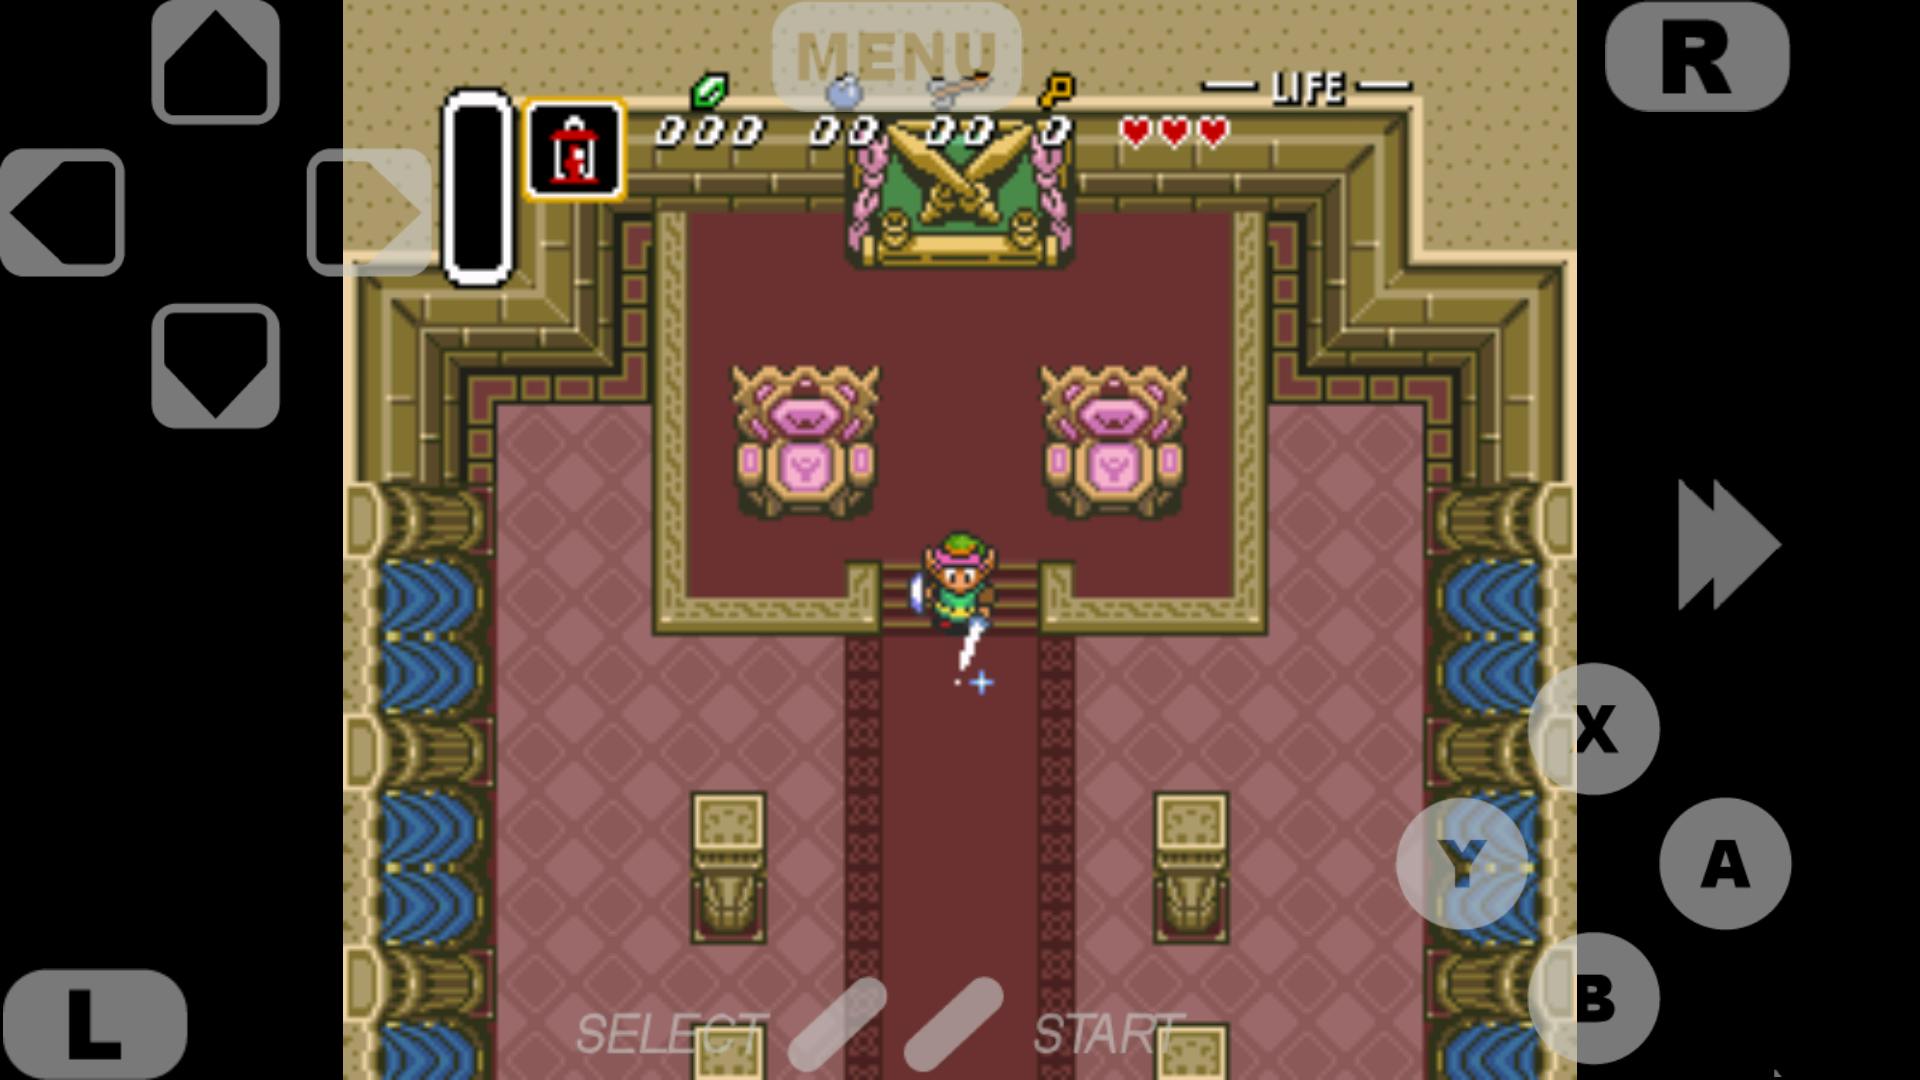
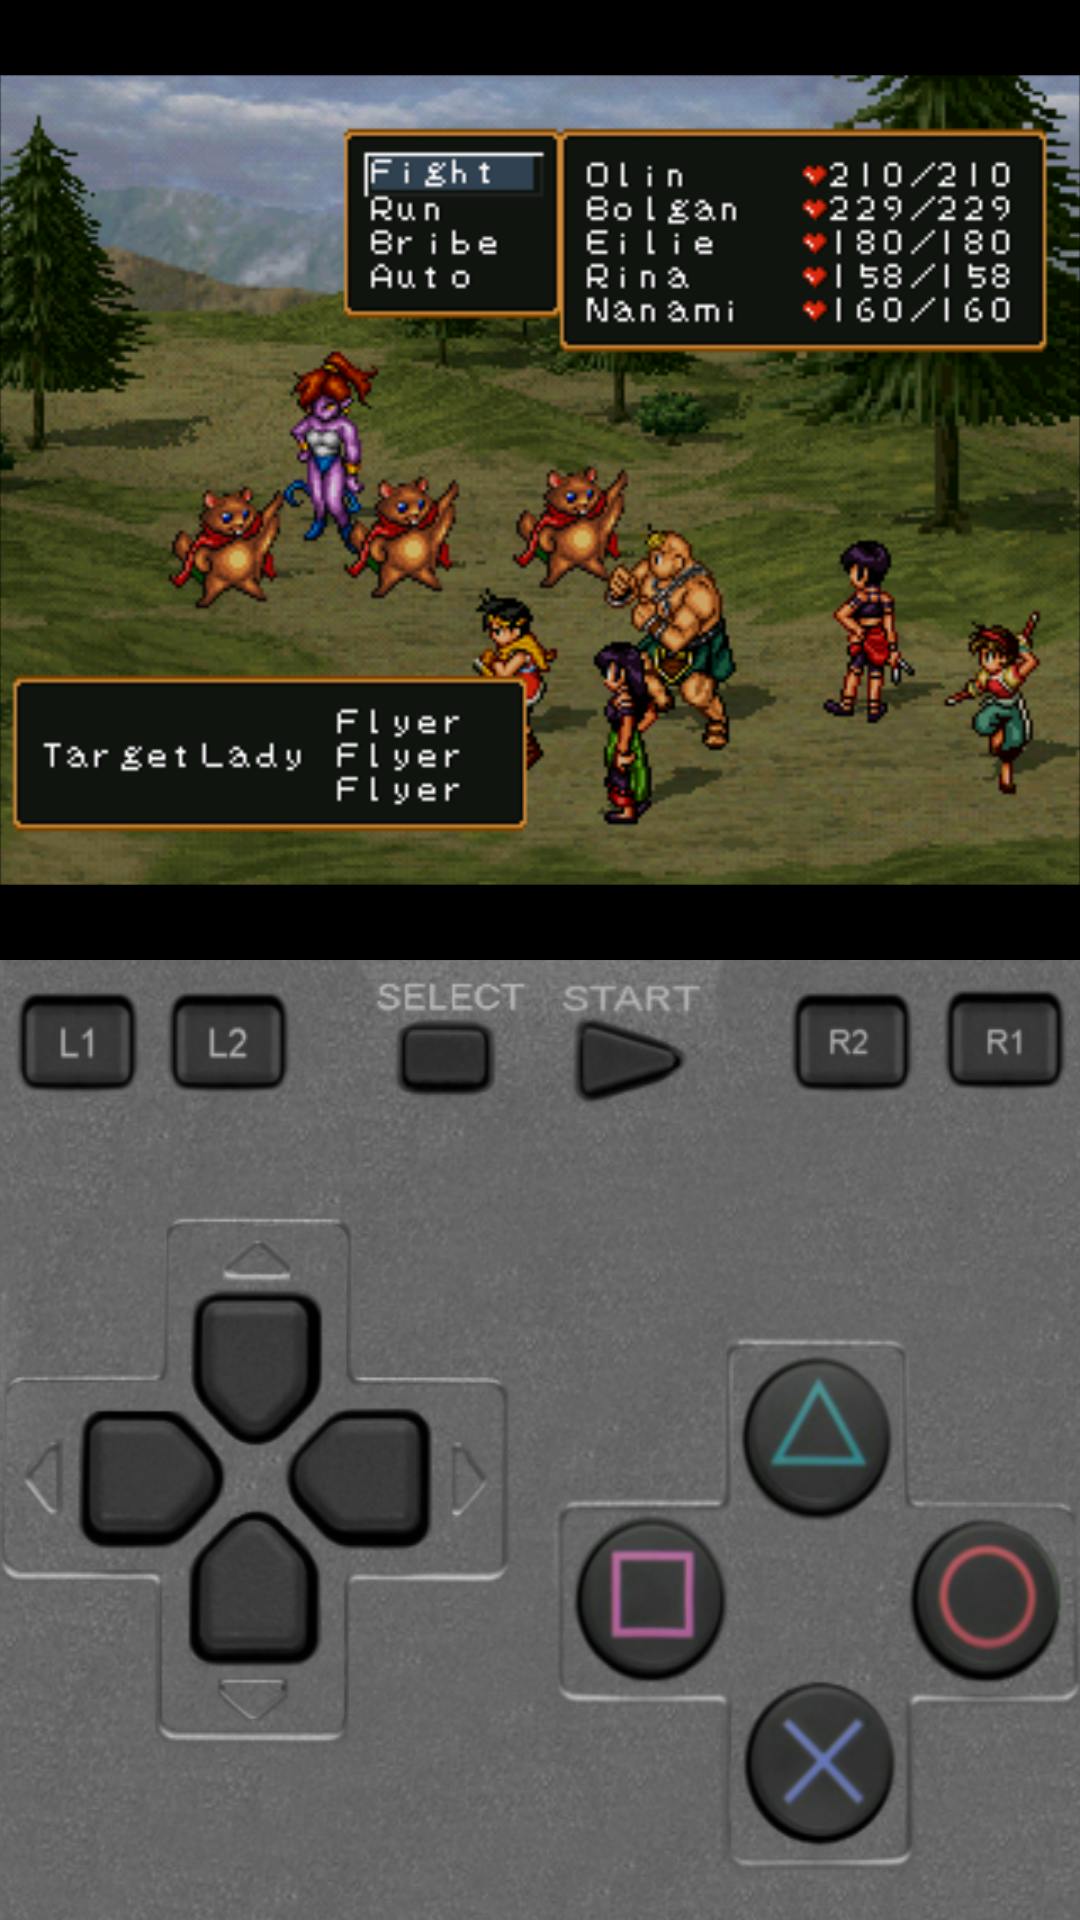
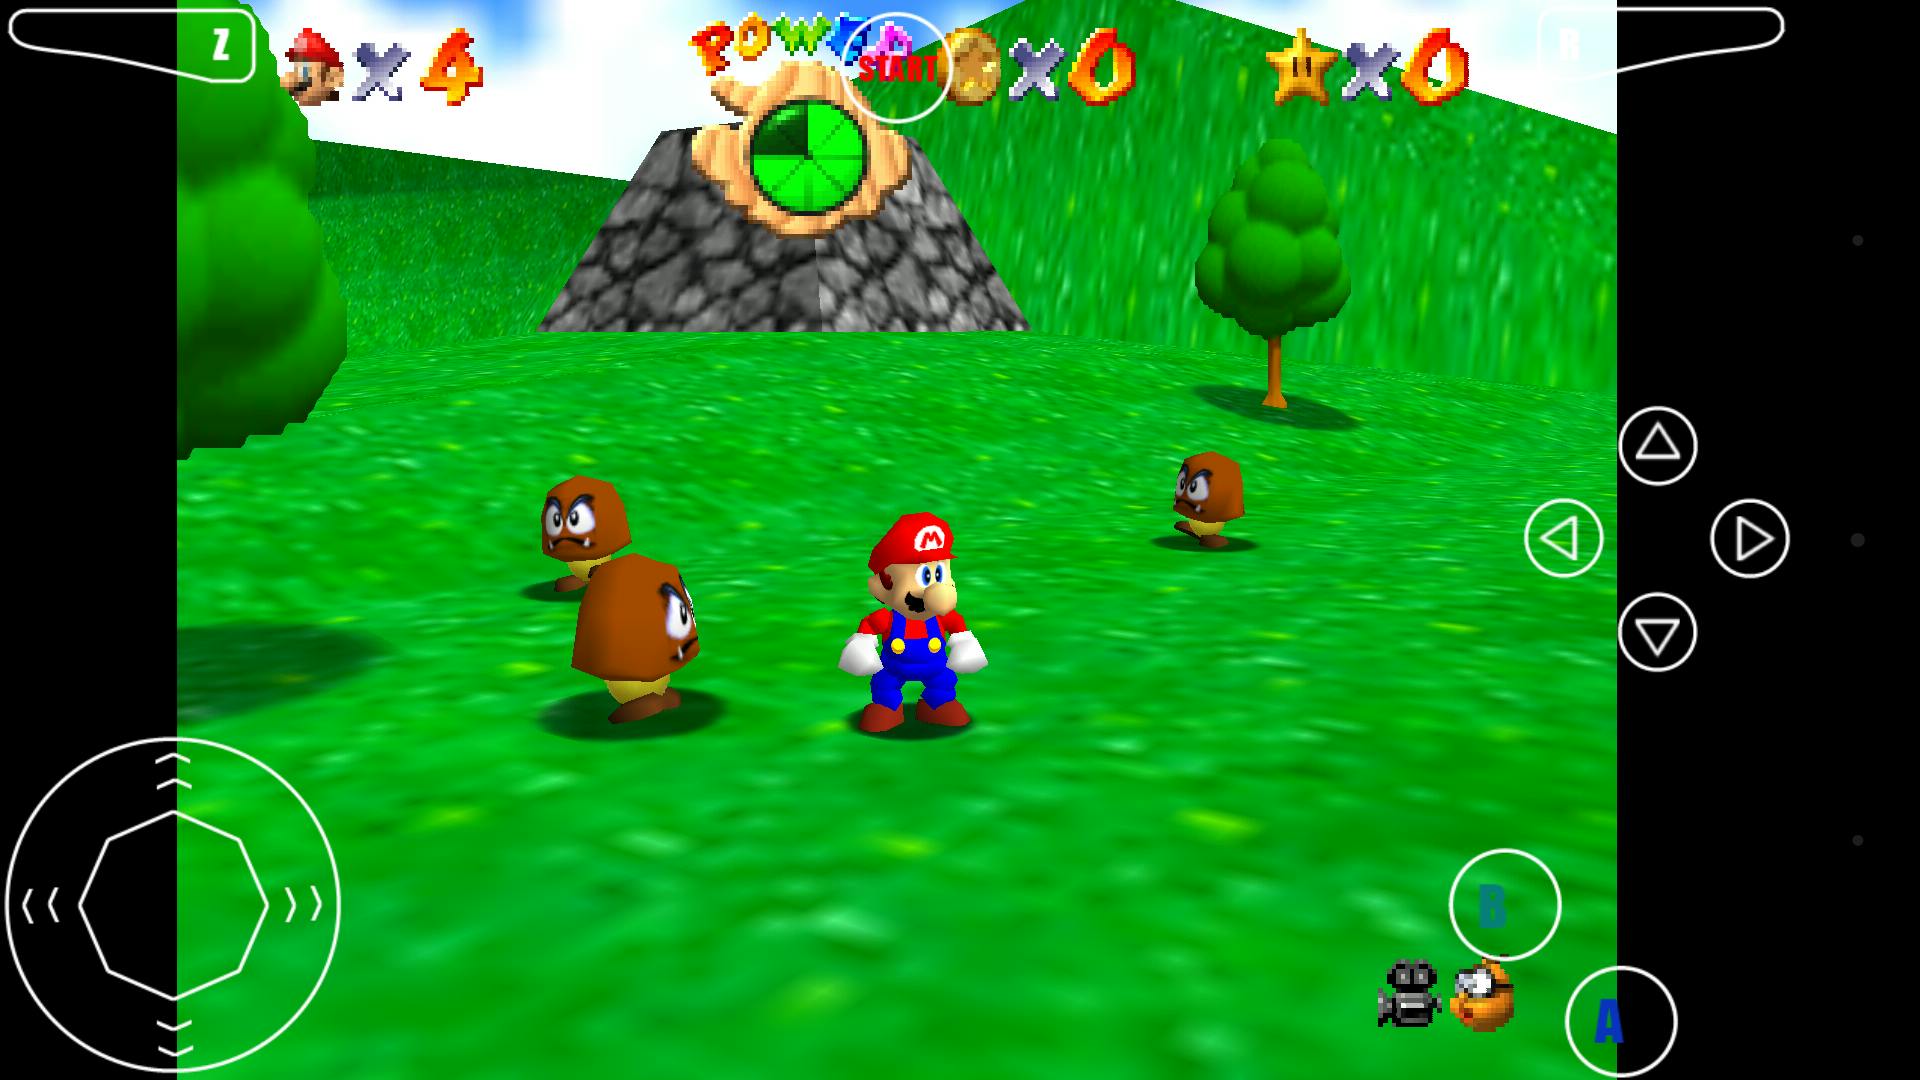
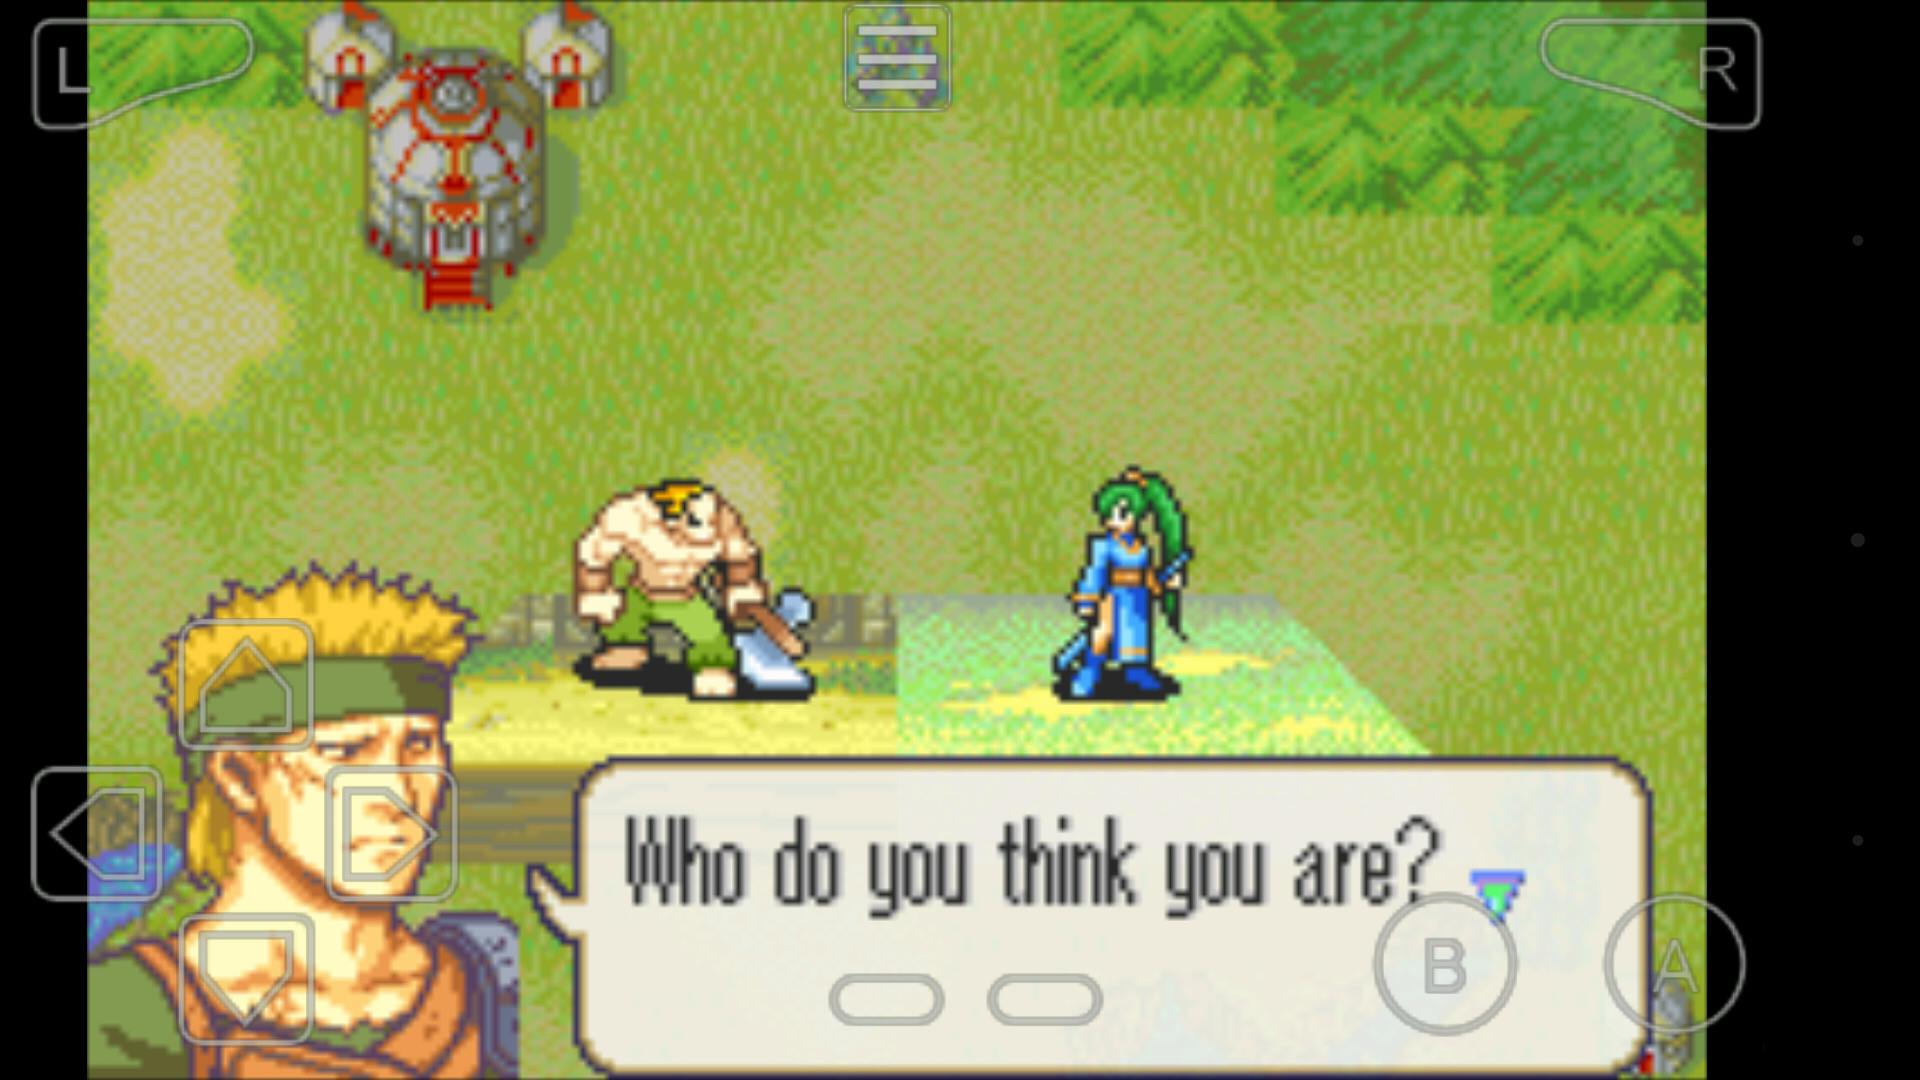
Imagine every boxy video game console, every chunky cartridge, every shiny CD-ROM from the ‘80s and ‘90s in the palm of your hand, playable anywhere you go. It’s 12-year-old you’s dream come true, and with a little effort, it’s all possible thanks to software emulation.
Today’s smartphones are exponentially more powerful than yesteryear’s consoles, and most can run classic video games flawlessly. Emulators are apps that recreate the software environments of older systems (e.g. Super Nintendo, Sega Genesis). ROMs are files that contain the data from the original game cartridges.
Below we’ll explain how to set up your Android phone or tablet to run emulation apps and play ROM files, more or less for free. (Sorry iPhone owners, but Apple prohibits emulation software in the App Store. You’re out of luck unless you jailbreak your phone or do some sneaky footwork that we won’t be outlining here.)
Important Note: Emulation is not illegal, but pirating software is. In order to legally emulate any video game, you must already own it as a cartridge or on another digital platform (Wii Shop, Xbox Live, etc.). The Daily Dot does not advocate software piracy.
The best free emulators by system
Each app typically emulates a single game system. We’ll be focusing on free/inexpensive and open source emulators that run smoothly on a relatively modern Android phone (in this case, a Nexus 5 running Lollipop 5.1).
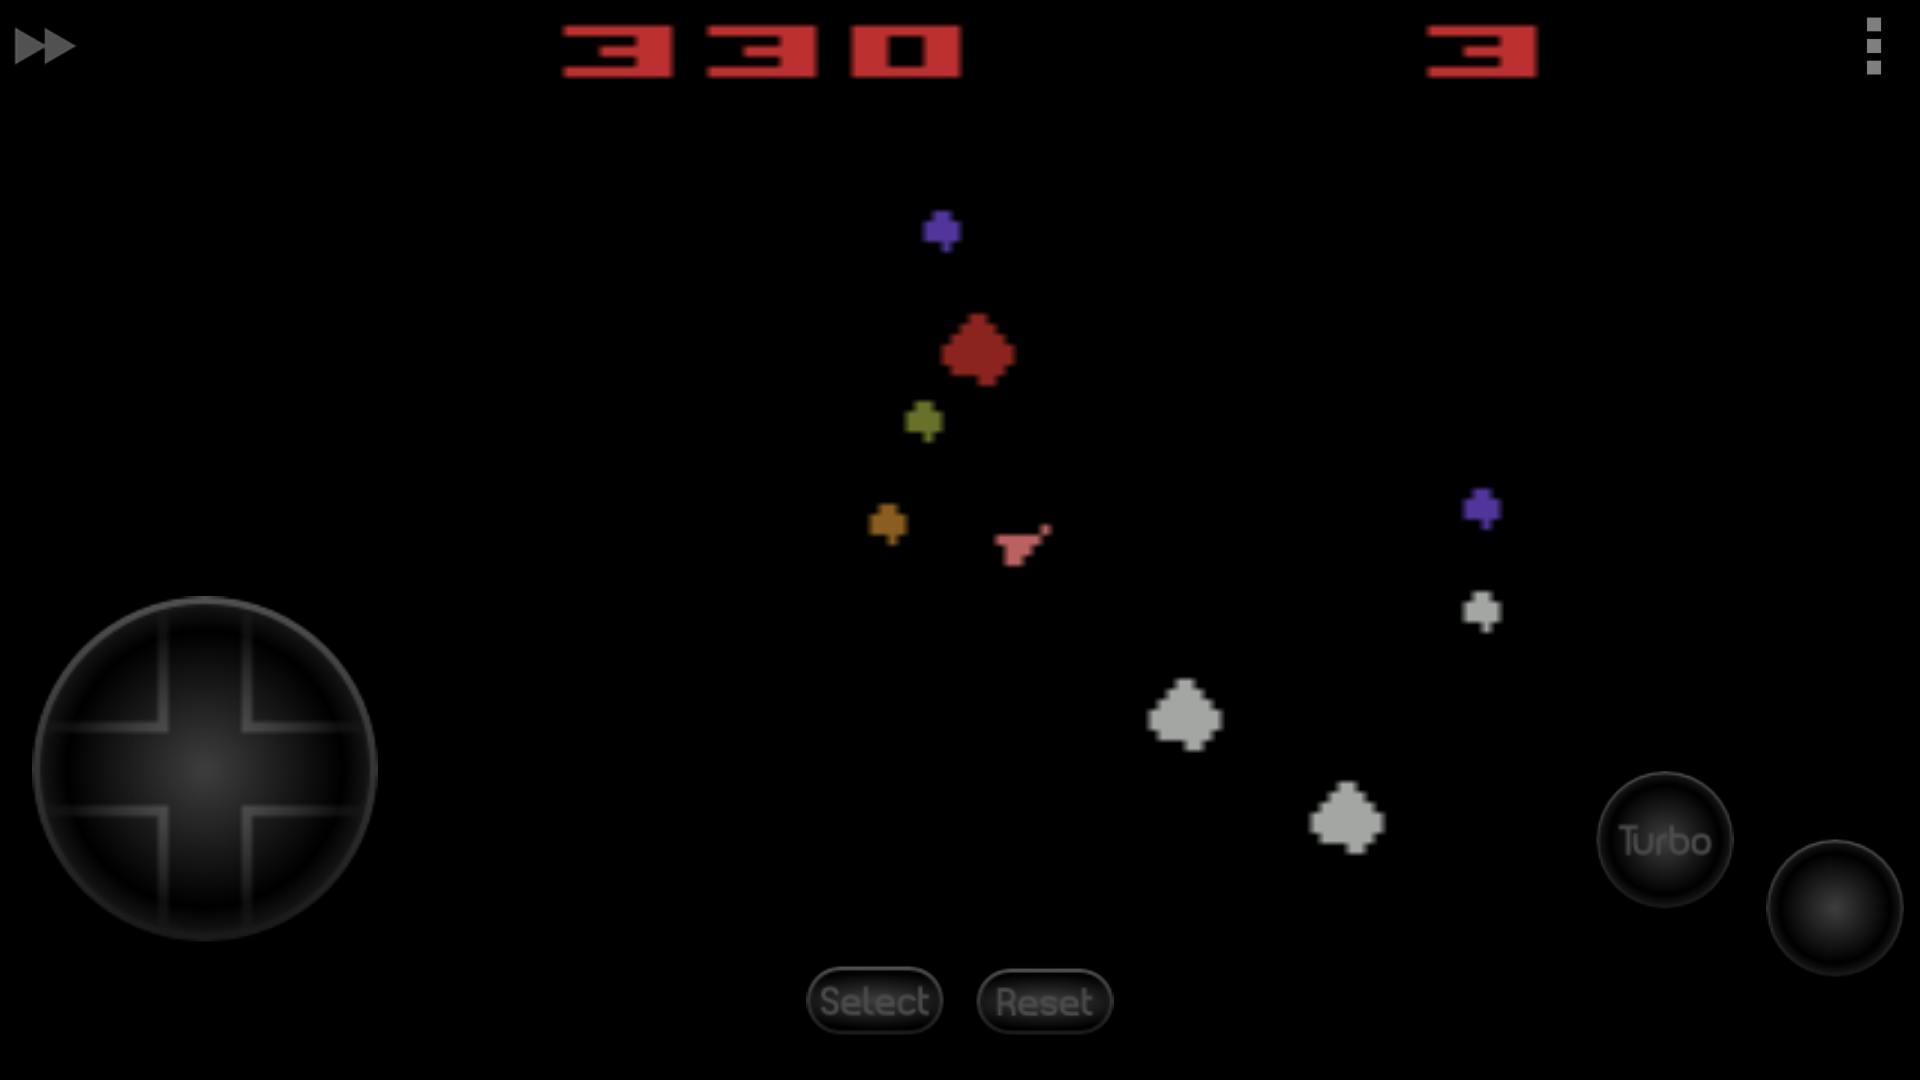
Atari 2600 (1971)
2600.emu ($2.99): A loaf of garlic bread could safely emulate Atari software, so you should have no trouble running this open source app on any Android phone. It costs a few bucks, but follows the feature mold of many more popular emulators listed below.
- Save state (10 slots per ROM)
- Fast forward
- Cheats
- Controller support
- Video filters
- Scalable GUI
- Custom input layout and scale
- ROM format: .bin and .a26
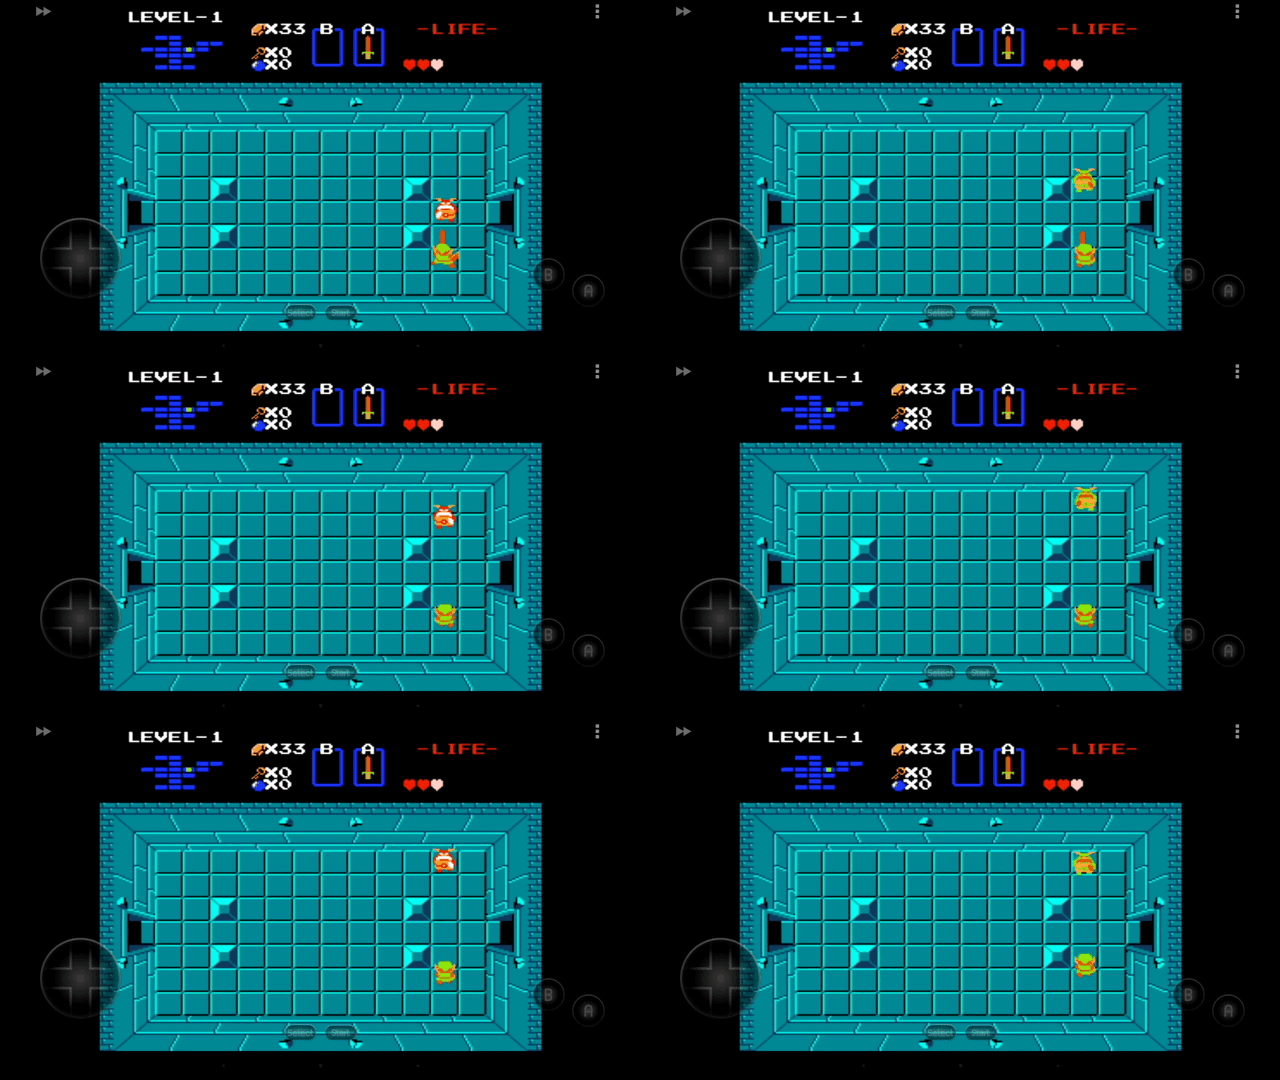
Nintendo Entertainment System (1985)
NES.emu: The baseline for stable NES emulation on Android, this software is open source. The free version is an iteration of the original ($3.99), and it comes with a swath of great features.
- Save state (10 slots per ROM)
- Fast forward
- Cheats
- Controller support
- Video filters
- Scalable GUI
- Custom input layout and scale
- ROM format: .nes
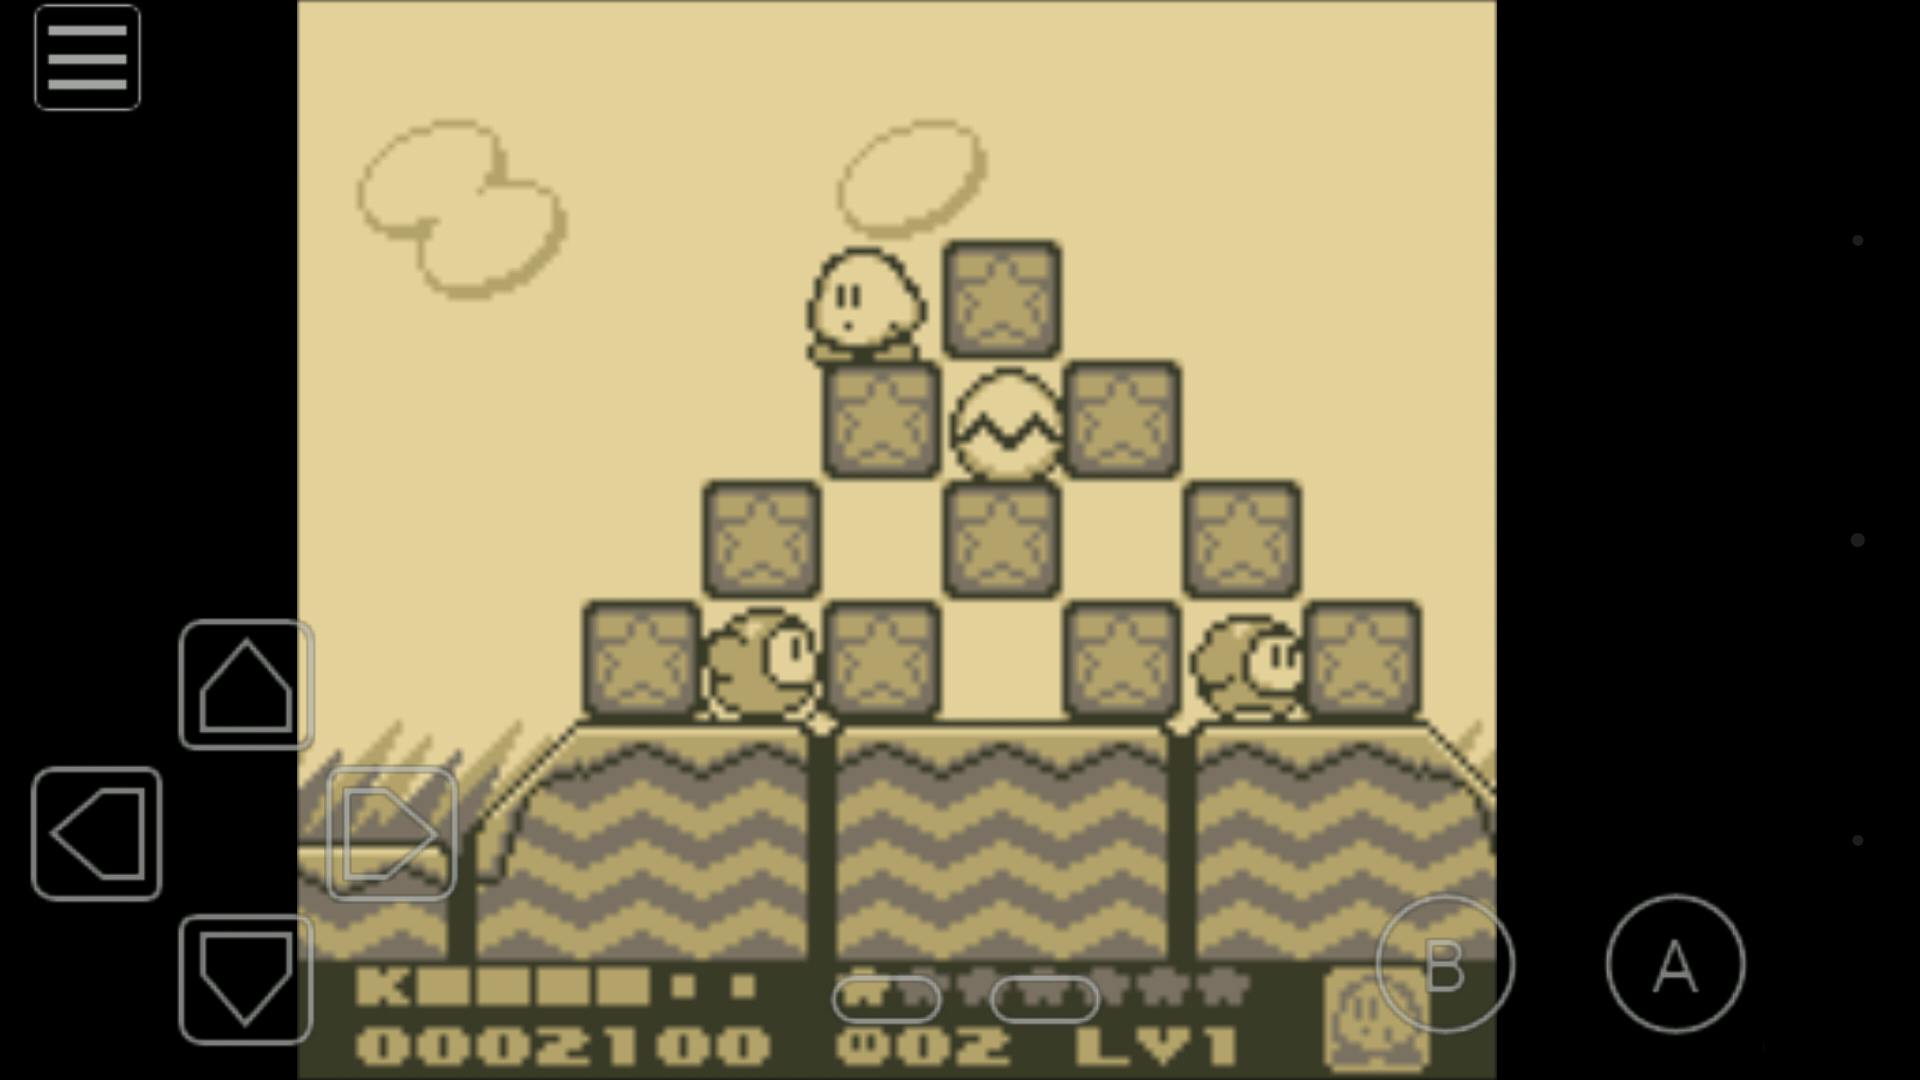
Gameboy (1989)
My OldBoy!: Another solid, free emulator that runs flawlessly on our device. The UI is a bit snappier than the open source apps mentioned above.
- Save state (10 slots per ROM)
- Fast forward
- Cheats
- Gameboy color palette
- Scalable GUI
- Custom input layout and scale
- ROM format: .gb
Sega Genesis (1989)
MD.emu: Same interface, stability and price tag as the free options mentioned above, but for Sega Genesis/Mega Drive emulation.
- Save state (10 slots per ROM)
- Fast forward
- Cheats
- Controller support
- Video filters
- Scalable GUI
- Custom input layout and scale
- ROM format: .bin
Super Nintendo (1991)
SNES9x EX: Nearly identical to the NES emulator mentioned above, this is a stable, free Super Nintendo app with the same interface and features.
- Save state (10 slots per ROM)
- Fast forward
- Cheats
- Controller support
- Video filters
- Scalable GUI
- Custom input layout and scale
- ROM format: .smc and .sfc
SuperLegacy16 ($3.99): If you’re in the market for a slicker UI, a visual game library that auto-sources cover art, built-in cheat codes, and more graphics options, this paid emulator (formerly SuperGNES) is worth the price of a latte. Because it’s paid, it gets regular updates and support.
- Save state (10 slots per ROM)
- Fast forward
- Cheats
- Controller support
- Video effects
- Scalable GUI
- Custom input layout and scale
- Visual game library
- Dropbox sync
- ROM format: .smc and .sfc
Sony Playstation (1994)
ePSXe ($3.75): We can’t recommend any of the free PSX emulators currently on Google Play, but there are two inexpensive ones that get the job done. ePSXs is our favorite, and delivers consistent, stable performance. It’s a port of the PC emulator of the same name, and save files are cross-compatible, in case you want to load your current game on a larger screen.
- Save state (10 slots per ROM)
- Fast forward
- Cheats
- Controller support
- Detailed graphics/performance settings
- Scalable GUI
- Custom input layout and scale
- Visual game library
- ROM format: .bin, .cue, .iso
FPse ($3.63): Nearly identical in features and price, FPse is another solid bet for stable PSX emulation.
- Save state (10 slots per ROM)
- Fast forward
- Cheats
- Controller support
- Detailed graphics/performance settings
- Scalable GUI
- Custom input layout and scale
- Visual game library
- ROM format: .bin, .cue, .iso
Nintendo 64 (1996)
Mupen64 (Free): It’s a trip to see games from the late ‘90s render so smoothly on a phone, but Mupen64 delivers just that with the standard feature set, all for free.
- Save state (10 slots per ROM)
- Fast forward
- Some experimental video options
- Cheats
- Custom input layout and scale
- ROM format: .z64
Gameboy Advance (2001)
My Boy!: Created by the same developer as “My OldBoy!” with identical features and interface, this one built for Gameboy Advance titles.
- Save state (10 slots per ROM)
- Fast forward
- Cheats
- Video filters
- Scalable GUI
- Custom input layout and scale
- ROM format: .gba
Downloading ROMs
Now, the tricky part. Because ROM distribution sites can be shady, and there are piracy concerns, we won’t link directly to any of them. But a little Google research should lead you to your favorite games. Before you click on anything, please heed these words of caution:
- As mentioned above, you must own the cartridge or a paid digital version of the game you are emulating. Downloading copyrighted software for free is piracy.
- ROM sites are full of pop-ups and fake “download” buttons to get you to click on ads. Scan the site carefully and review each link before clicking anything. You’ll want the most direct link to the ROM file (see above for formats) or the zip file that contains it (e.g. Super Mario Bros.nes or Super Mario Bros.zip).
- Never download or run an executable file from these sites. You do not need a “Download Manager” or “Fast Downloader” to acquire ROMs. These programs likely contain malware, and are to be avoided.
Load the ROMs onto your device via PC
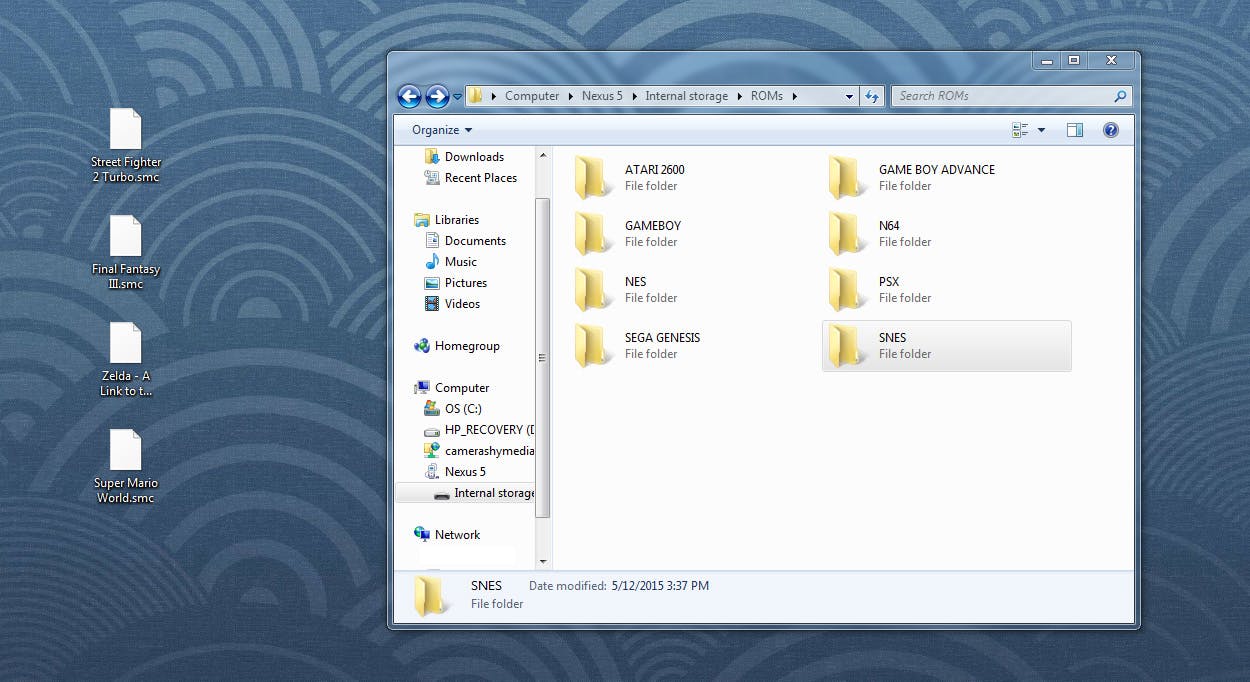
One of the best things about Android devices is you can access their file systems like a simple USB drive. Once you’ve downloaded the ROMs for your favorite games, simply plug your phone into your PC and copy them over.
I like to make a folder called ROMs, and then a subfolder for each system to keep things organized. Many emulators will scan your phone for compatible files, so they can really live anywhere.
Or use Dropbox
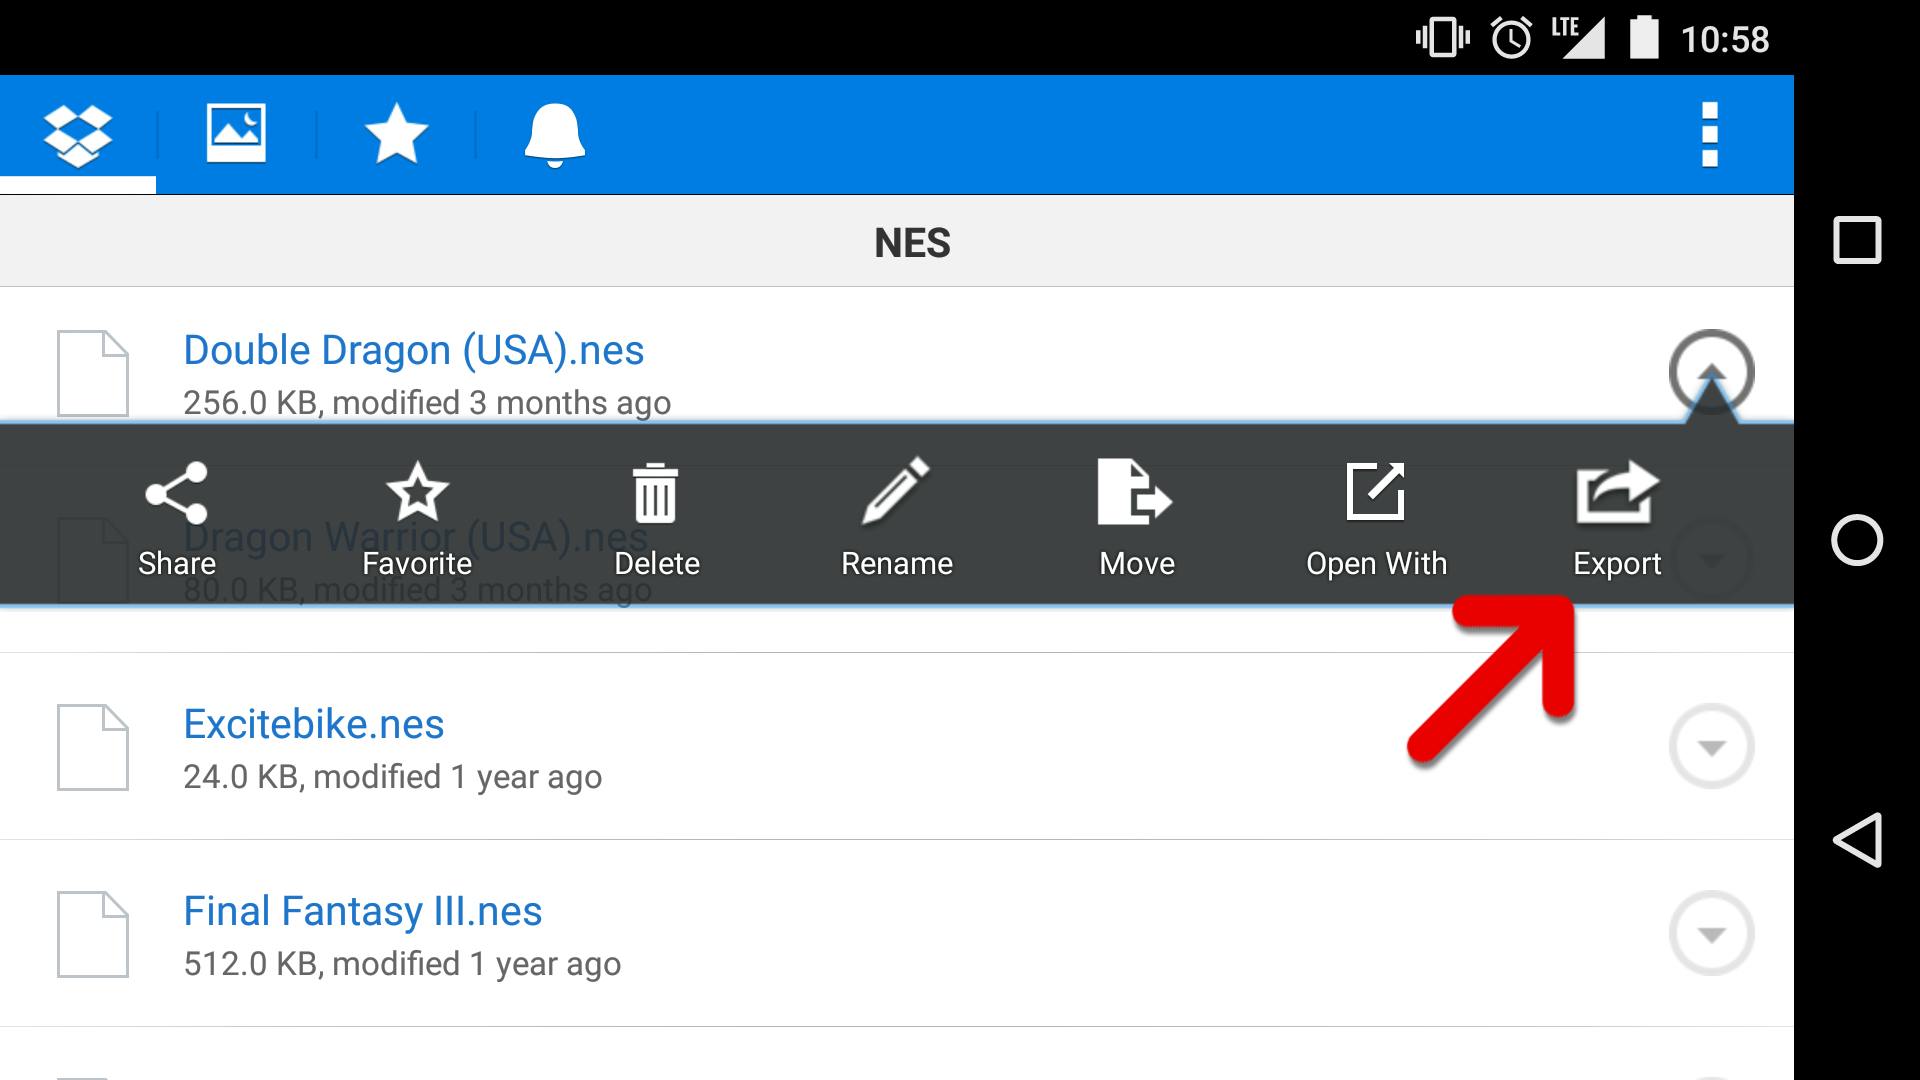
The free Dropbox app is a handy way to keep your ROMs in the cloud and download them to your device whenever you want to play. Some emulators, like SuperLegacy16 (mentioned above), can even sync with your Dropbox account so you can play games from the cloud across multiple devices.
Why the app doesn’t just have a “download” button is a question for the ages. To grab your ROM, tap the arrow to the right of the file and select “More,” then “Export,” then “Save to Device.”
Android file managers
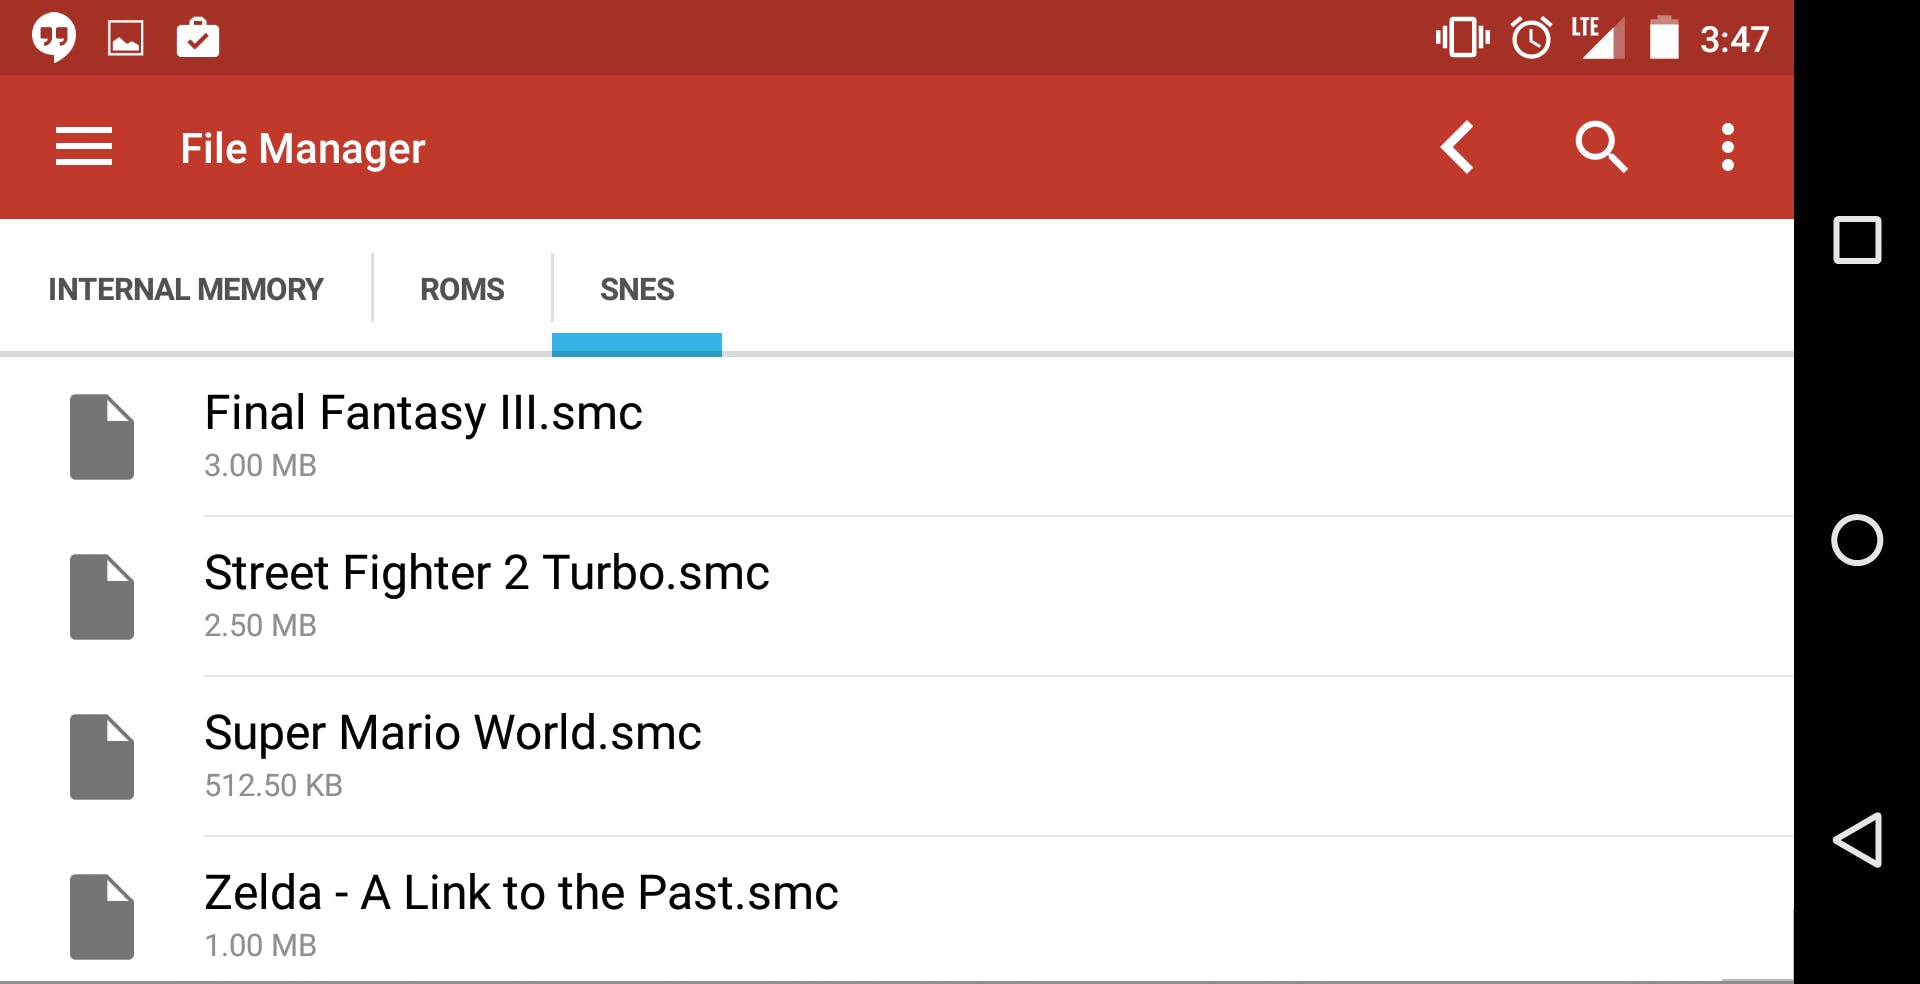
If you like to keep things nice and tidy, but you’re not interested in plugging into your PC, a free file manager app will allow you to move your ROMs from the default “Downloads” folder to the destination of your choice. There are plenty of options here. Check out File Manager by Gira.me (pictured above), ES File Explorer, and File Manager by Cheetah Mobile.
Load your game and play!
Fire up the emulator of your choice and “Load Game.” Navigate to the folder where you keep your ROMs and select one. The game should load instantly and you’re ready to have a good time.
On-screen controls for old games take some getting used to. On many of the emulators listed above, you can adjust the size and layout of the buttons to make playing more comfortable for the fat-fingered among us. Poke around in the “Options” menu until you find settings you can live with.
Screen orientation matters in some cases. All of the classic consoles listed here rendered their video in 4:3, so holding your phone in “portrait” mode makes sense. The controls remain at the bottom with a square-ish (albeit small) picture at the top — almost like a Gameboy.
For those who want a slightly larger image, turn your phone to landscape mode. The video will never fill out the entire 16:9 screen (unless you stretch it in the settings, you monster), but you get more real estate to play on. Note, however, that your control buttons (and fingers) will overlay parts of the image, so this may not be ideal if you need vital information in the bottom corners.
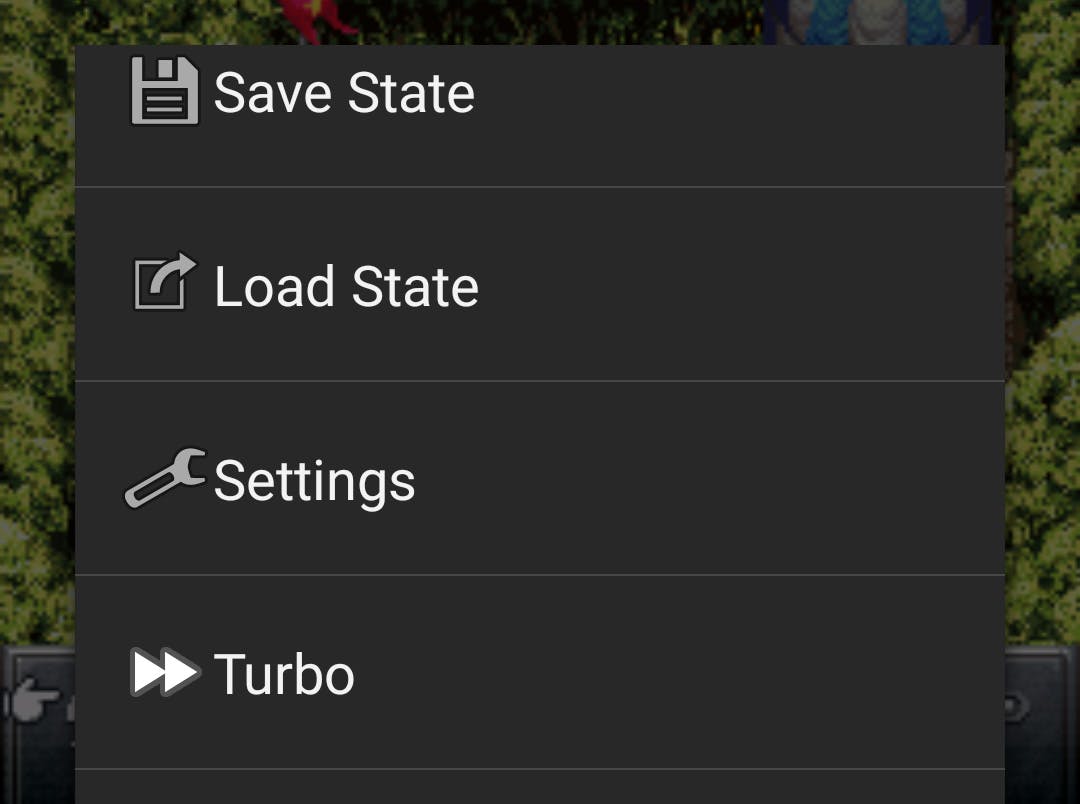
Save States: The best part of emulation
We all love how challenging classic games are, but let’s face it: You don’t have hours to burn on level grinding or restarting after every fail. Every emulator listed above allows you to save your state anywhere in the game.
Not to be confused with traditional in-game saves (which these emulators also allow), save states let you close the app and pick up the game exactly where you left off. No more waiting to reach an inn or writing down a save password. It’s also a great way to hedge against difficult levels without losing progress.
There are typically 10 save state slots you can use for any ROM. Make sure you have the correct slot selected before you hit “Save State,” or risk overwriting an important save.
Also, if you tend to load and save states quickly, be careful you don’t accidentally save a “Game Over” screen when you meant to load an earlier checkpoint.
Controllers and peripherals
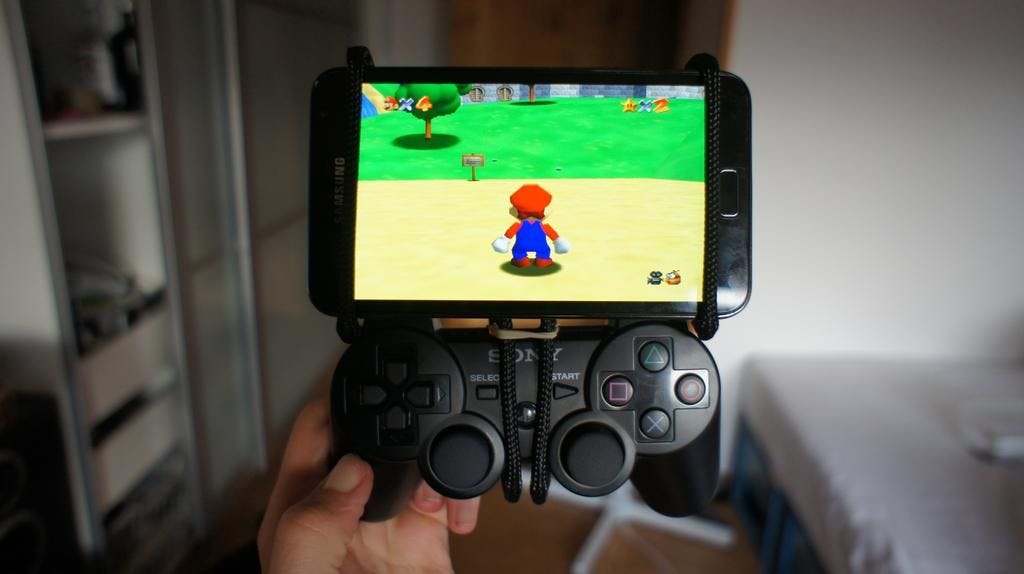
One thing you’ll notice when emulating on a phone or tablet is that touchscreen controls don’t cut the mustard for games that require quick reflexes or precise timing (e.g. any platformer, fighter, or shooter). Nearly all the emulators listed above support USB or Bluetooth controller input. There are plenty of new products on the market specifically for mobile gaming, but those PS3, Wii and Xbox controllers you have laying around might just do the trick.
The Verge has a great guide to top products out there, and How to Geek has details on how to configure them for Android. Your mileage may vary across emulator, device, and gamepad, so invest in some homework before you make a purchase.
More emulation resources
If you’re thinking about porting your classic gaming library back to the big screen, there are a number of ways to emulate on consoles and PCs.
OUYA: The OUYA was a very exciting Kickstarter-funded gaming console, powered by Android, that promised a robust marketplace for independent game developers. That never really panned out, and some have called it a failure. However, with a some set-up, it makes for a great, inexpensive ($99) little emulation box.
There are OUYA versions of nearly all the emulators mentioned above. Download, add your favorite ROMs, and play with the bundled controller.
It’s not perfect — I find the controllers somewhat laggy and occasionally unresponsive, and the box itself isn’t the most powerful piece of hardware around. Take some extra time to configure a cheap, USB SNES controller and you’re in business.
Mini Emu: Another Kickstarter success, this console was recently funded, and promises to be a more powerful, all-in-one box specifically designed for emulation.
It’s powered with Raspberry Pi, runs on Linux, and comes with emulation software pre-loaded, covering everything from Atari to Sega Saturn. If the bundled controller is solid and the software is stable, this might turn into the go-to, plug-and-play emulation station.
Emulation communities: If you’re looking to talk shop with other emulation enthusiasts, ask questions about your setup, or read more about emulation’s bleeding edge (including software that simulates last-gen and current gen consoles), check out the forums at emulator-zone.com and r/emulation on reddit.
Illustration via The Daily Dot

