Facebook’s various apps have been met with mixed response from users, but if there is one app that Facebook did absolutely right, it would have to be Facebook Messenger. It is by far the most useful of the bunch, and whether you have a Facebook account or not, having it installed on your device has its advantages. To help you either get started or remind yourself of the bountiful features this messaging app has to offer, we’ve compiled this handy Facebook Messenger guide.
1) Logging in
You can have a Facebook Messenger account without being on Facebook
Instead of clicking “Log in with Facebook,” choose “Not on Facebook.” All you really need is a phone number to register.
2) Account setup
You can log into multiple Facebook Messenger accounts on one device
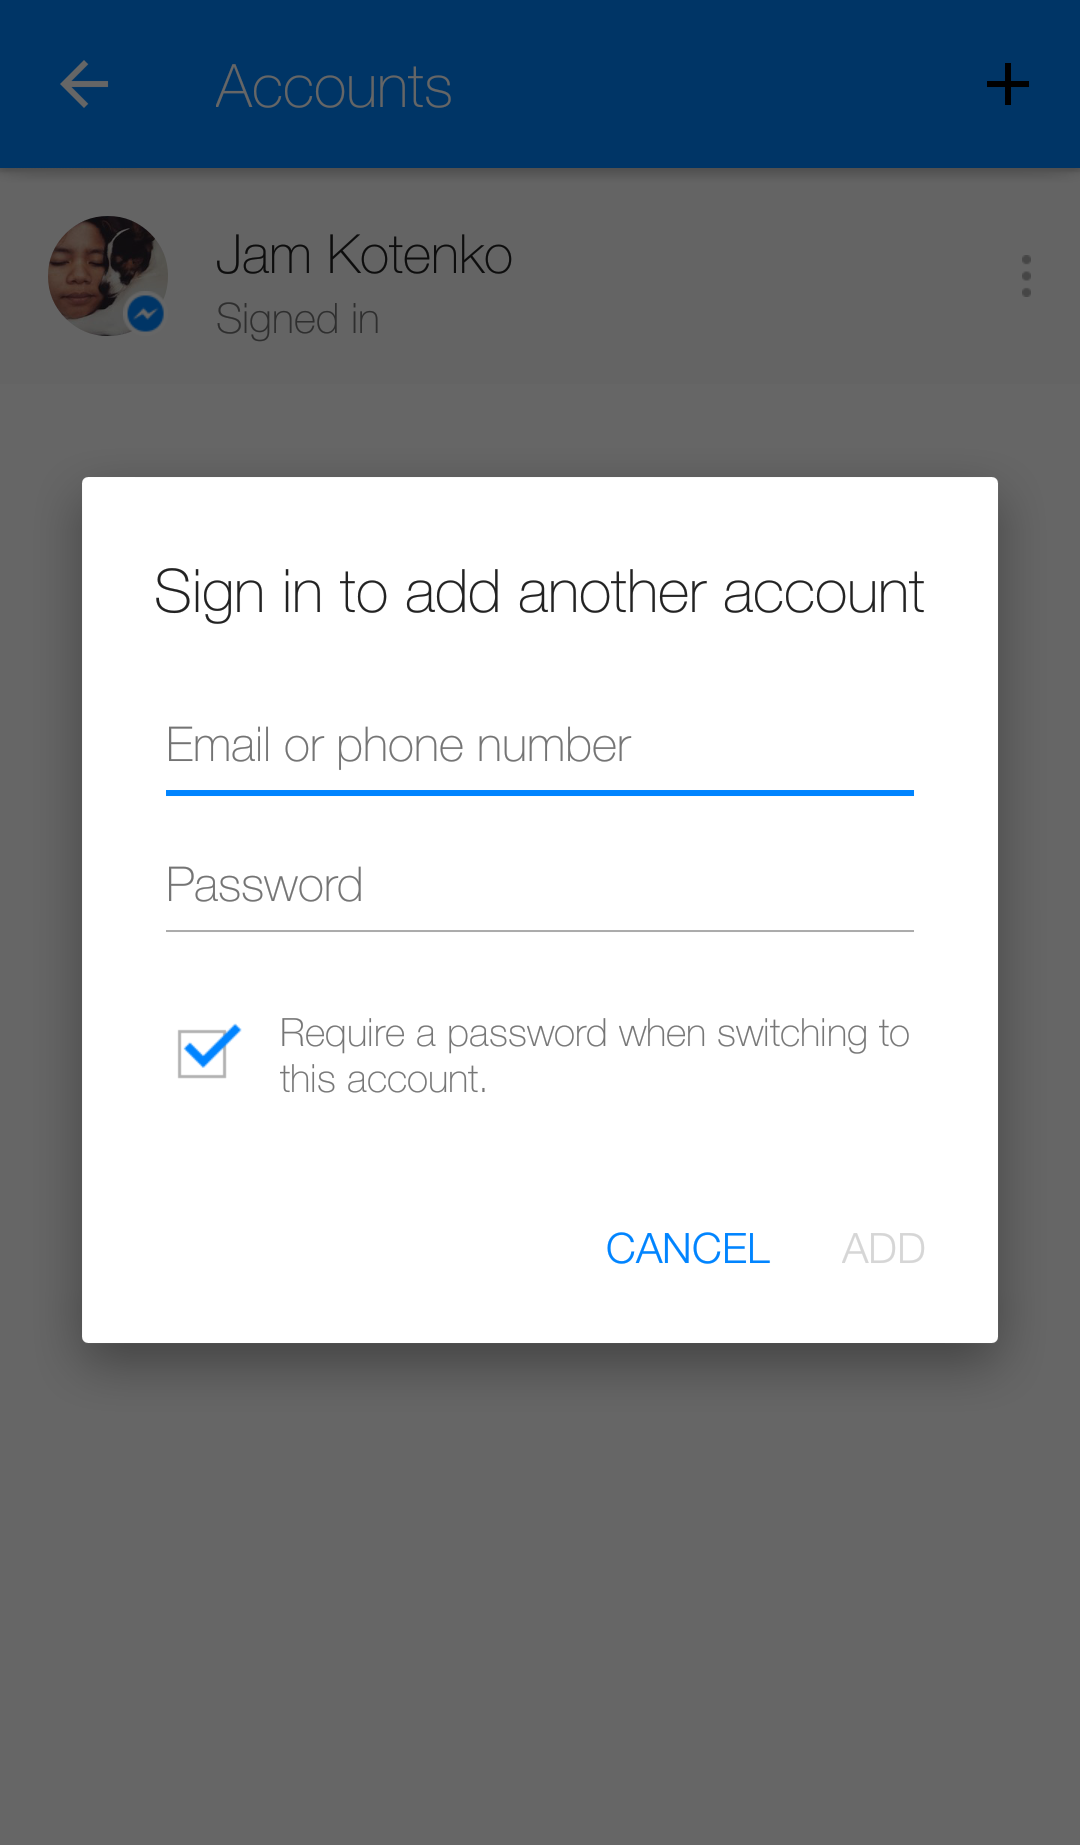
Do you have multiple Facebook accounts? Are you in charge of your significant other’s social media presence? Head to “Accounts” (marked by a key icon on the menu) and tap on the plus sign icon to log into another account.
For security purposes, you will have an option to require a password whenever you switch accounts.
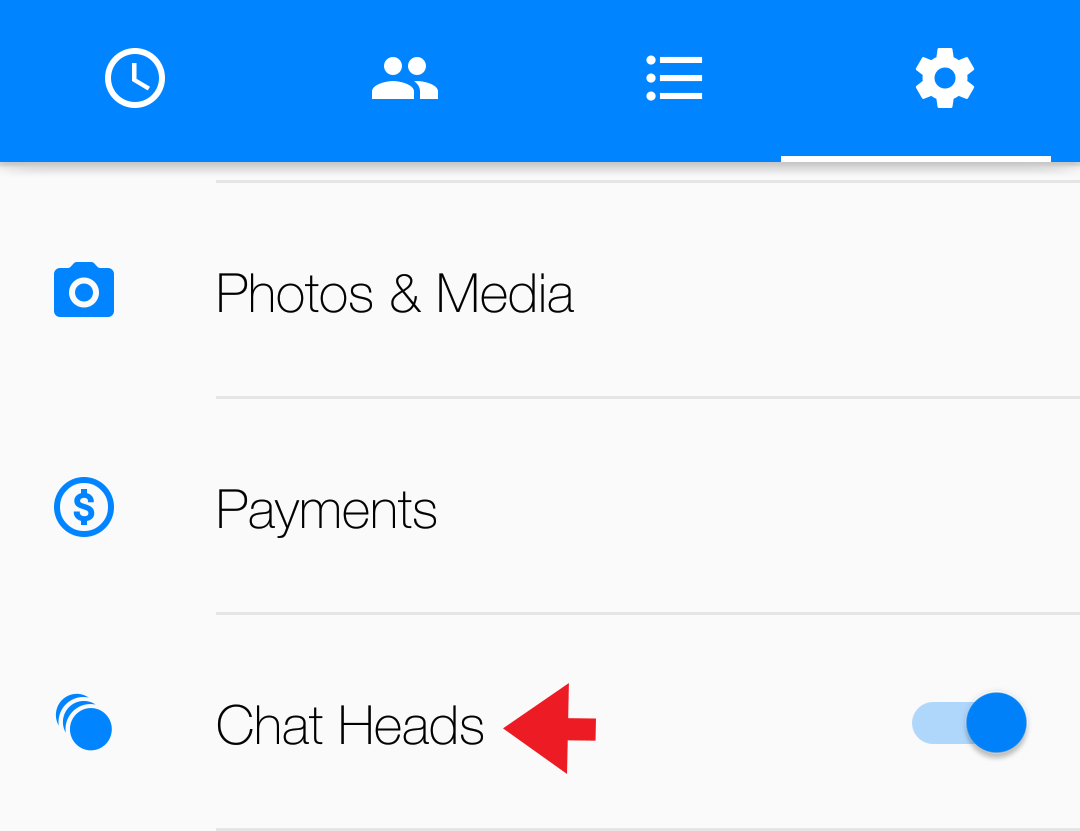
You can get rid of Chat Heads
If you’re easily annoyed by seeing your contacts’ circular Facebook profile photos pop up on your screen, you can simply turn the Chat Heads function off.
You’ll still get updates through your phone’s regular notification bar (unless you turn that off, too, which we’ll get to later) so you won’t miss anything important.
You can automatically save photos you take and receive
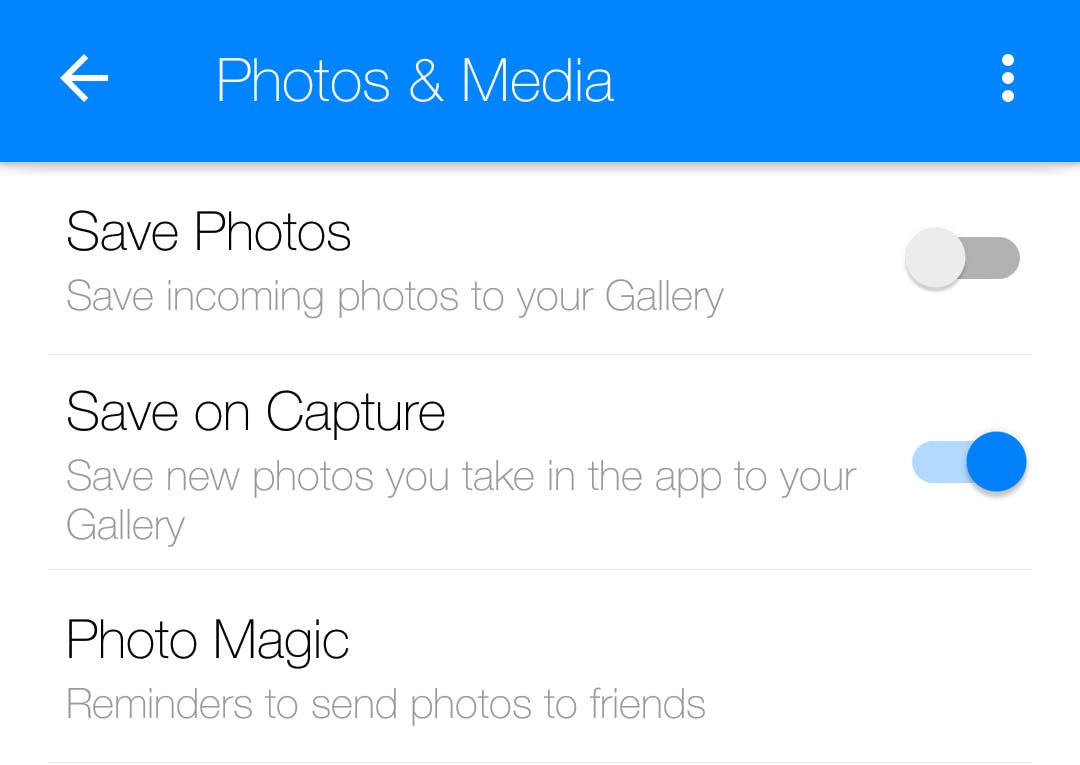
Make photo-saving an easier process by tapping on “Photos & Media” (marked by the camera icon) and enabling the available options. “Save on Capture” lets you take photos within the Messenger app and it automatically shoots it into your phone’s gallery, while “Save Photos” automatically stores images sent to you by your contacts. You can find the photos saved under a folder named “Messenger” located in your phone gallery.
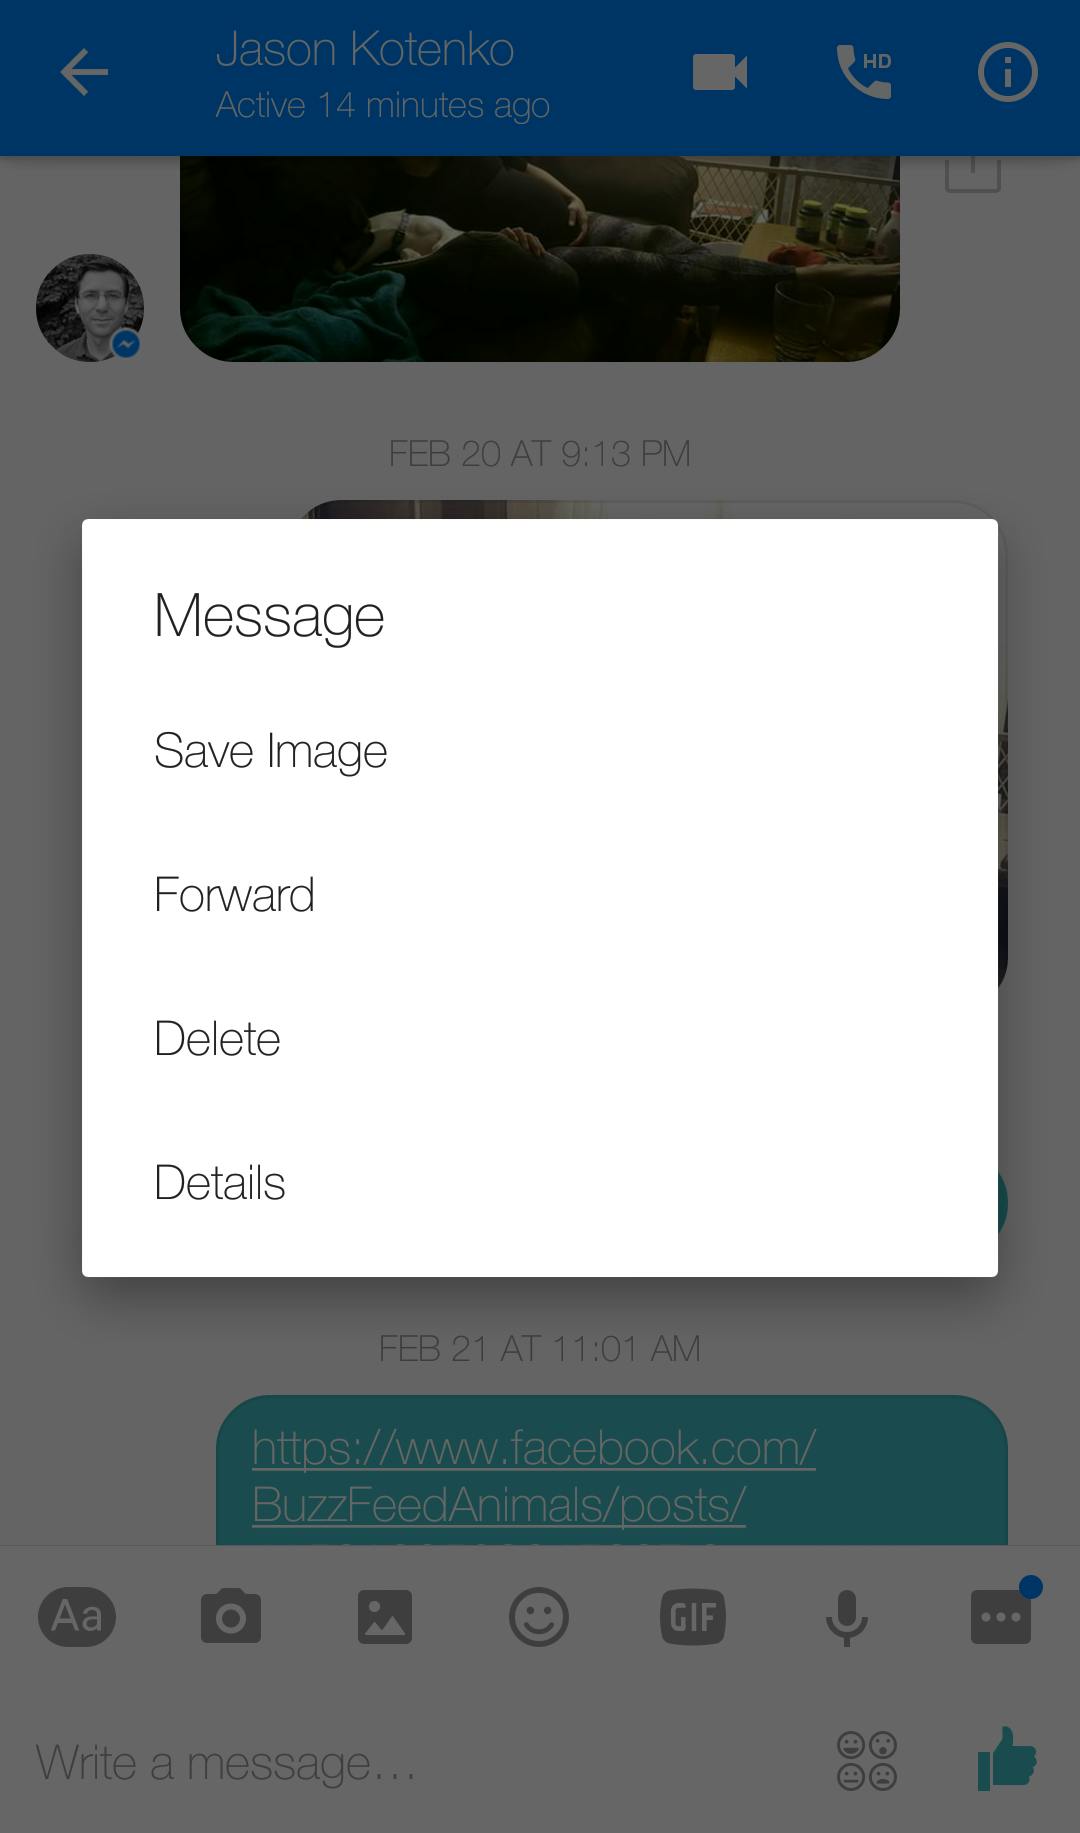
Having both these options enabled will quickly eat up space on your device, so if you have a tendency to download and install new apps, it’s better to have them disabled and just long-press on any photo you’d like to save from your ongoing chat thread. Long-pressing on an image in the thread should pull up a couple of options.
Facebook Messenger can remind you to send photos you take of your friends
This feature, which can be found under the Photos & Media menu, is called “Photo Magic.” Facial recognition allows the app to immediately tag a photo you’ve taken of a Facebook friend and generate a suggestion to send it to said pal. It will only get sent when you tap the Send button.
Turning off the Photo Magic feature (under the Photos & Media menu) will stop the app from recognizing your contacts and from sending you notifications to share photos.
You can quickly review chat requests from people who aren’t in your network
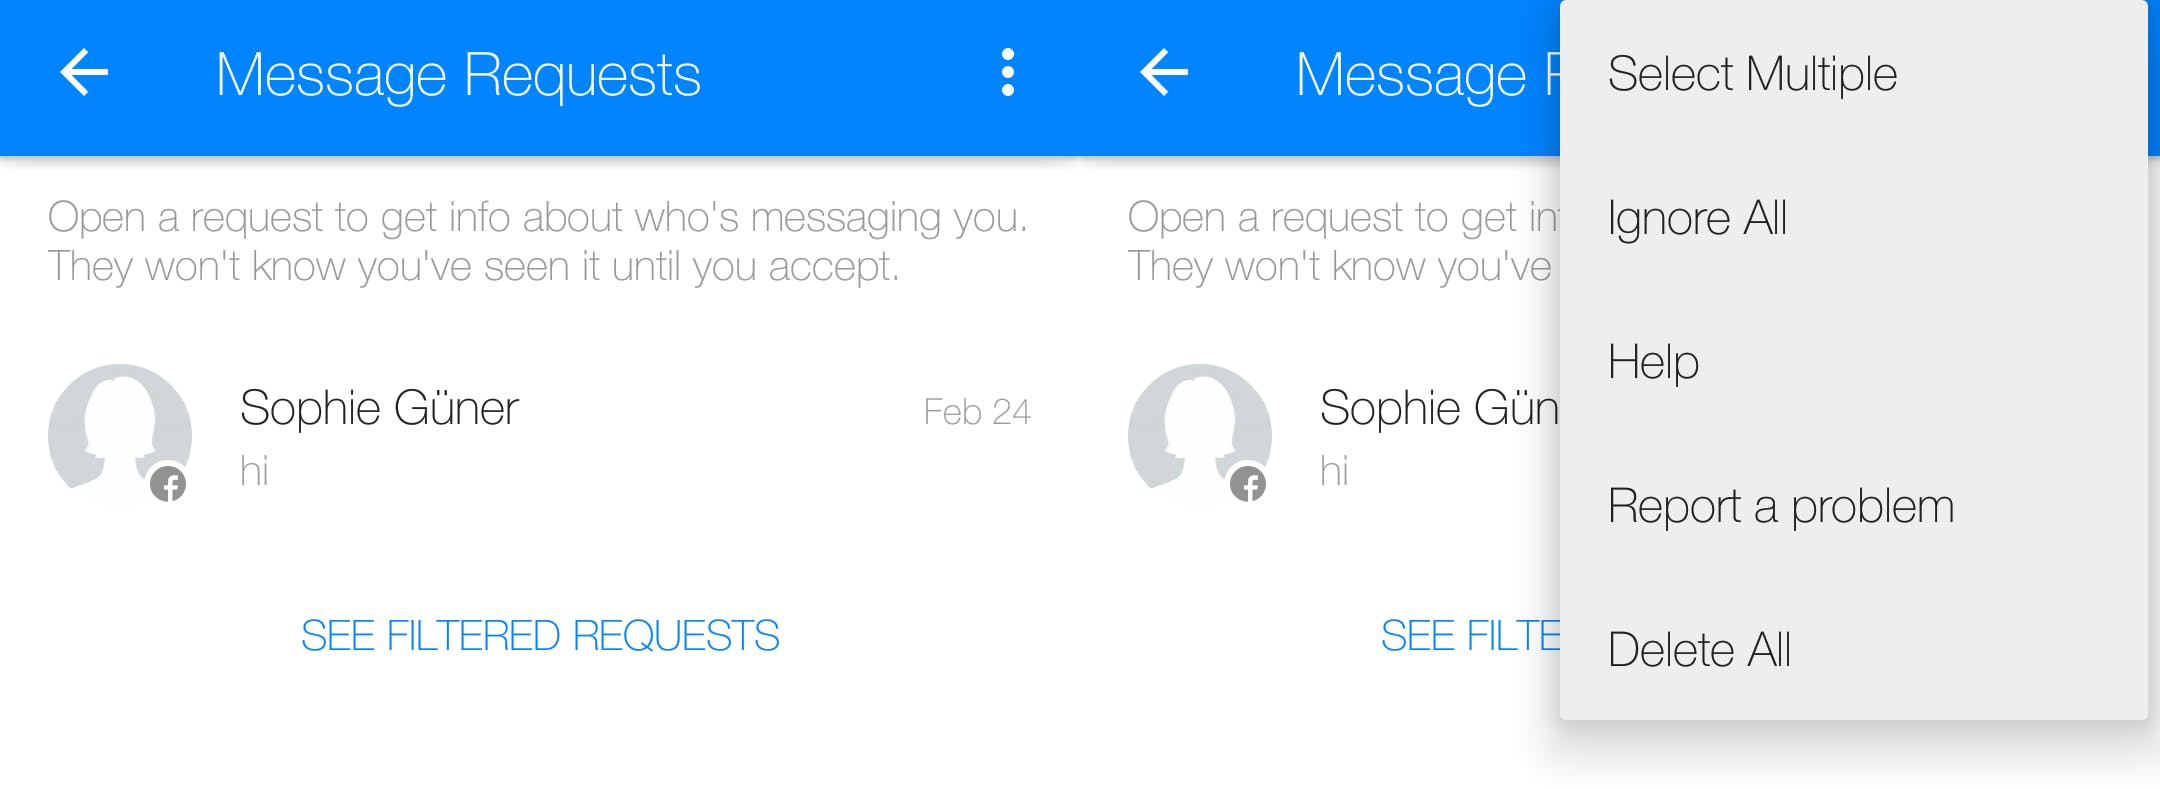
Unlike before, when messages sent by non-Facebook friends got filtered into the “Other” mailbox, you now receive “Message Requests” under the “People” menu marked by the icon. Simply open a request to get more information on who is messaging you. They won’t know you’ve seen their message until you decide to accept their request.
Additional options include selecting multiple requests at once for easier deletion as well as ignore all.
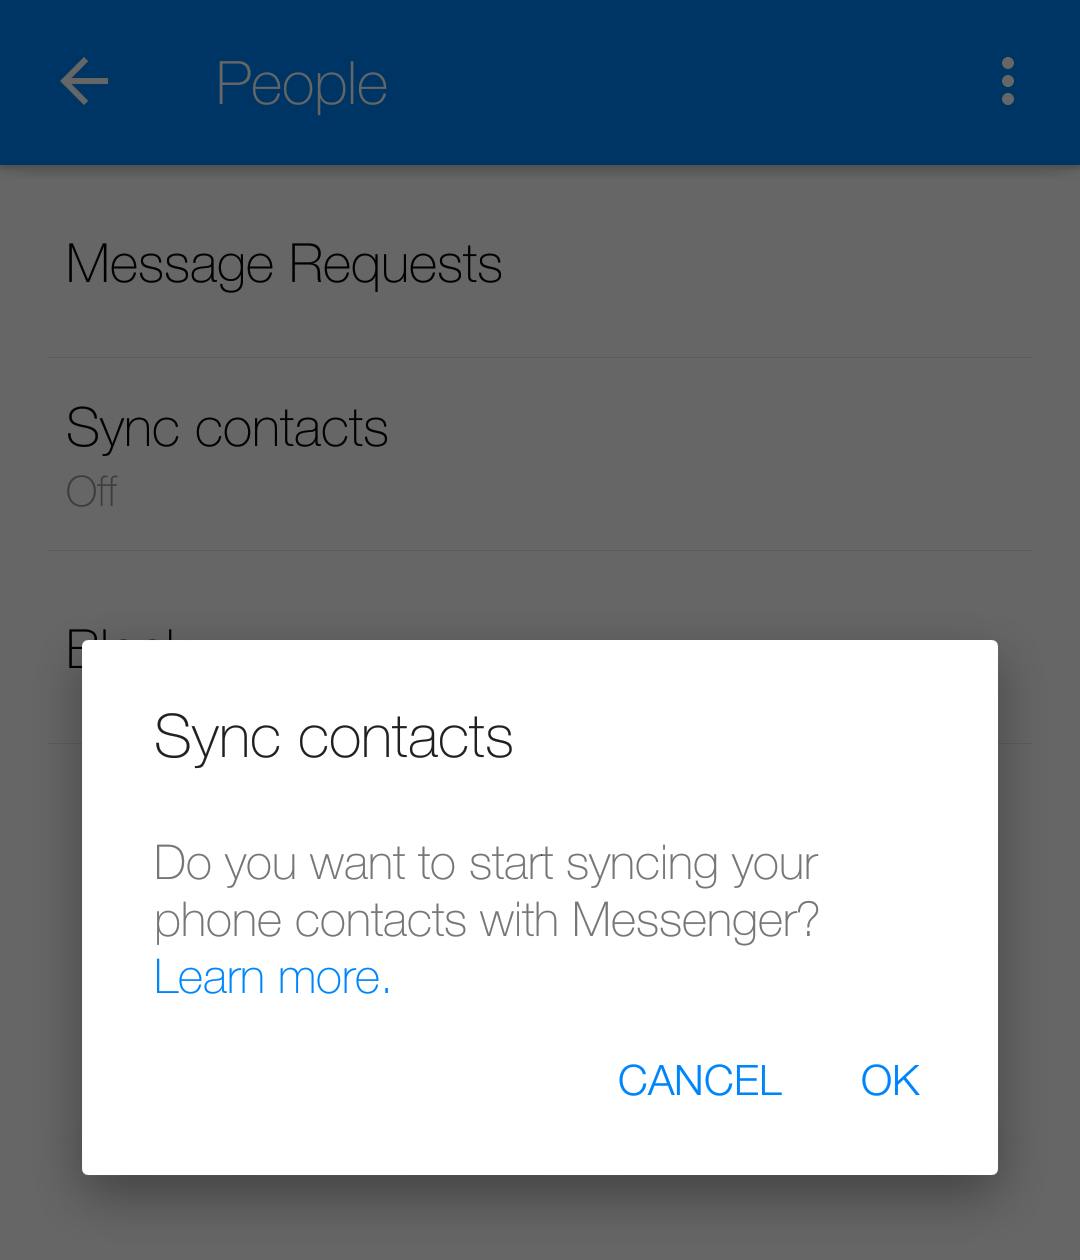
You can sync your phone contacts with Messenger
The option to do so is also under the People menu. This is recommended only if you intend to mainly use your Messenger account as your main SMS client.
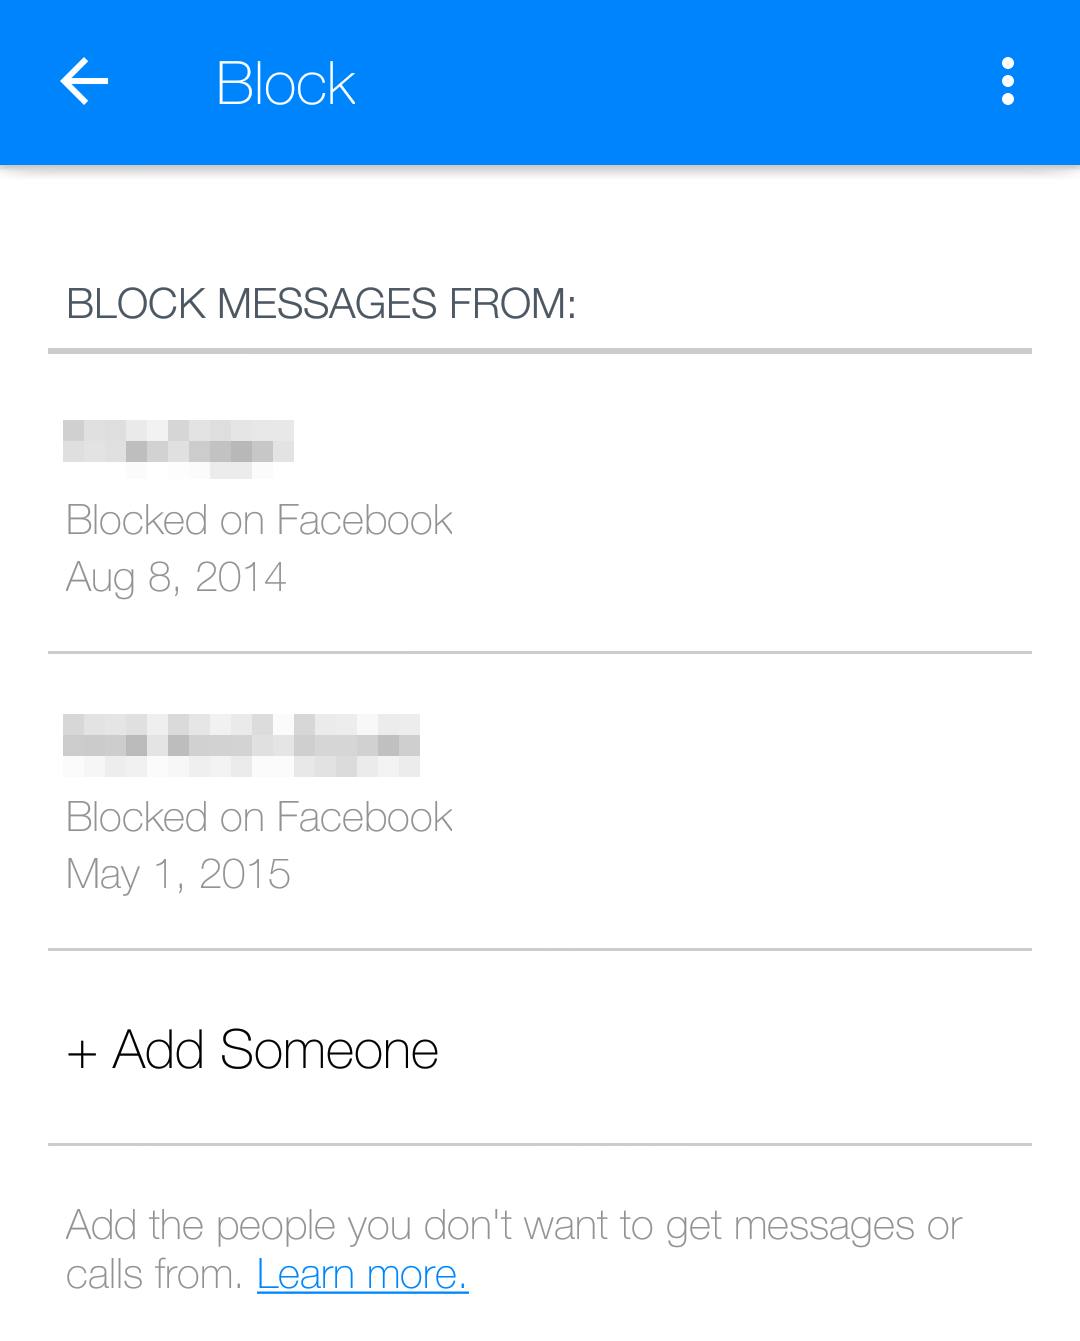
Manage your block list
If you have Facebook contacts who constantly send you chain letters, spammy links, game invites, and whatnot, you can easily add them onto your Block list, which can be found under the People menu as well. You can also see previously blocked contacts in there, as well as the date you blocked them.
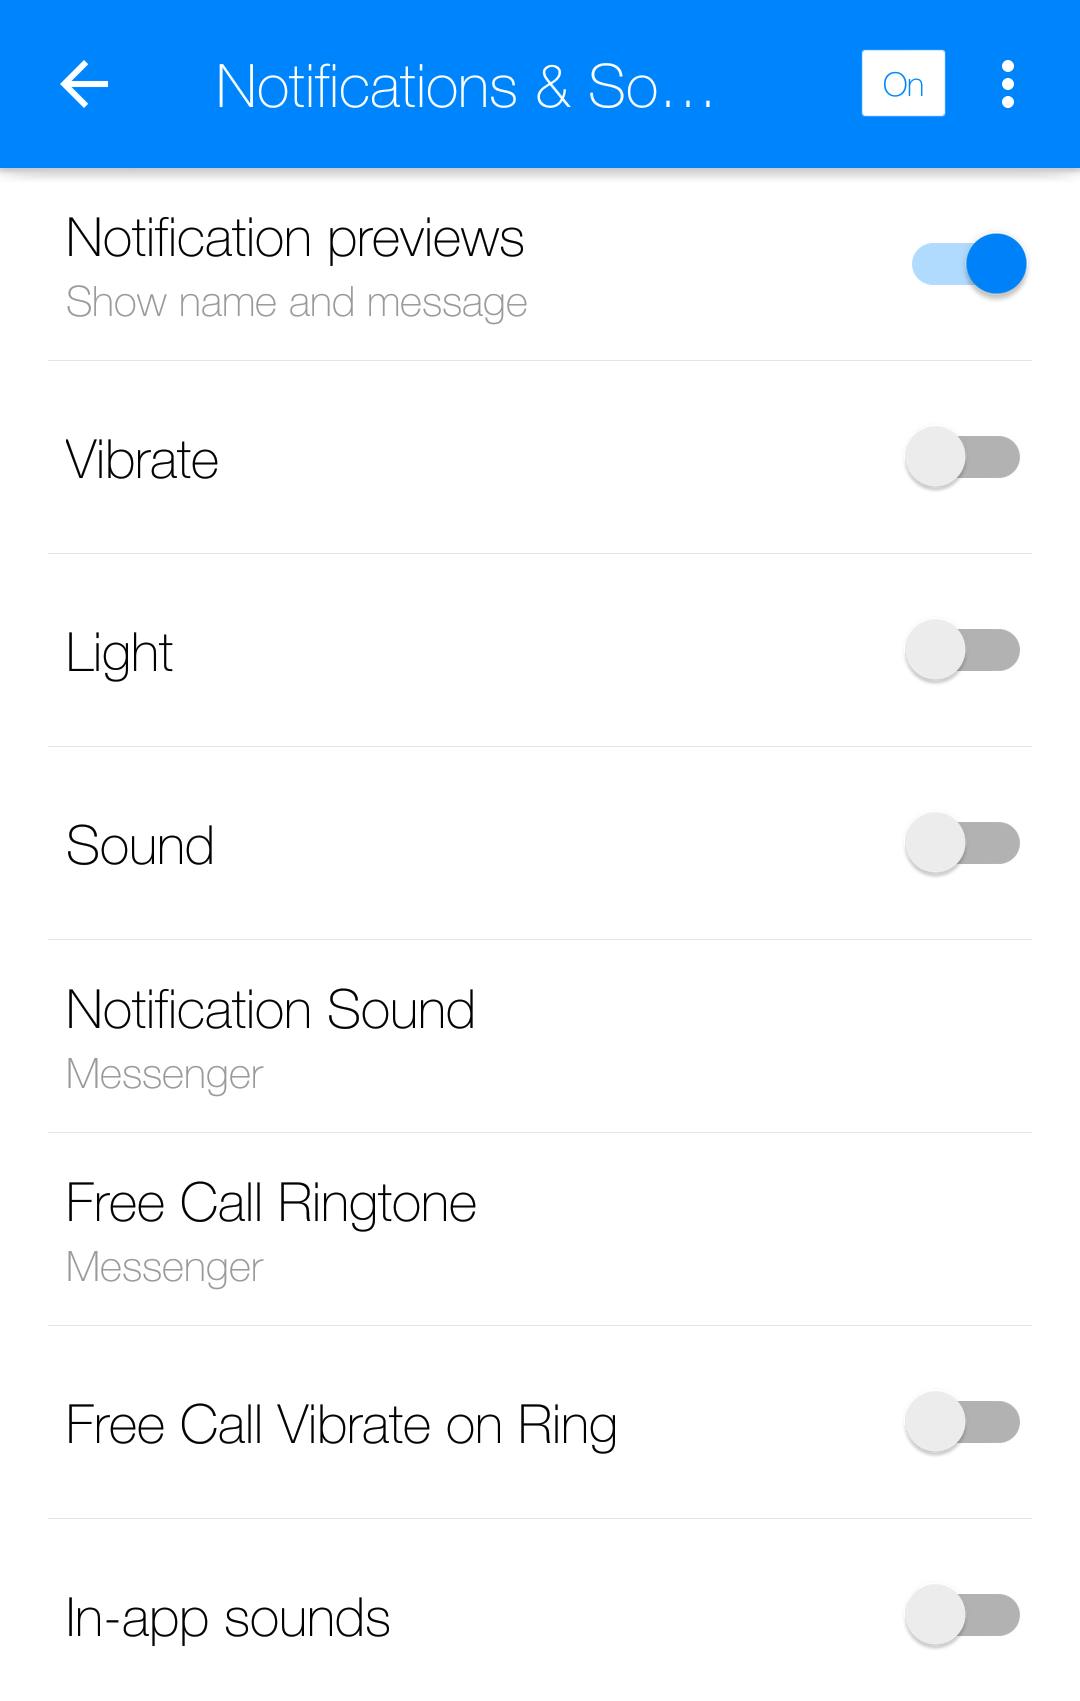
Modify your Messenger notifications to your liking
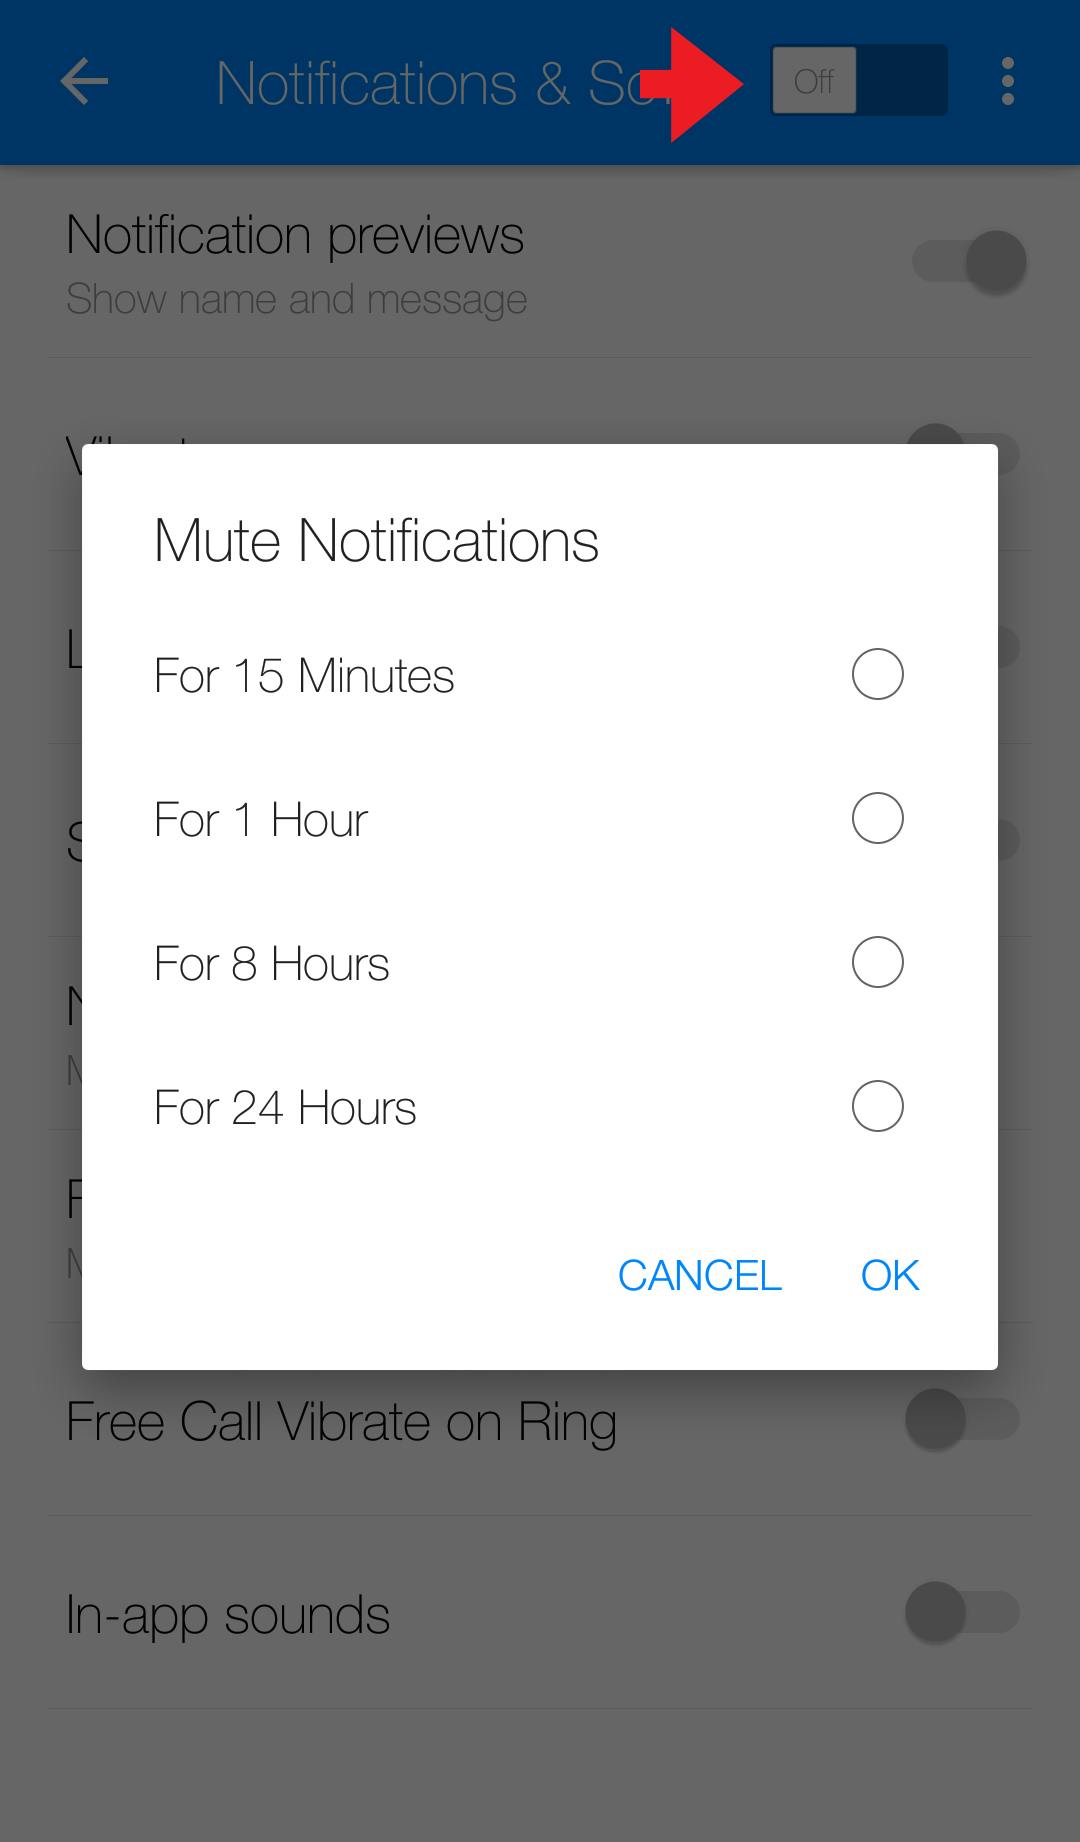
Under the Notifications & Sounds menu (marked by a bell icon), you can enable and disable options like vibrate, light, and sound as well as choose a ringtone for incoming messages and calls. You can also turn off Notification previews that show a message sender’s name and their message if you’d like to use Messenger sparingly and without interruptions.
Lastly, with a simple tap of an on/off switch (located on the upper-right corner of the screen), you can mute all notifications completely for various time increments, from 15 minutes to a full 24 hours.
3) Messaging
To start messaging a Facebook friend, just click on the dialog bubble icon in the bottom-right corner of the screen. Start typing in a friend’s name and tap on the correct Chat Head to begin a chat thread.
All individual threads you are a part of will appear under Recent History, marked by the clock icon. In each conversation, you can enjoy the following perks:
The basics
Messenger has all the features you would ever want in a versatile instant messaging client. You can text chat, take photos and videos within the app, and send photos and videos saved in your phone’s gallery.
You can quickly send stickers, for free!
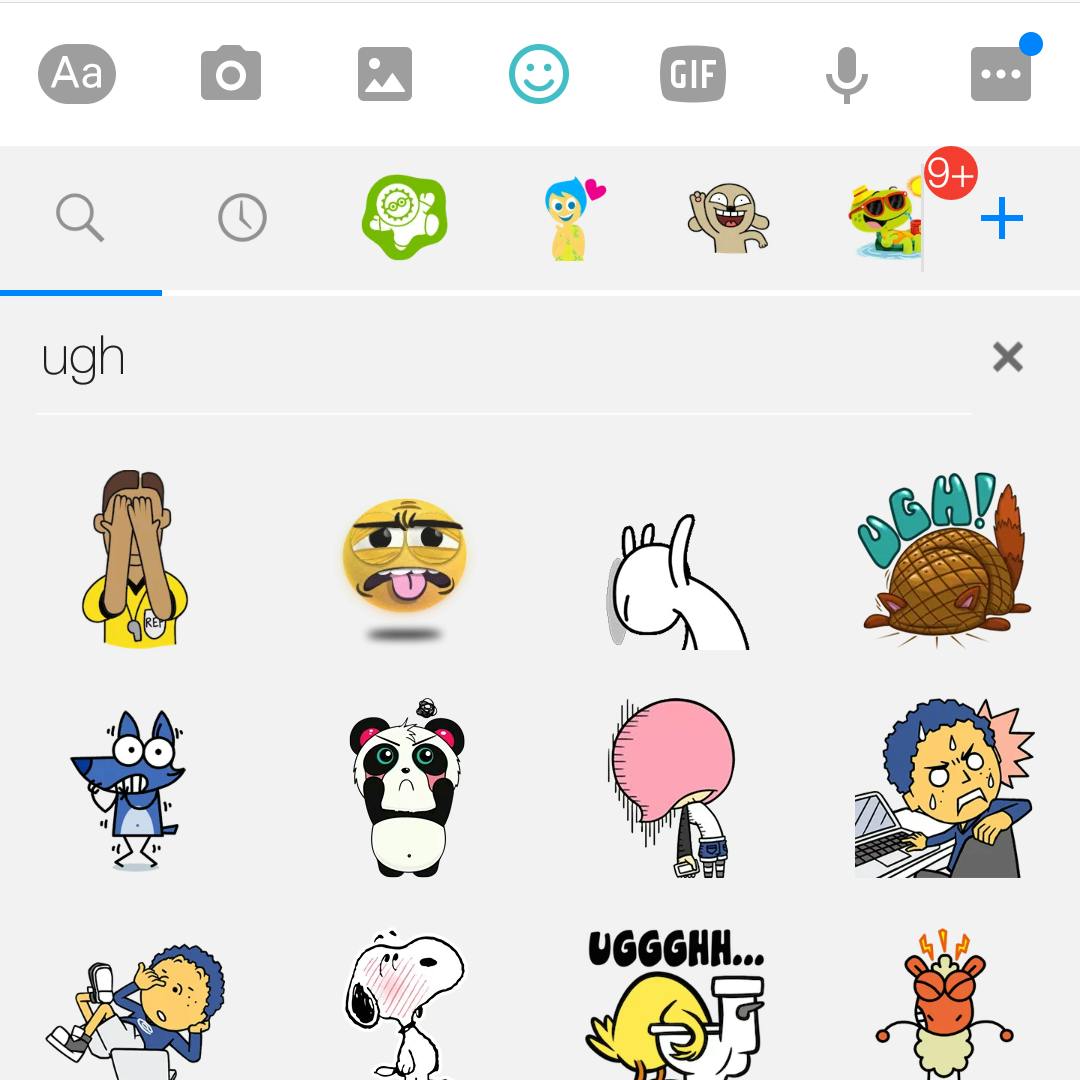
Previously, you had to jump into Messenger’s sticker store and manually download and install sticker packs you wanted to use. Thanks to an update, all stickers (found under the smile icon) are now available hassle-free. Simply type in a keyword into the sticker search bar to pull up results that fit your mood.
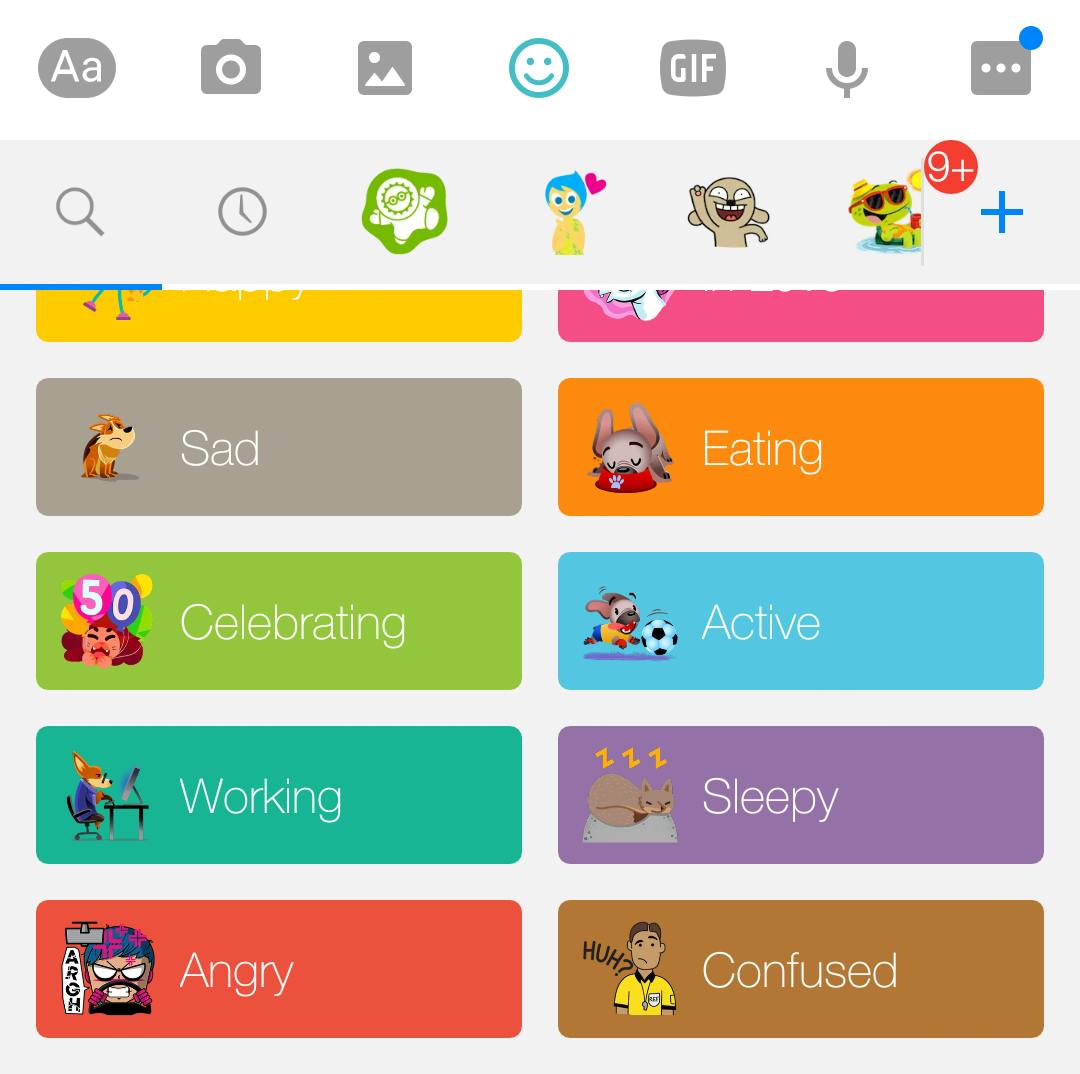
You can also tap on the many available categories sorted by emotions.
Messenger has finally gotten on the GIF bandwagon
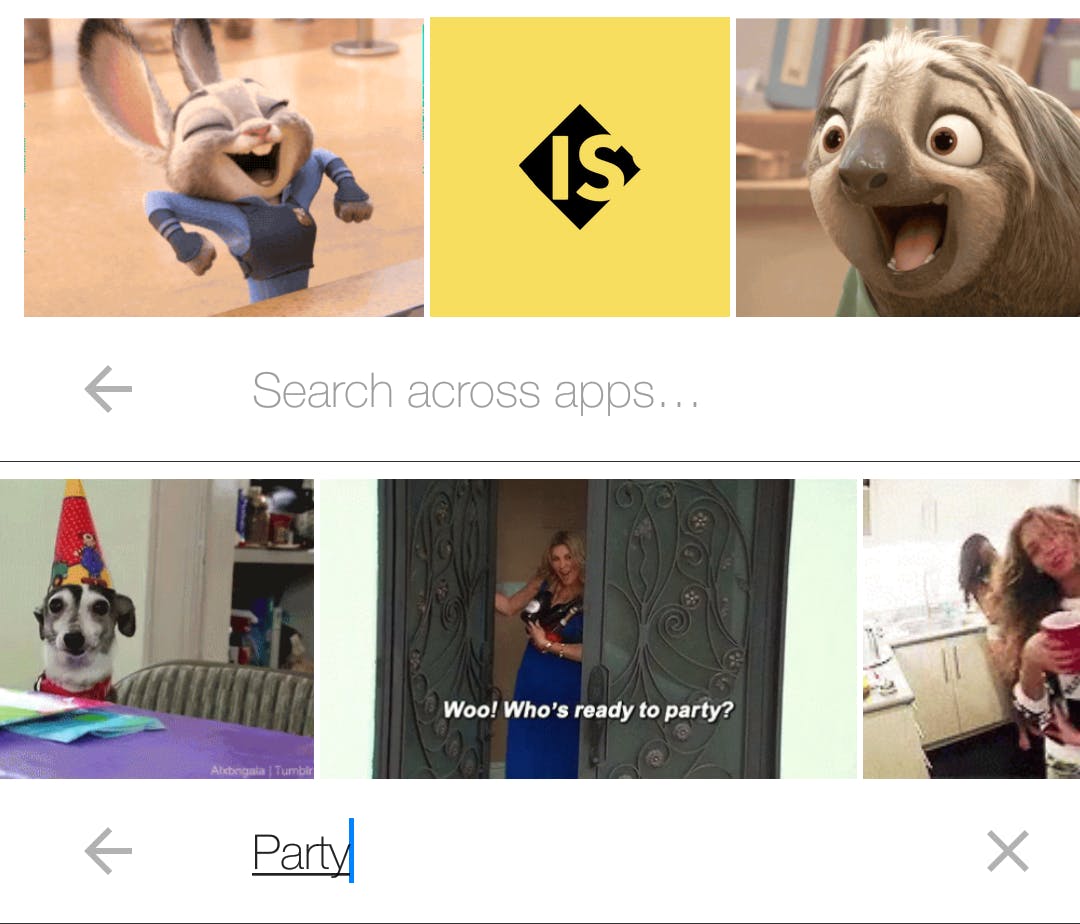
Gone are the days of needing to visit external websites to find the appropriate GIF to send. Now, all you have to do is tap on the GIF icon, type in a keyword, and Messenger will search through various databases for the appropriate GIF to send.
Sending voice messages
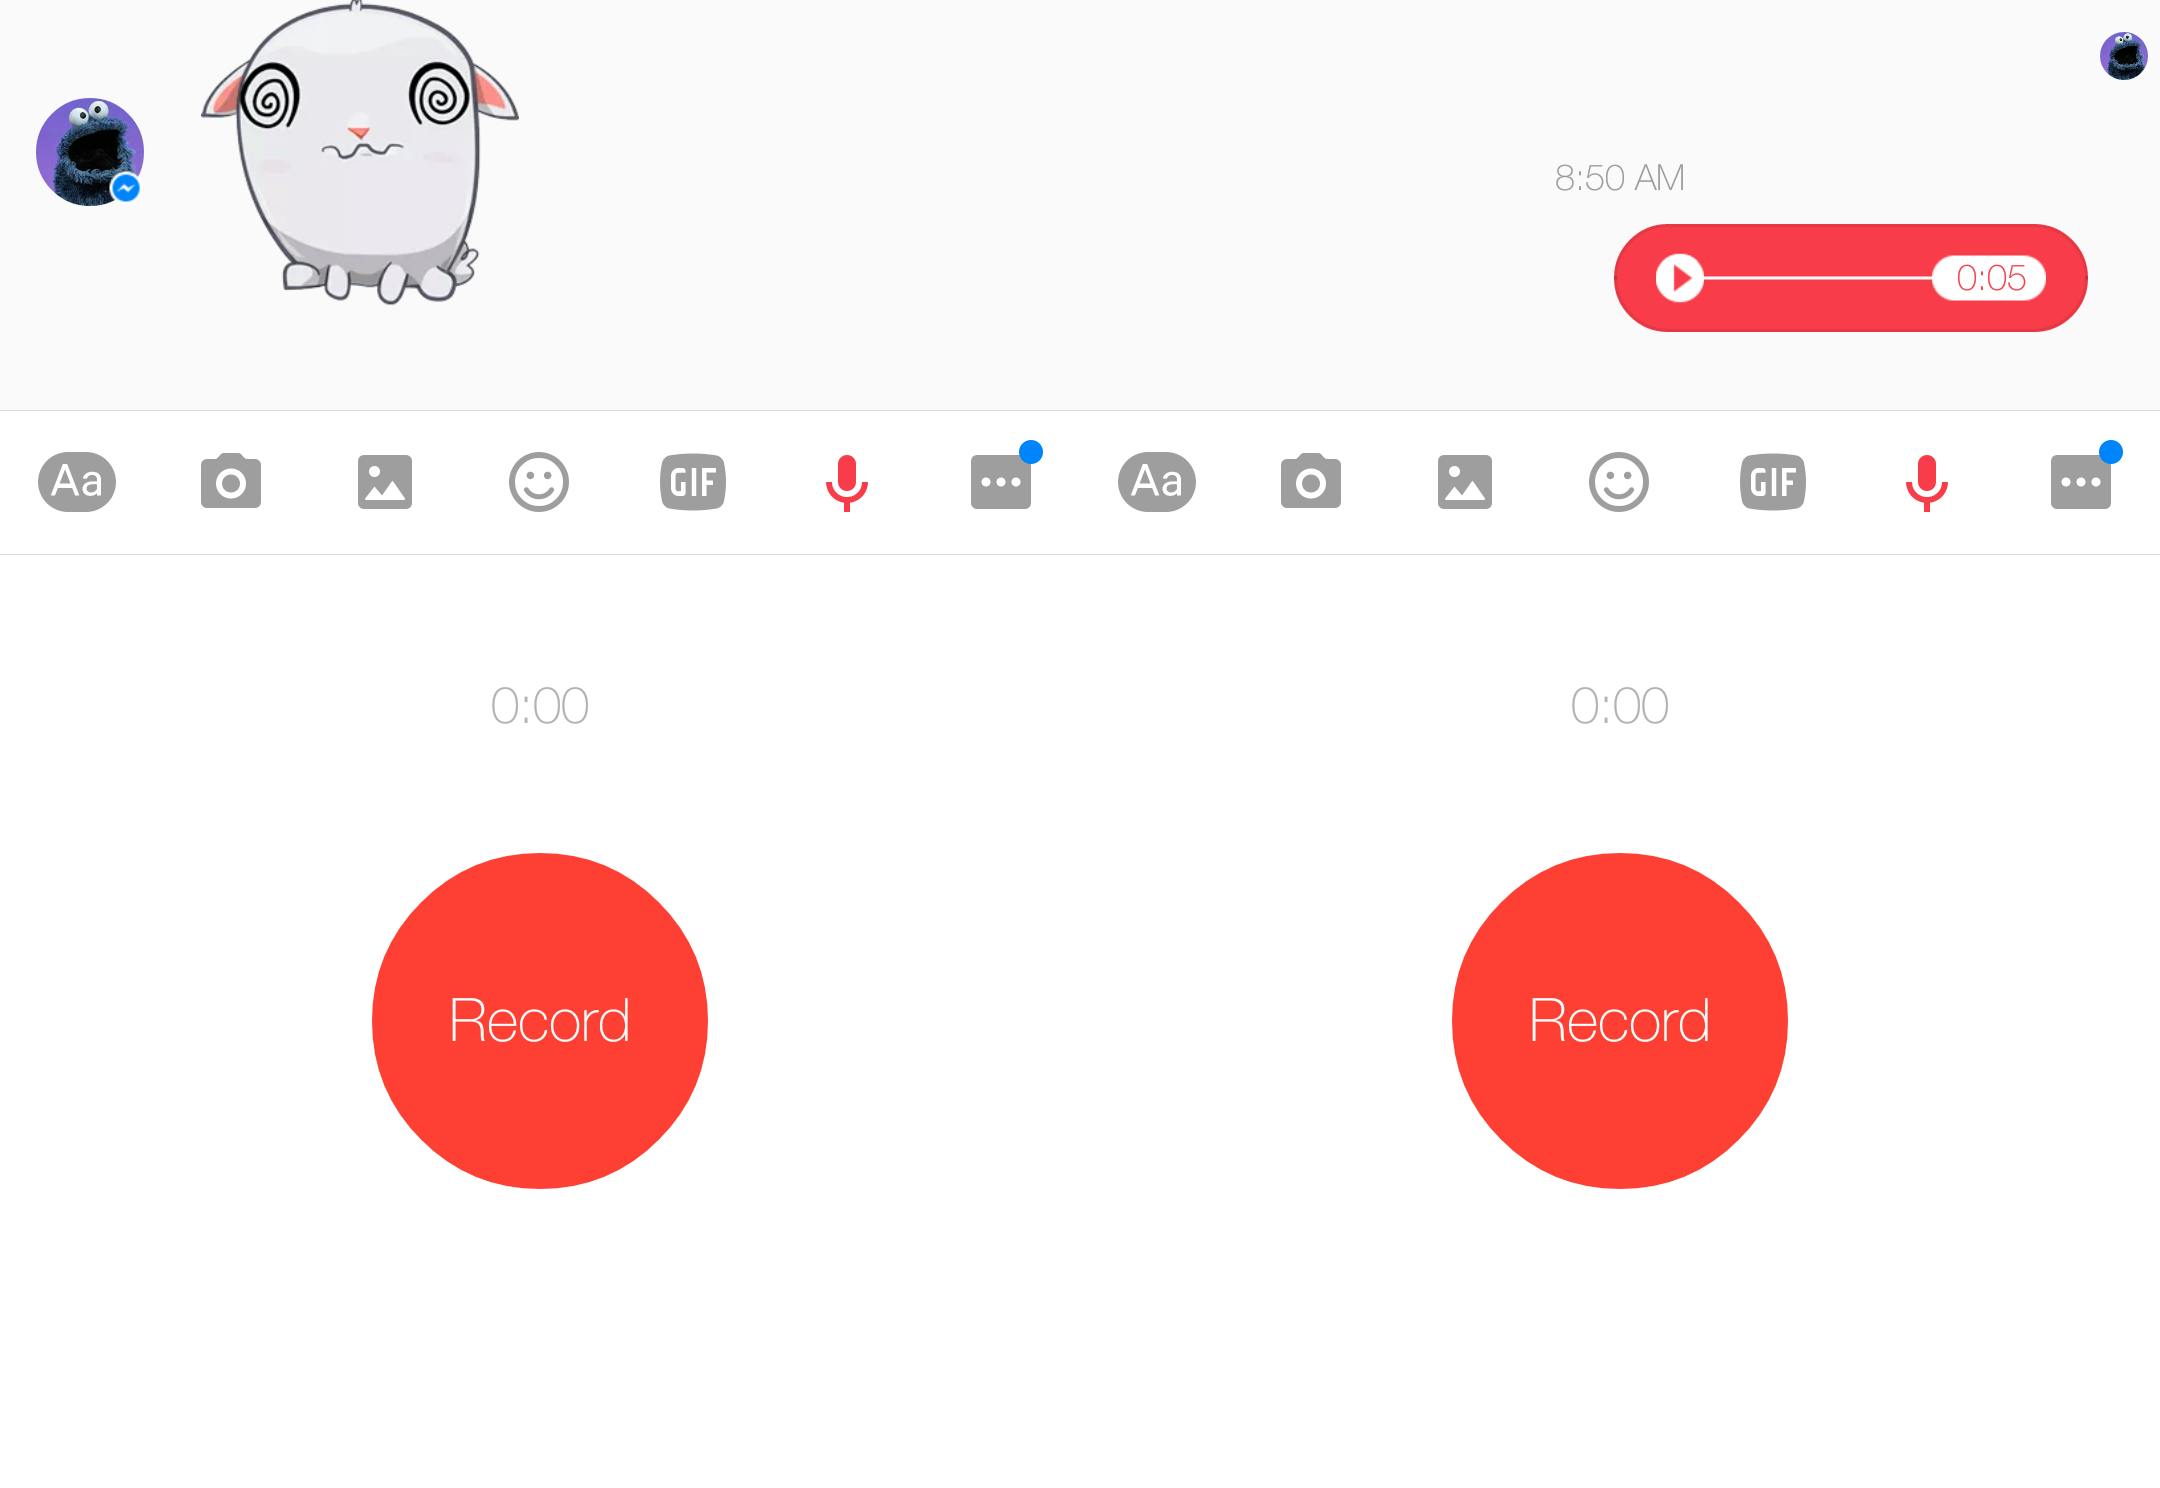
When you’re too lazy to type or you’re worried that text can’t convey feeling or context properly, you can record voice messages for your friends to play back by tapping on the mic icon. Keep the record button pressed as you speak and release when you’re done.
You can get apps for Messenger, as well as other nifty features
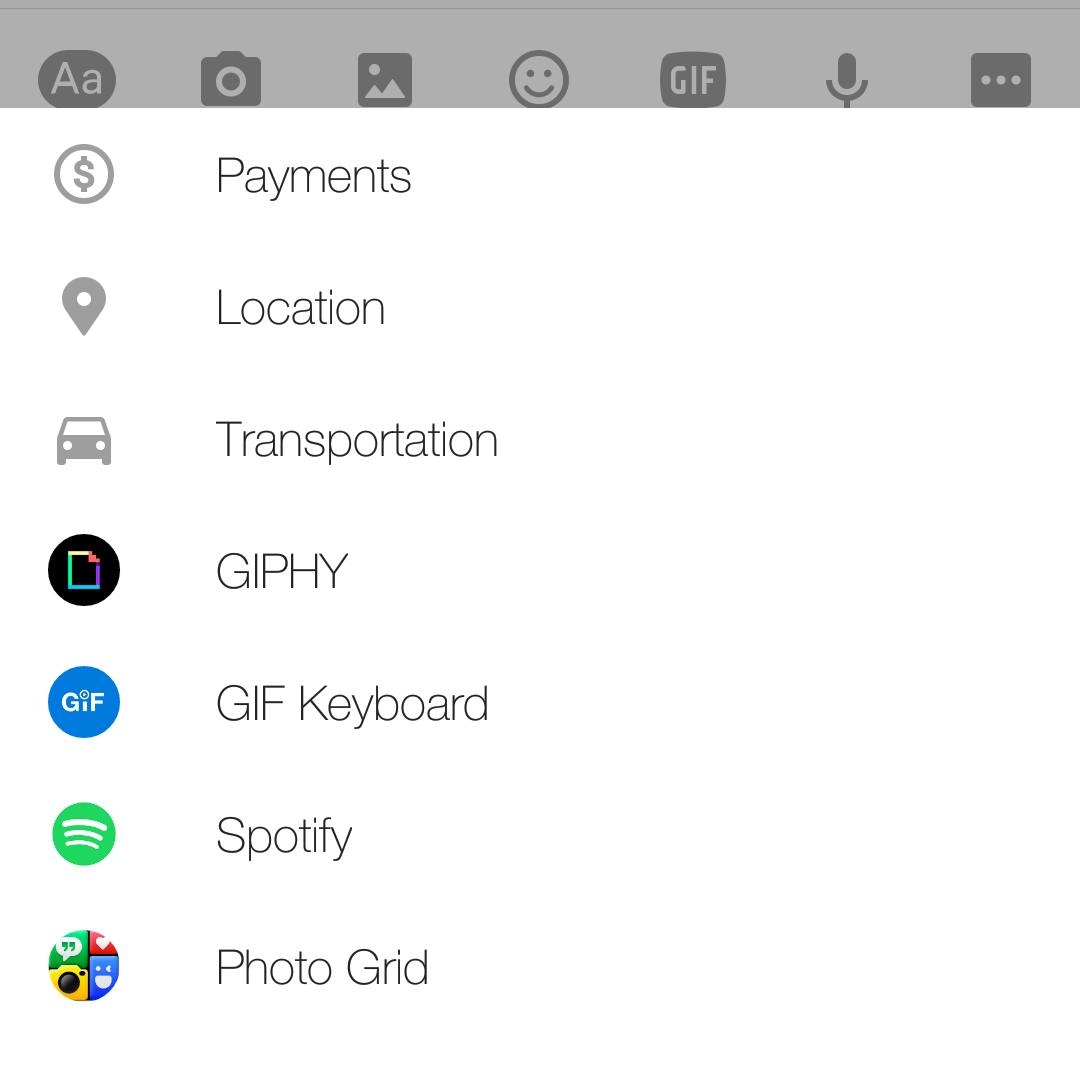
Not satisfied with the features Messenger includes by default? By clicking on the “More” icon, which is represented by three dots, you can explore the many useful functions you never knew Messenger had as well as peruse through the apps you’ve previously installed that Facebook lets you use within Messenger.
Newly added to the list of app integrations is Spotify, which makes it easier for you to share tracks, playlists, and favorite artists inside your chat threads.
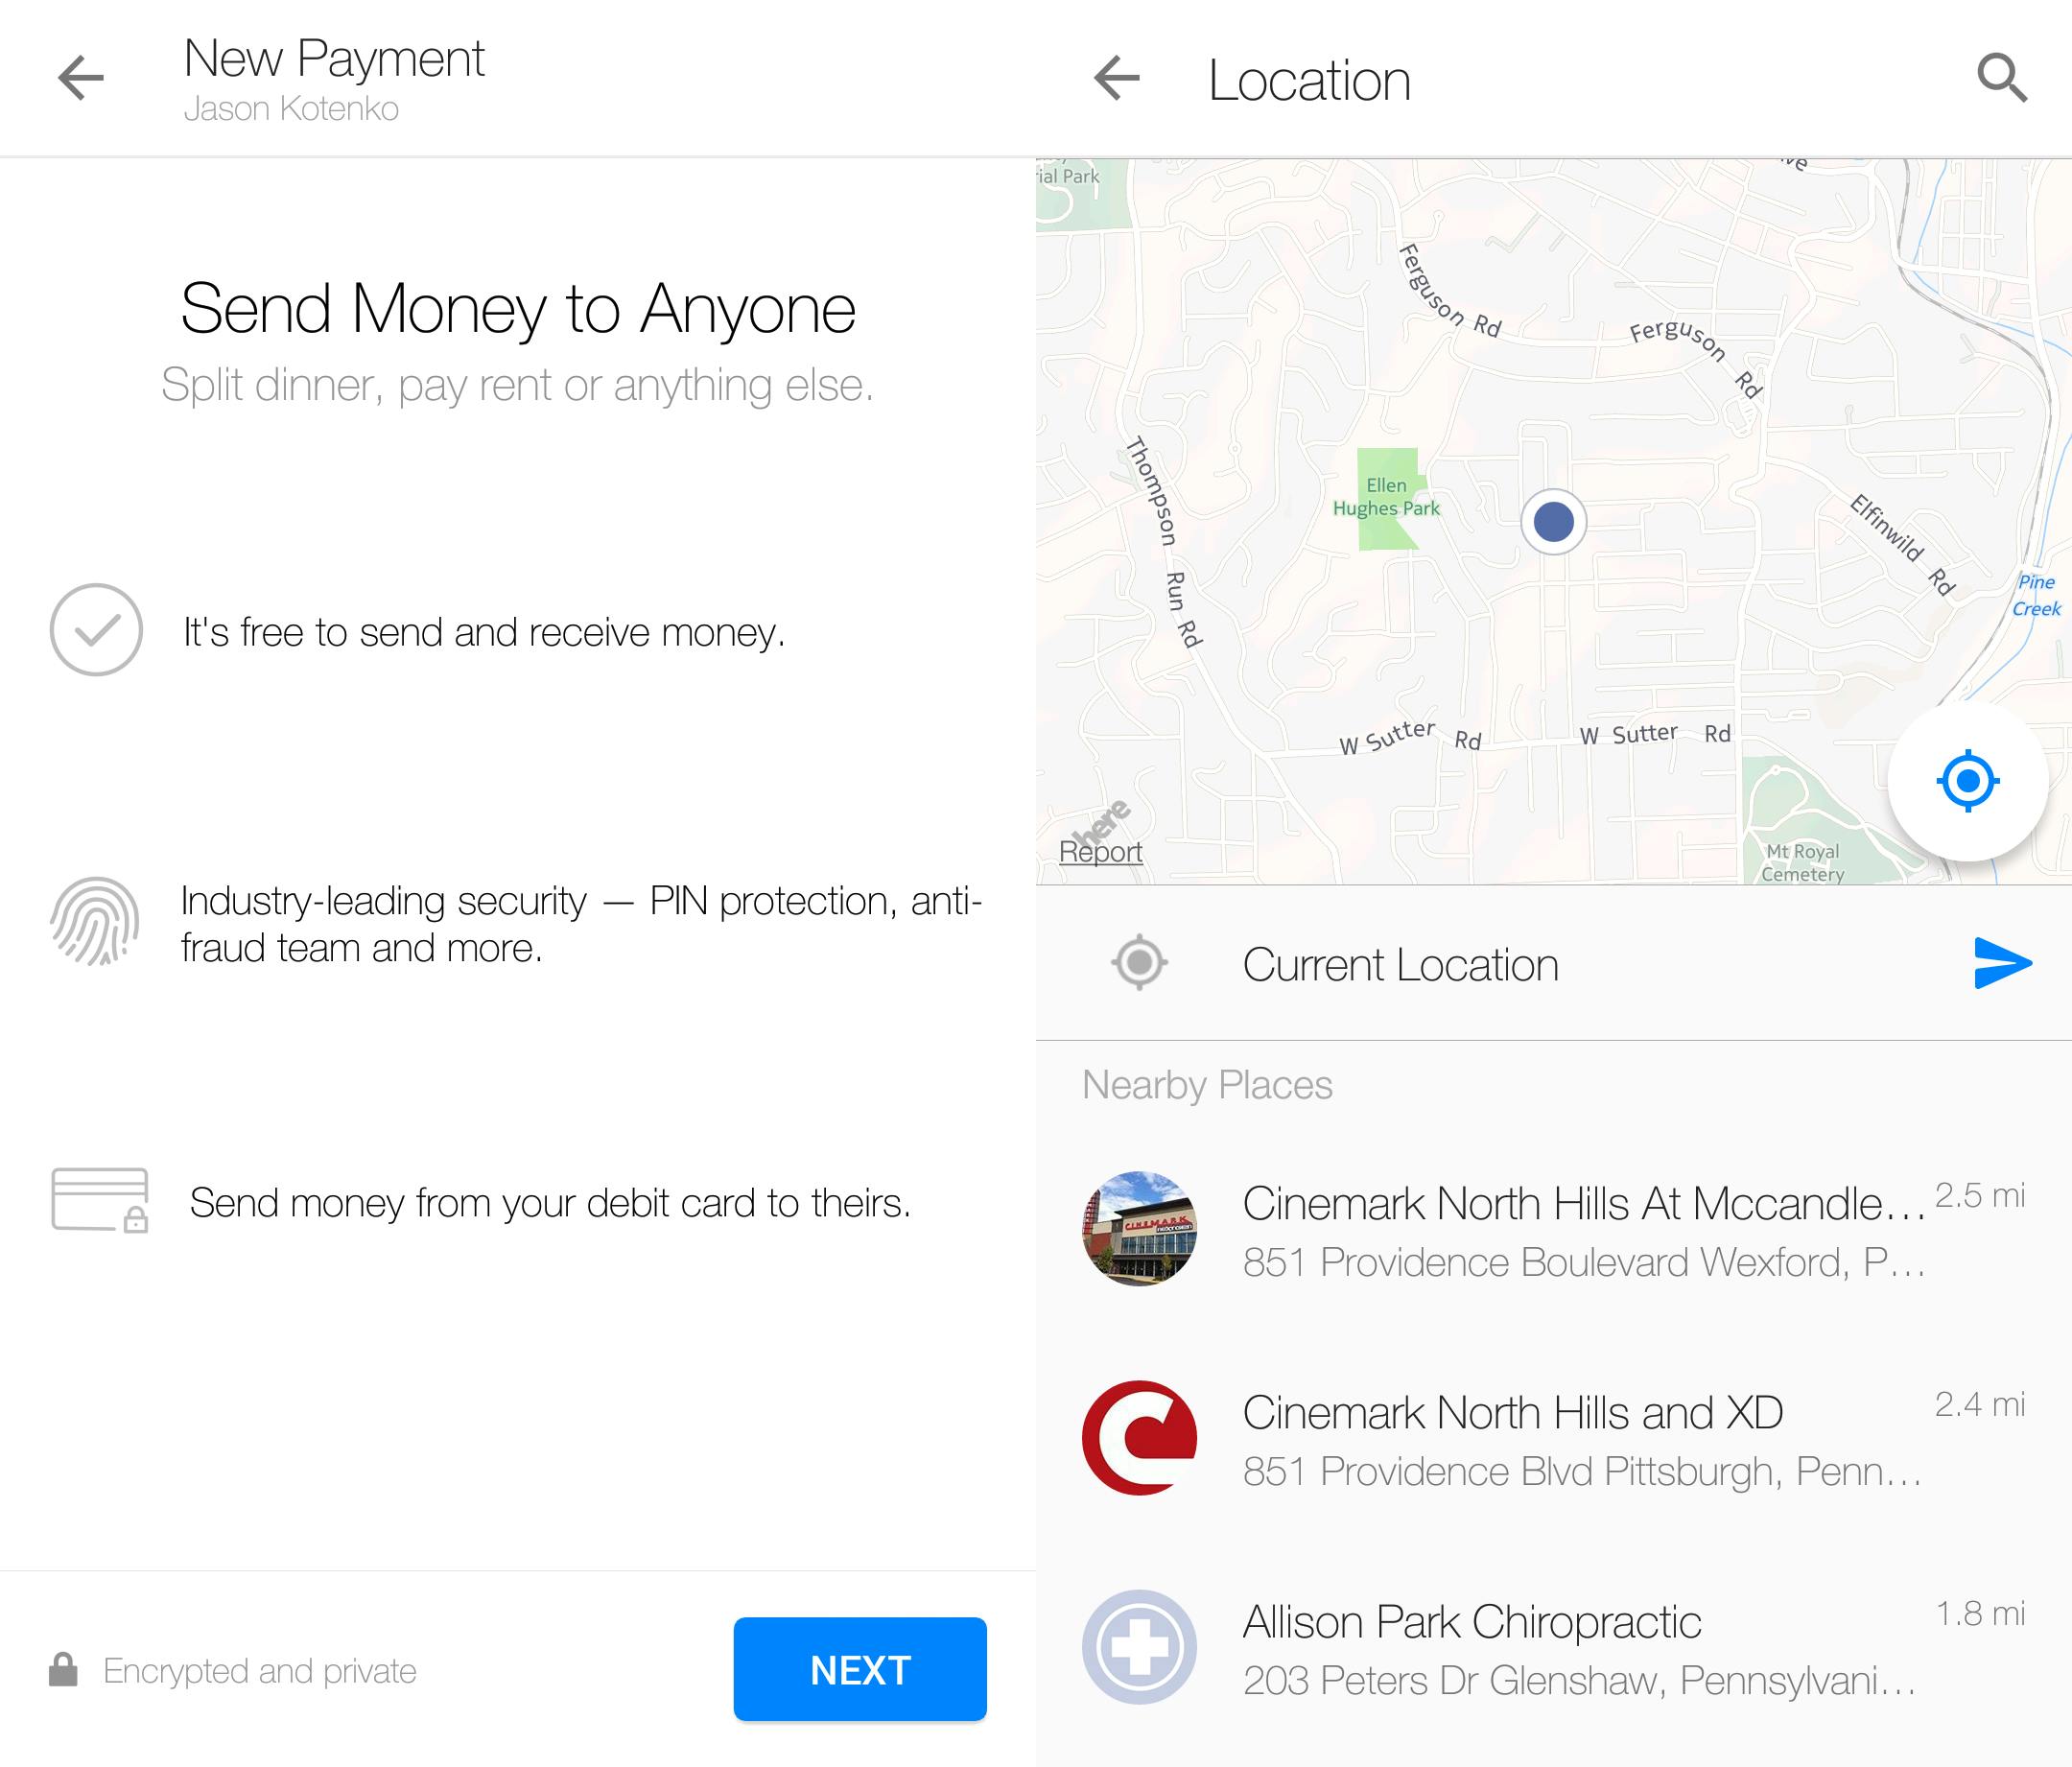
You can send also send contacts your personal location information as well as exchange money via the built-in payment feature.
You can even request an Uber ride!
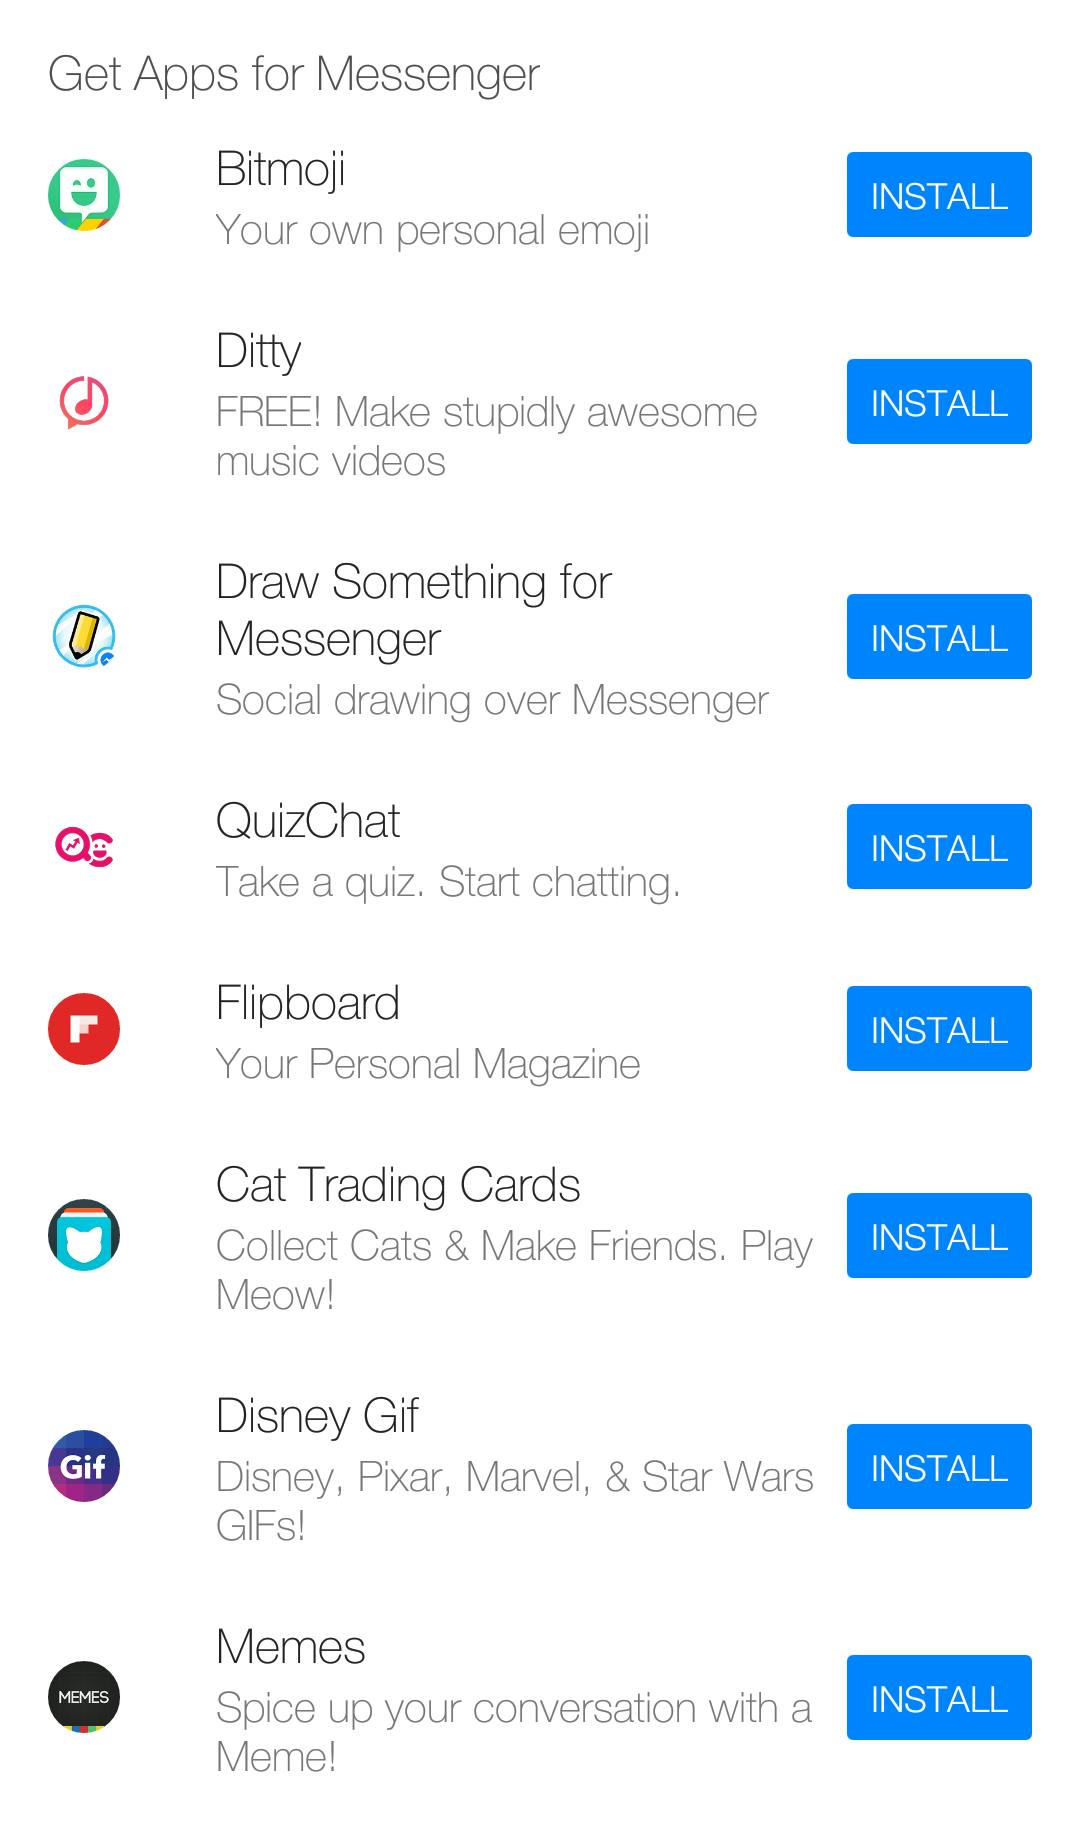
Additionally, you can also install various apps you can use within Messenger. Go nuts.
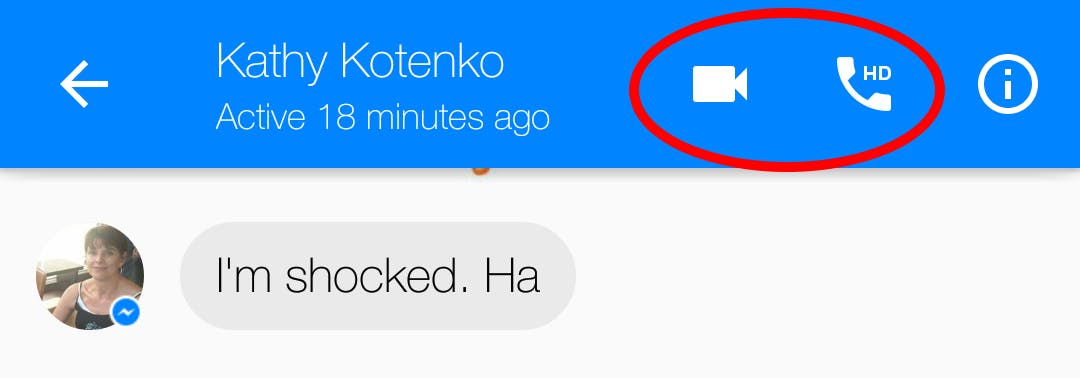
You can make HD phone calls as well as video calls
No need to log into a separate Skype app. Bear in mind though that data charges apply when calls are made without Wi-Fi connectivity.
4) Customizing your experience
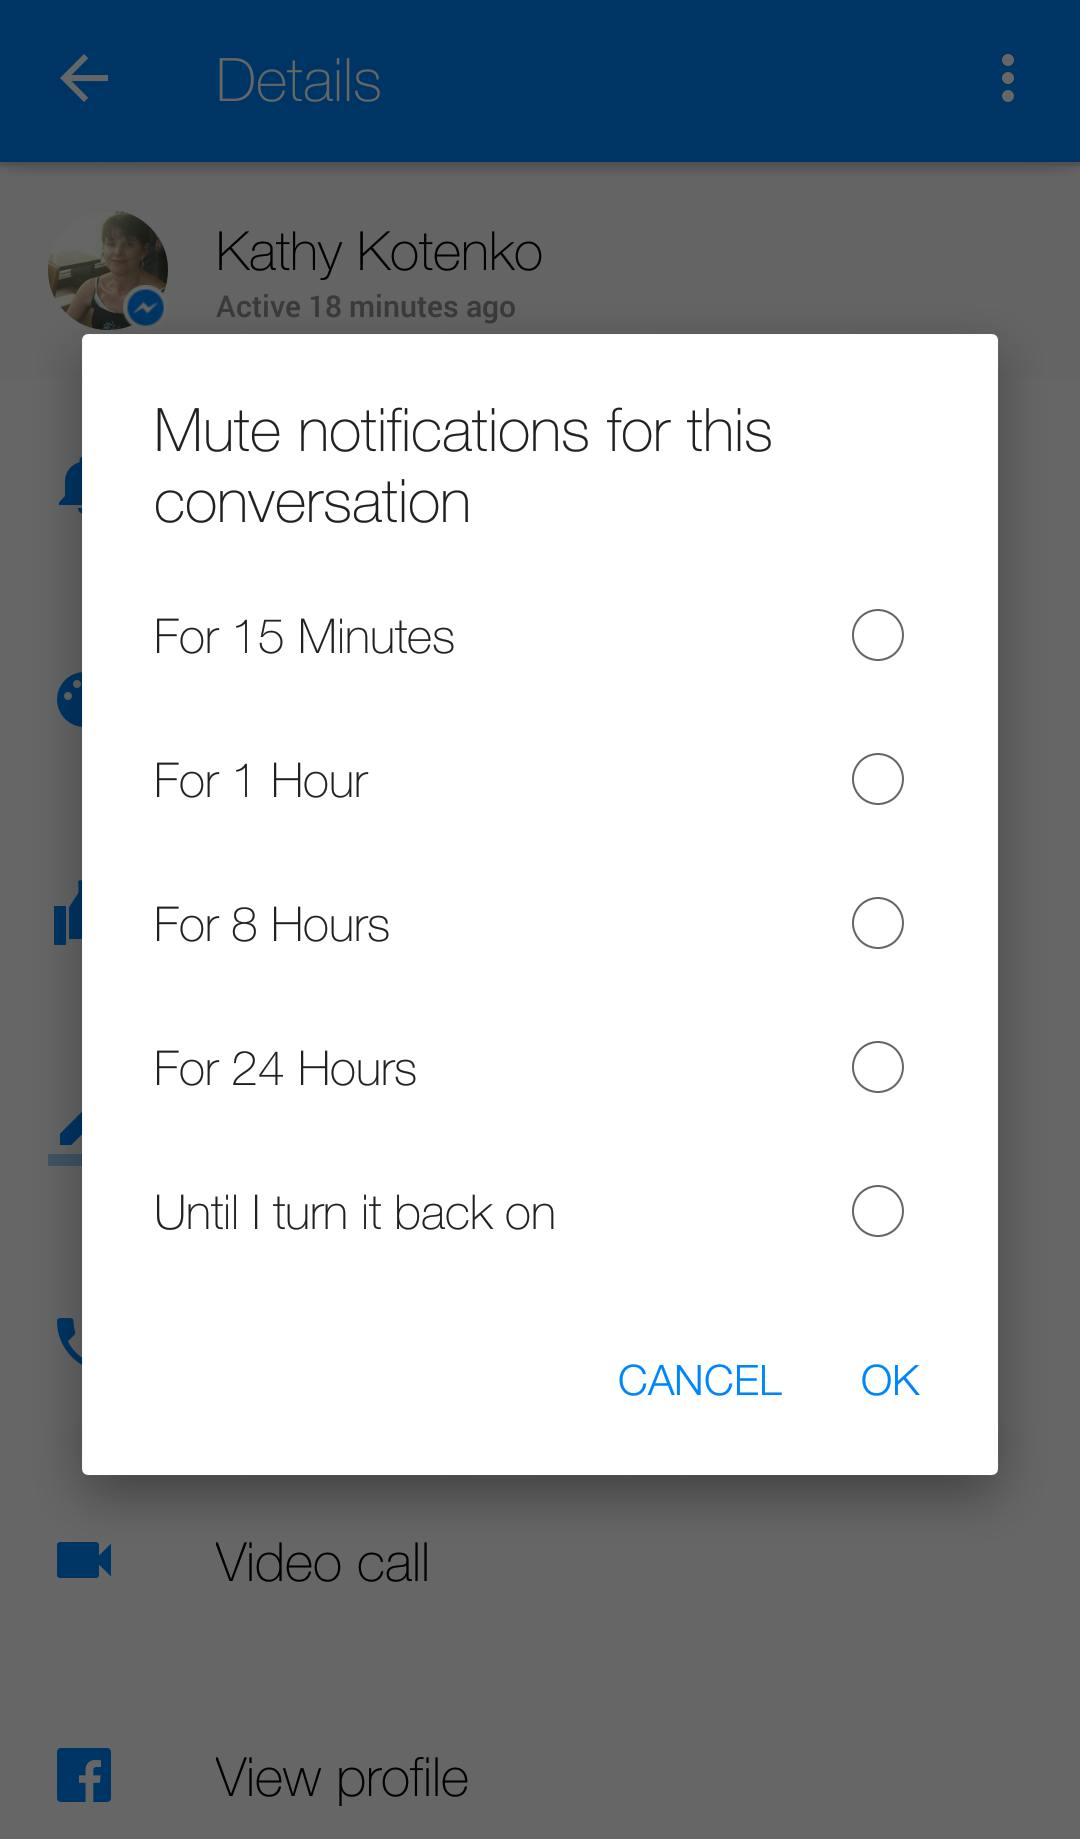
You can mute individual notifications
Just like the general Notifications option under the gear icon of the Messenger app, you can mute an individual conversation’s alerts in various time intervals. Additionally, you have an “until I turn it back on” option if you’d like to mute a person’s messages indefinitely.
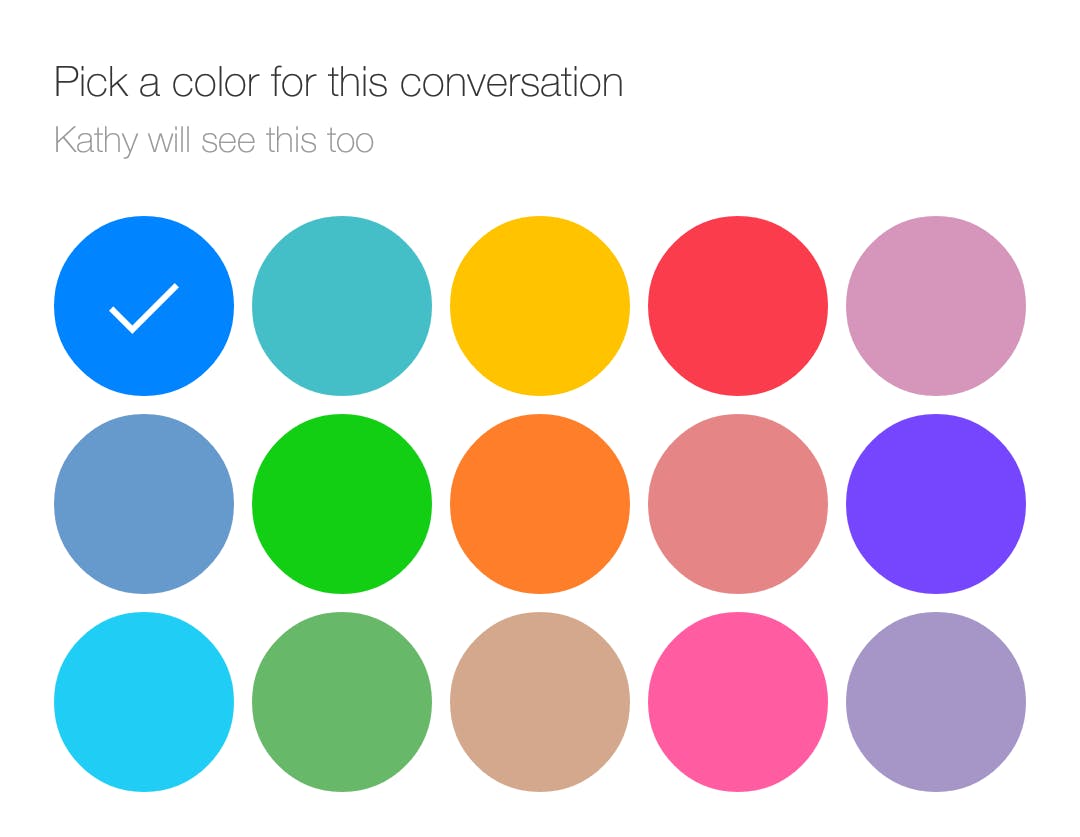
You can modify the color of your chat bubble
Just in case you’re tired of Facebook blue.
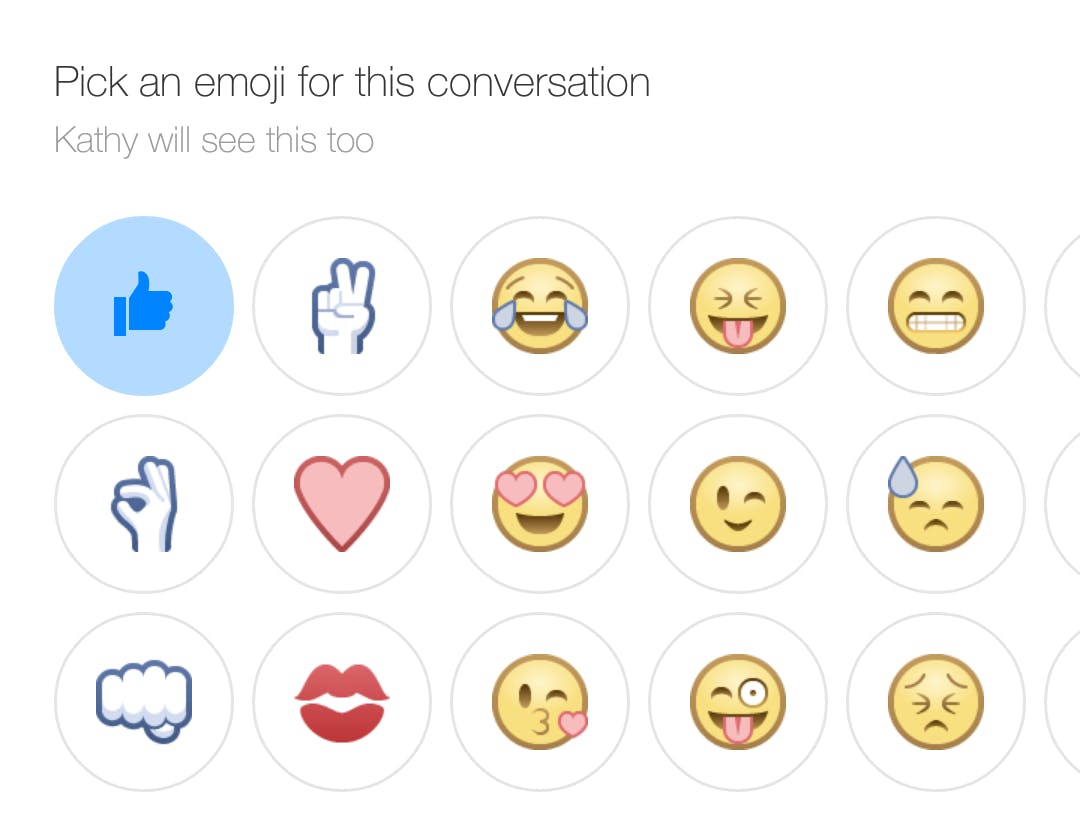
You can pick a default emoji
There are so many more options than a simple thumbs up.
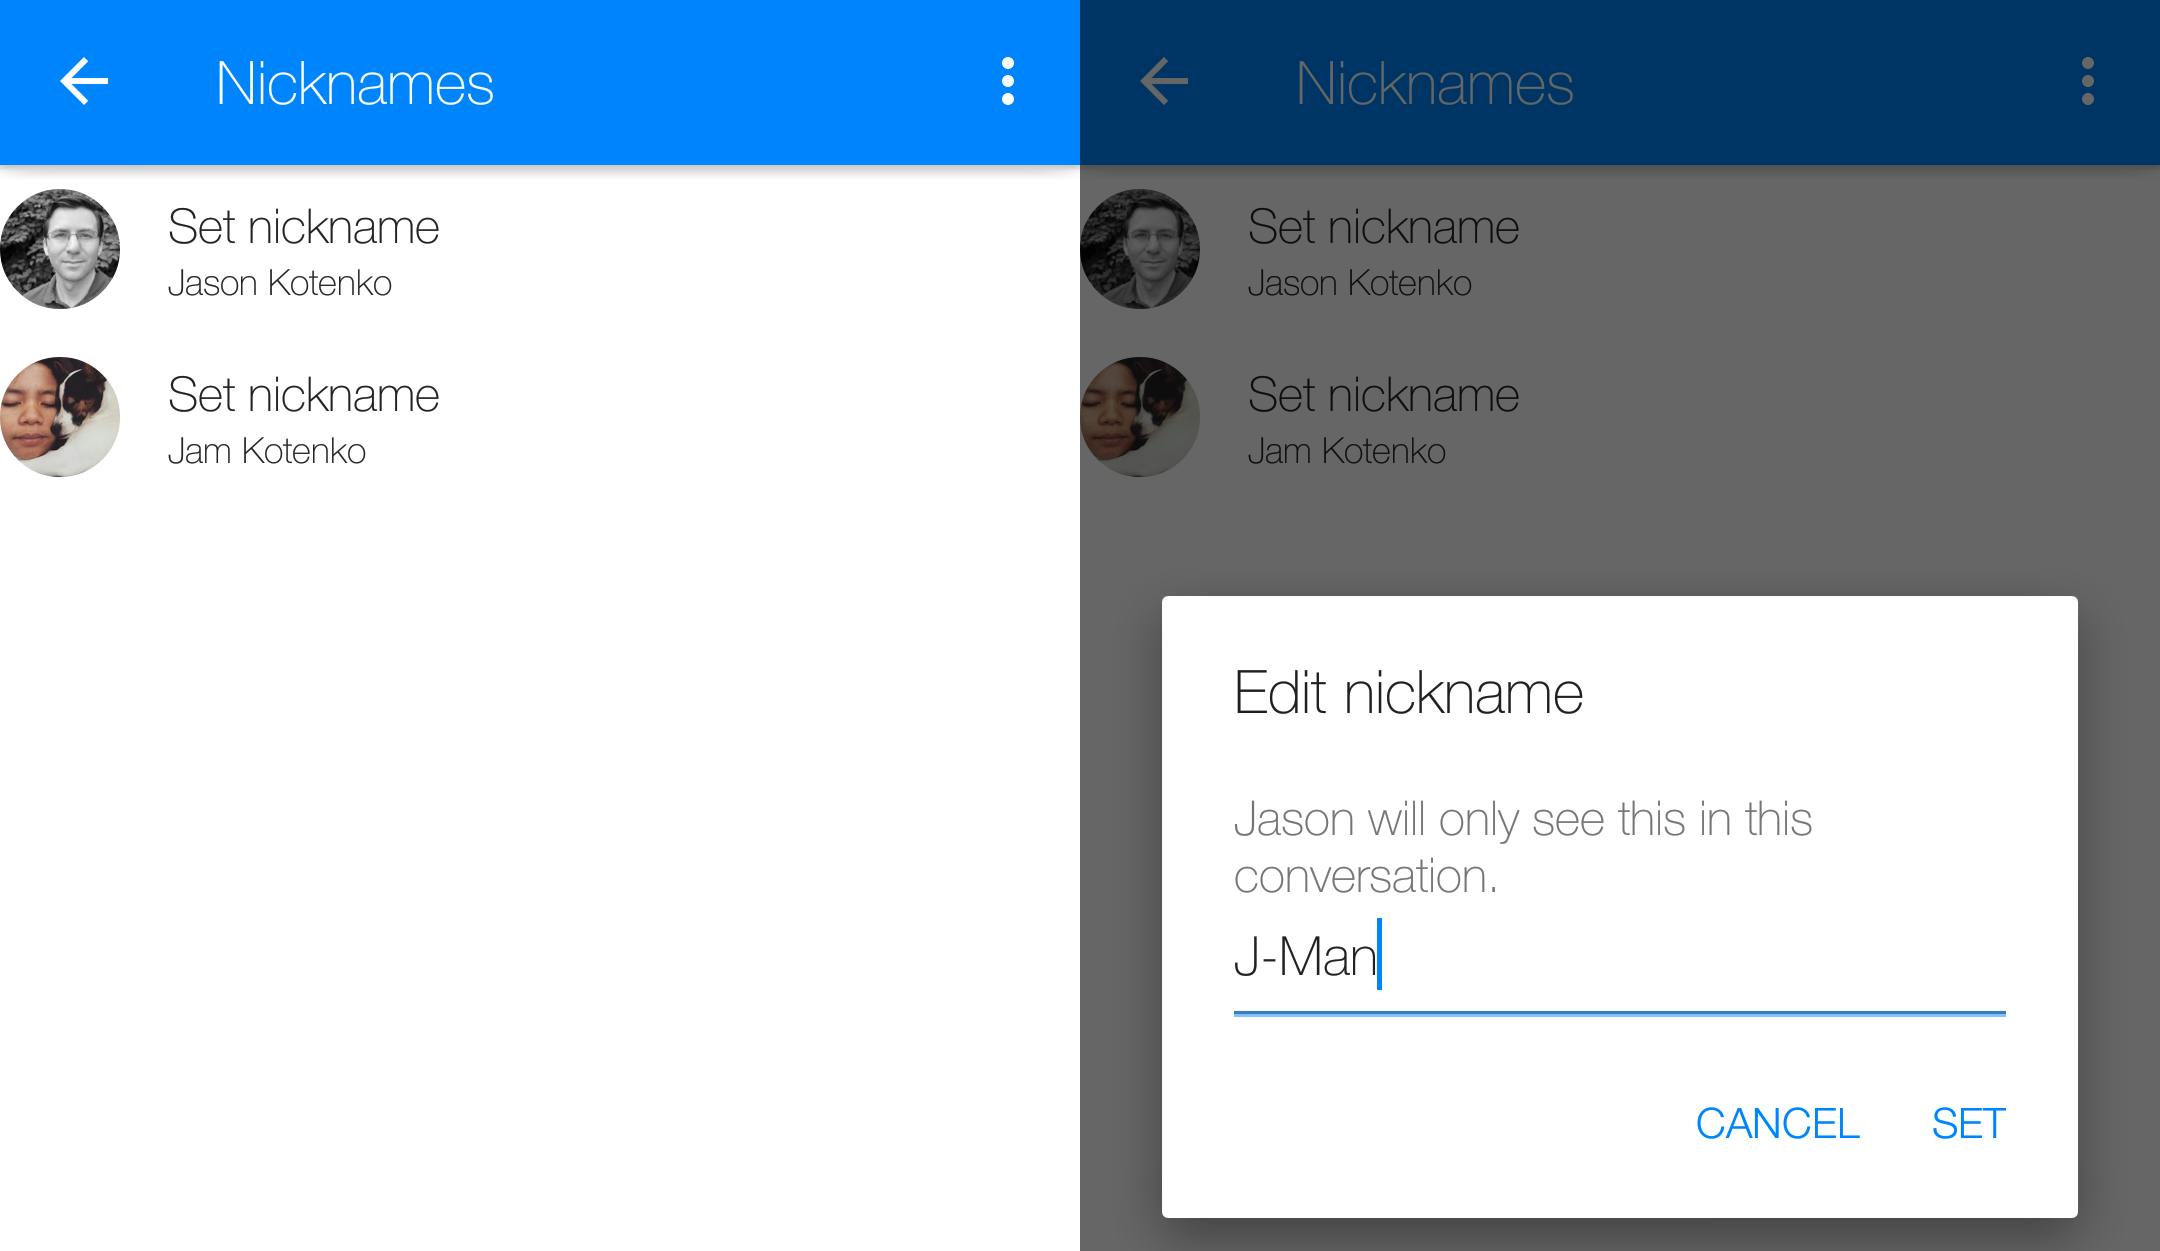
You can set nicknames for your friends
Because first and last names are a bit too formal. This is great when wanting to tag someone with a brief note to remind you that they are a friend of a friend or some other seldom-seen contact.
You can quickly review all the content you’ve shared with each friend
This is perfect if you need to check whether you’ve already sent a certain photo or video or you’d just like to take a walk down memory lane.
Additionally, you can make a voice or video call, view the person’s profile, create a group conversation that includes the person, or block them.
5) Group messaging
Yes, you can chat with multiple Facebook friends at once!
You can start a group thread exactly the same way you would a one-on-one chat: Tap on the dialog bubble icon at the bottom-right corner of the screen and start typing in the names of friends you would like to chat with simultaneously. Note that even though these friends are not Facebook contacts themselves, the fact that you added them lets them chat with one another without the need for a Message Request.
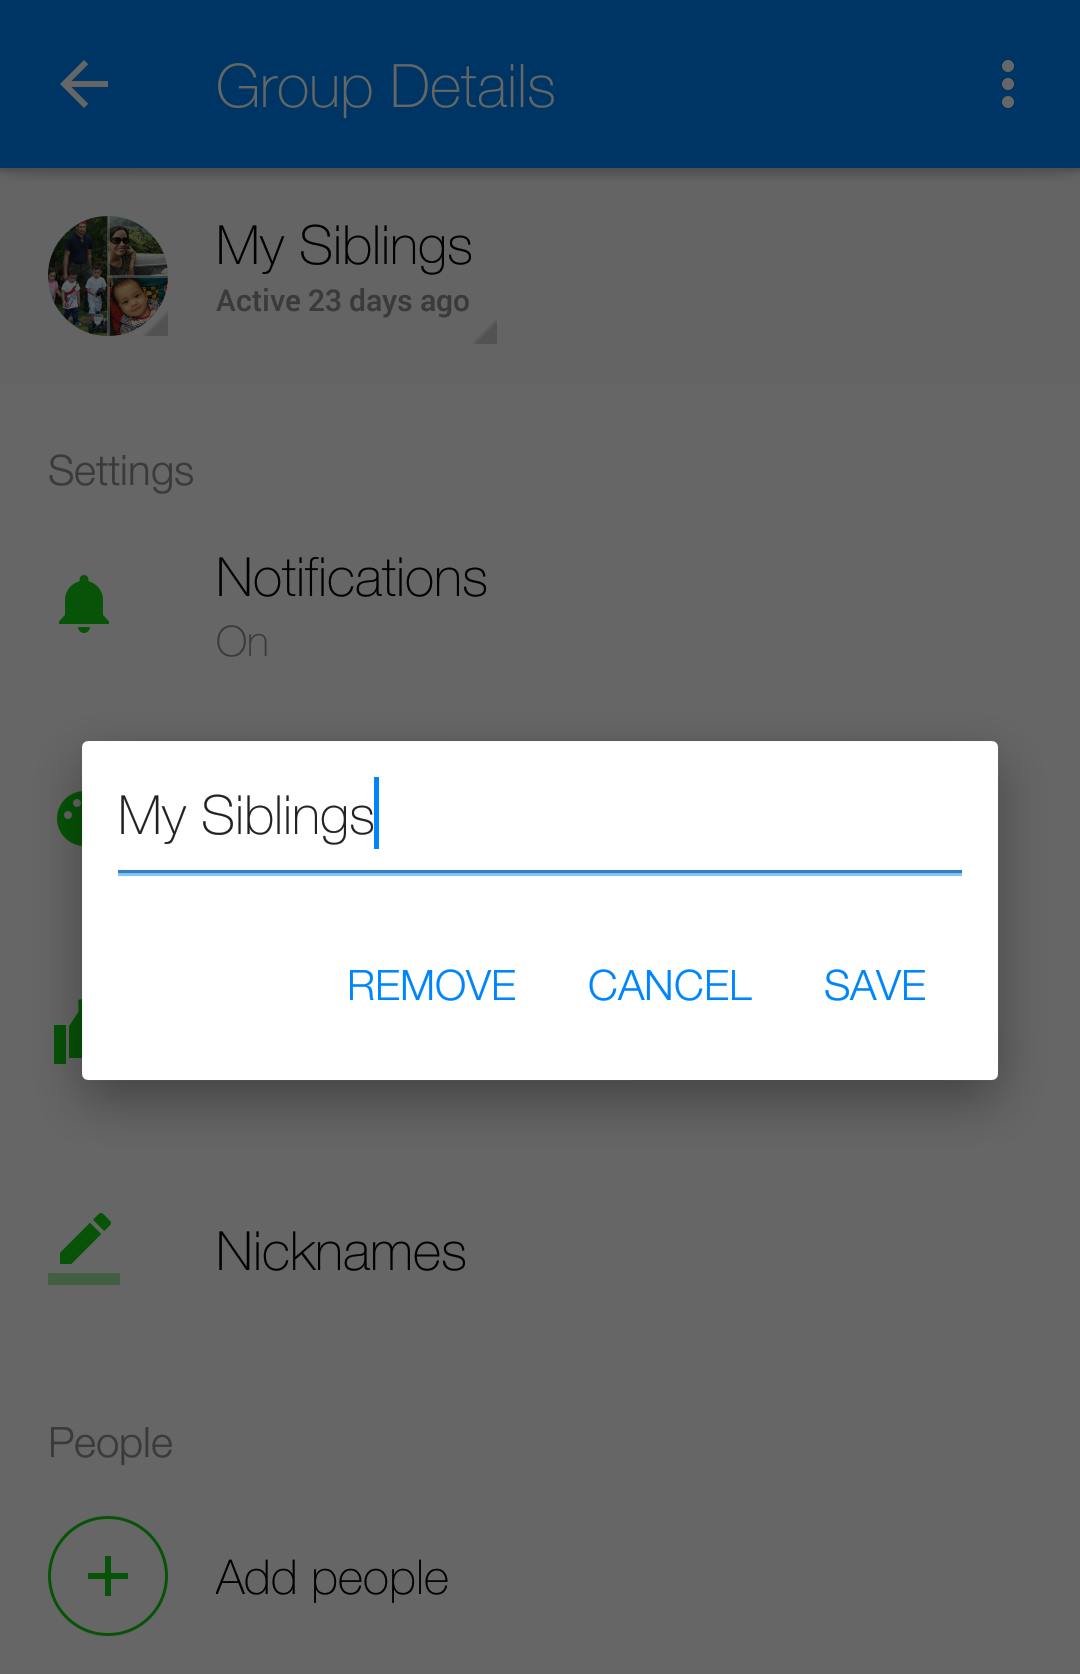
You have all the same messaging options available, namely the ability to mute notifications, change the color of your chat bubble, change the default emoji, set nicknames on all the people in the group chat, and view shared content. Additionally, you can also add more people into the group and edit the group name.
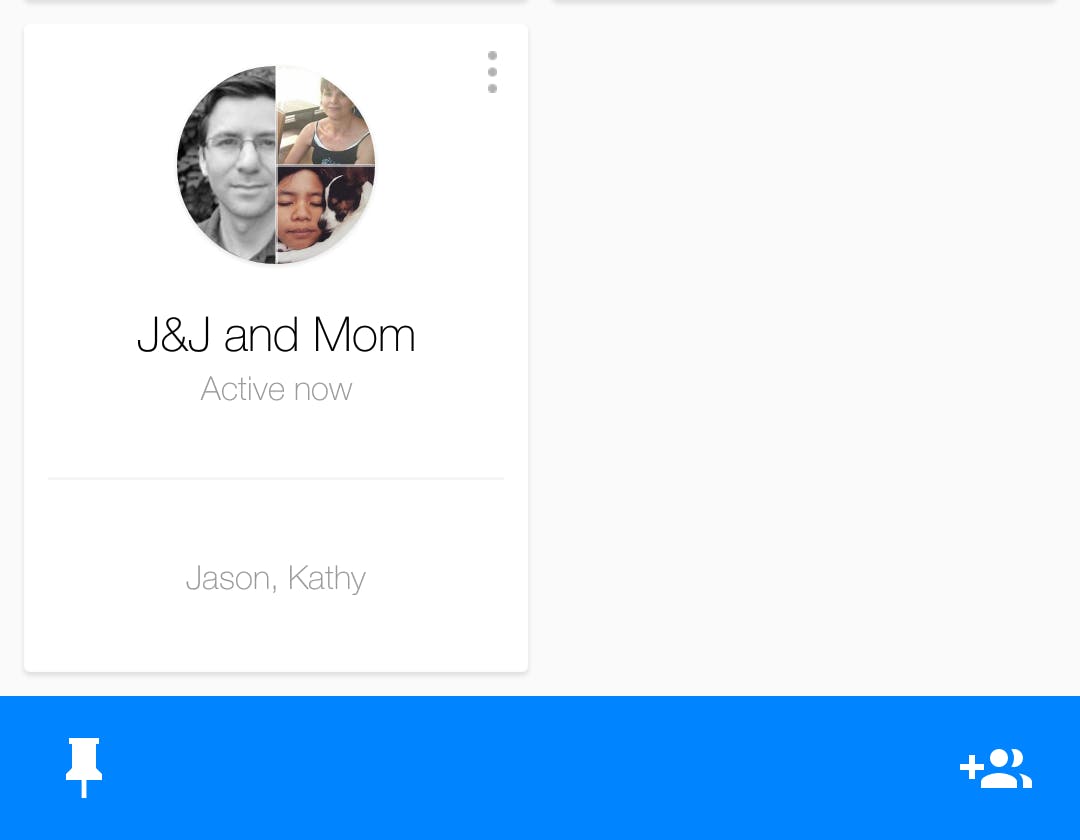
Group threads that you are a part of can be found in both your Recent History (marked by the clock icon) as well as under Groups (marked by the icon that looks like two people next to each other). On the latter page, each group thread (pre-populated by Facebook) will have a list of members (so you don’t end up talking about a person who happens to be in the chat), a time stamp of the last time the chat was active, and an assigned photo collating profile pictures of people involved in the chat.
On that page, you can also quickly create a new group by clicking on the people icon on the bottom-right corner of the screen.
Accessing your group chats through Groups will afford you the following additional features:
You can pin groups for quicker access
Juggling multiple conversations can become tedious and confusing, but out of the many possible threads you can have, you probably have a couple of go-to chats that you check more often than others. You can make it easier to access those group chats by pinning them, which pushes their icon to the top of the queue.
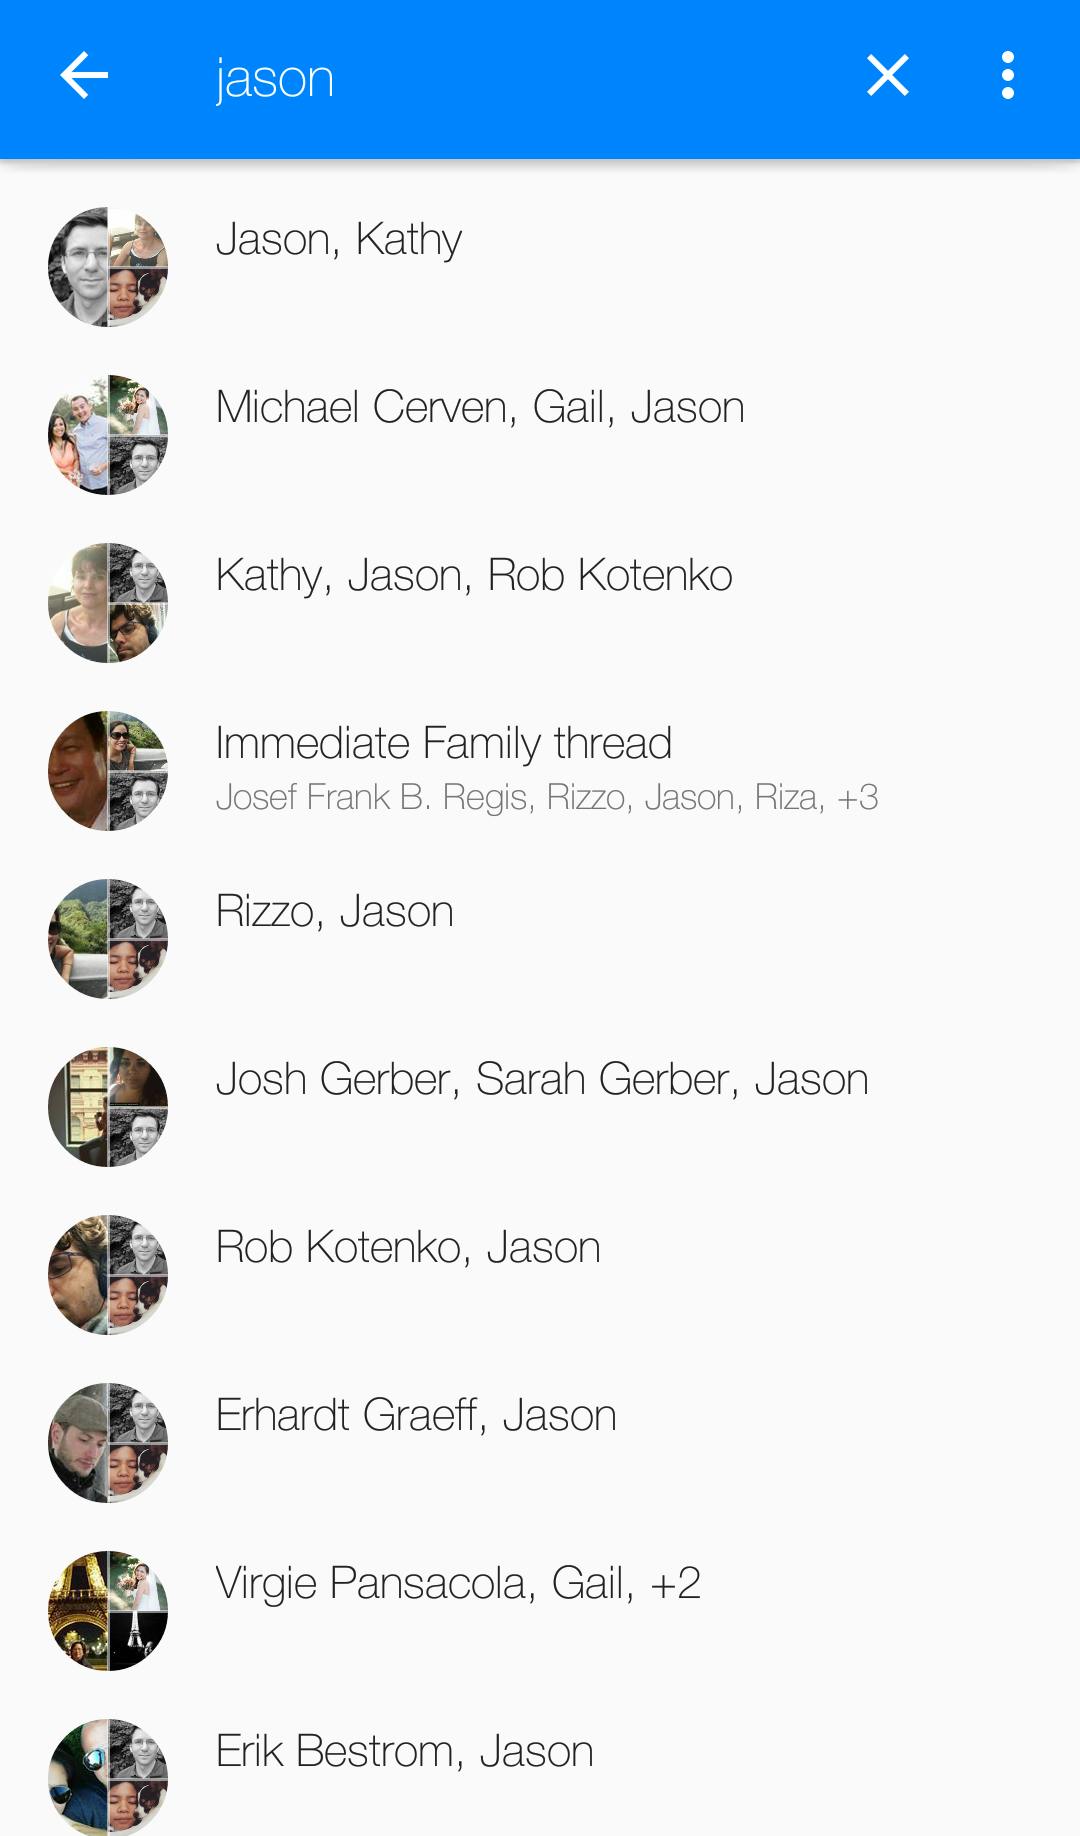
To look for a group to pin, tap on the pin icon on the bottom-left corner of the screen, tap Search, then type the name of a contact you know is in the group. It will pull up all the conversations that involve that person. Just select the one you want quick access to.
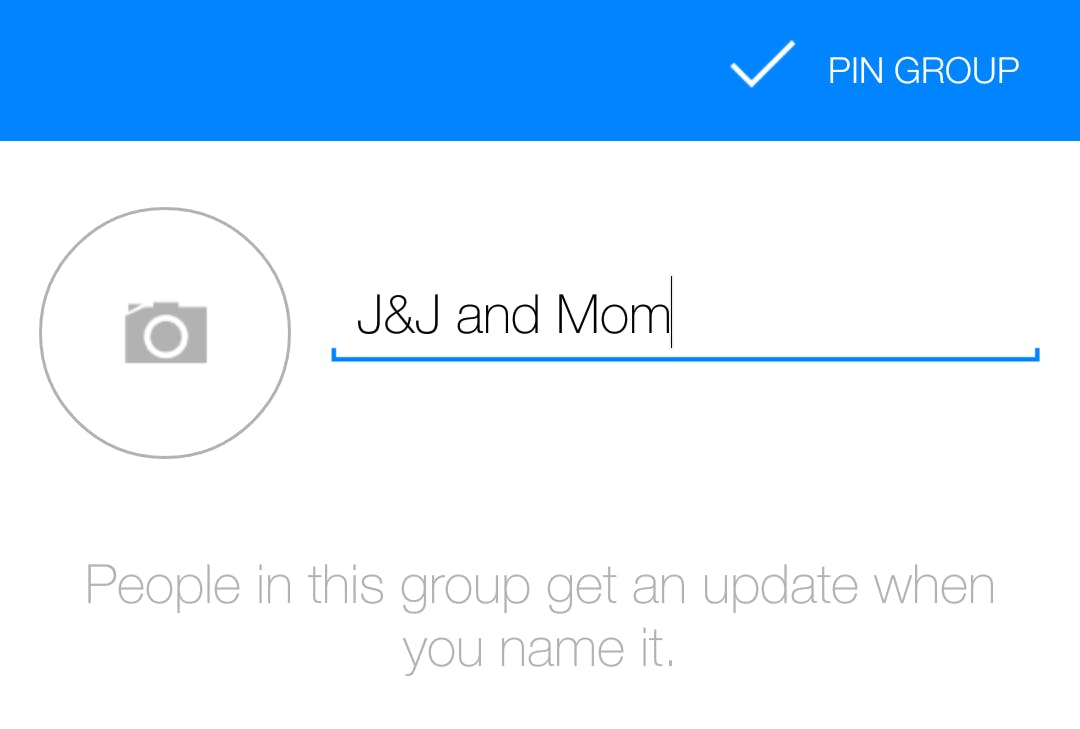
You can then assign a group photo and a group name for easier identification.
The newly named group thread should then appear in your queue, along with other group conversations you’ve pinned as well as those pre-selected by Facebook.
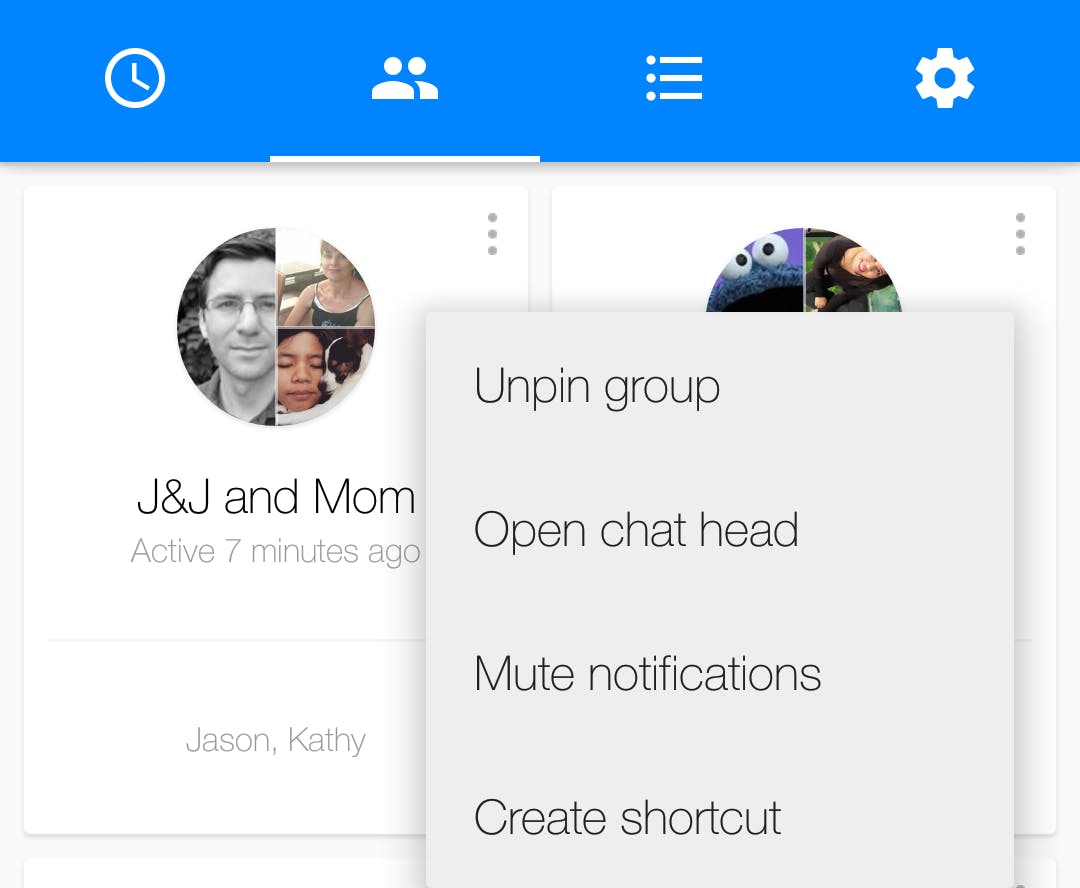
You can quickly pin or unpin a group, pin a group to the top, open a group’s Chat Head, mute notifications, and create a shortcut to a group conversation. All these options can be accessed by tapping on the three-dot icon on the upper-right corner of every group thread in your queue. The shortcut that will be created will appear on your phone’s home screen.
6) Desktop messaging
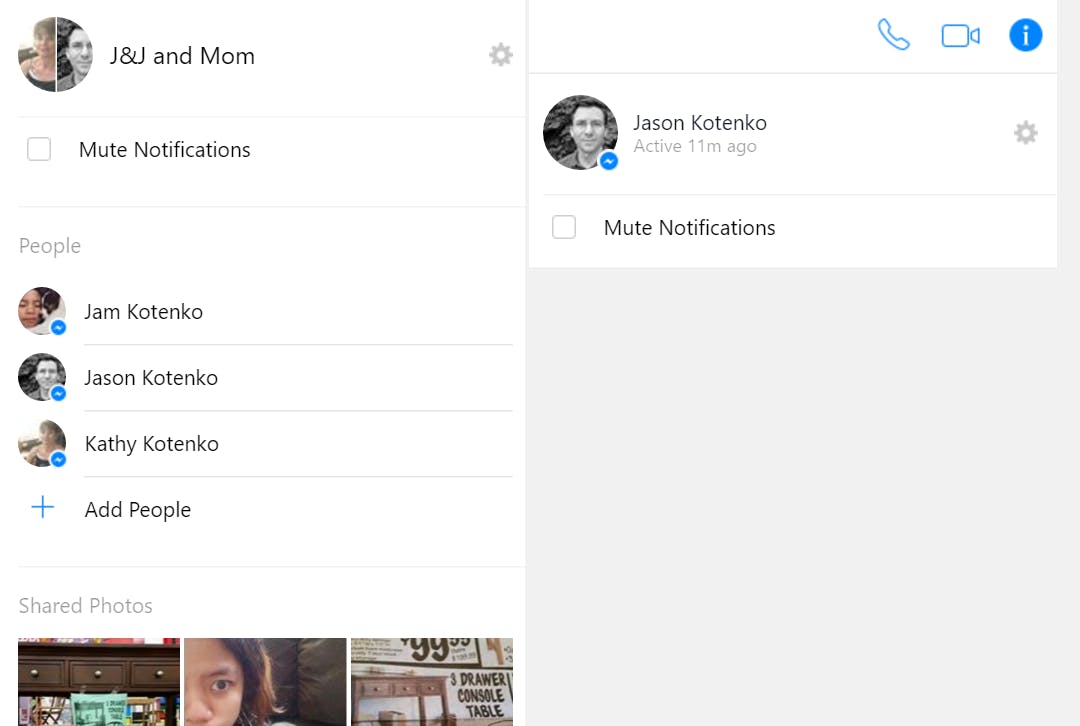
Did you know that you can use Facebook Messenger on your computer? Through Messenger’s standalone website, you can chat with your Facebook friends without having to see your Facebook feed. Every conversation has a sidebar that includes options to mute notifications, start a voice or video call (not available for group chats), and review shared photos.
Illustration via Max Fleishman
Editor’s note: This article is regularly updated for relevance.

