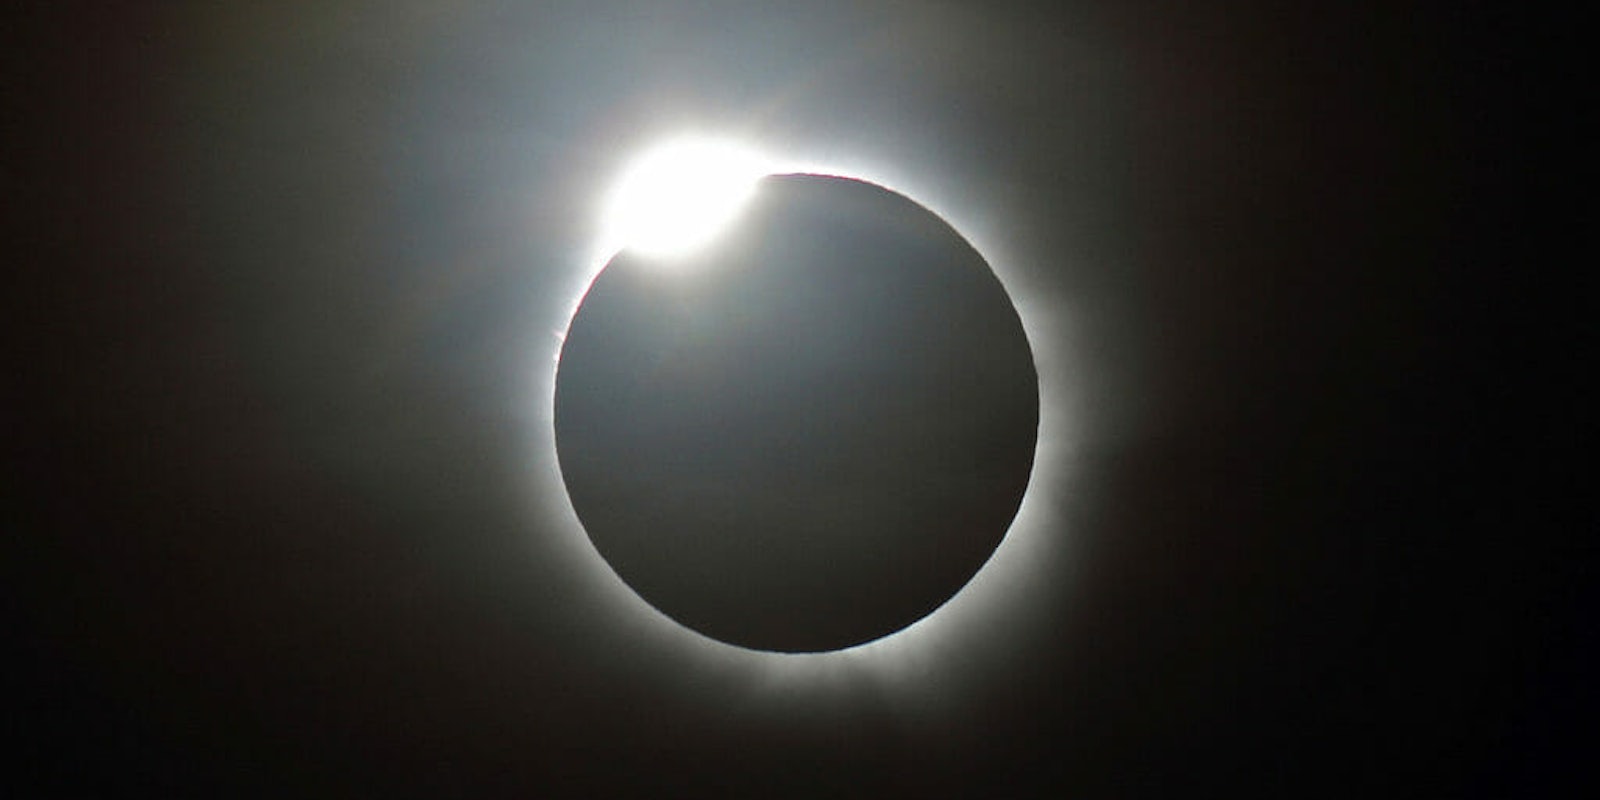
On August 21, a sliver of the United States will get a special astronomical treat: a solar eclipse. From our vantage point, the moon and the sun will cross paths, and the moon will briefly block out the sun’s light. However, if you’re not prepared, you could damage your eyes (or worse—end up with a crappy Instagram photo).
With about a month left until the momentous event, luckily you’ve still got time to prepare. Here’s what you need to know in order to have the best solar eclipse experience, and get the best photos out of it, too.
Solar eclipse August 2017: When and where you’ll see the eclipse
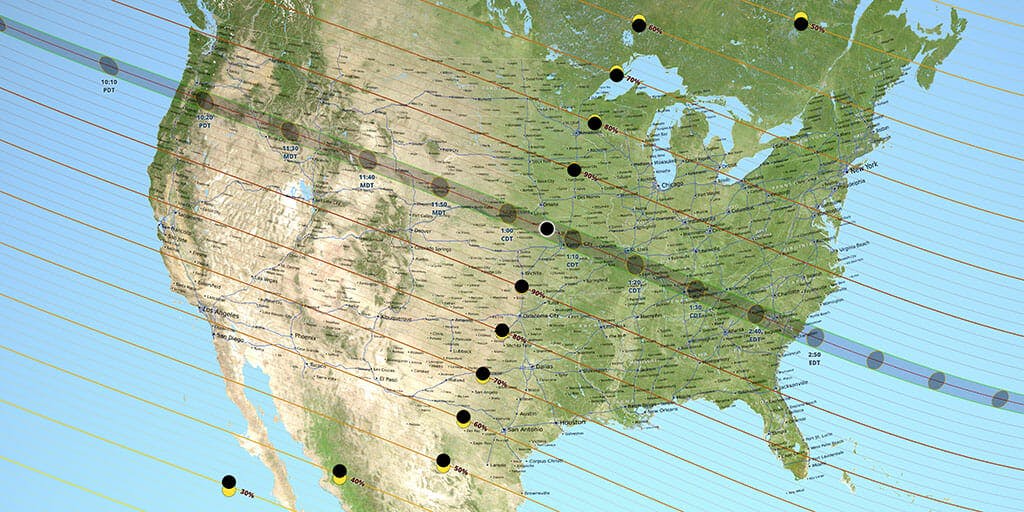
The path of totality, as it’s called, stretches from Oregon in the Pacific Northwest to South Carolina on the East Coast. However, that path isn’t very wide: only about 70 miles. Outside of that, viewers will see a partial eclipse. You can see the sun’s path across the United States below.
The NASA website offers a clear breakdown of when you’ll see the full eclipse at various points across the U.S. It will take a little over an hour from the beginning of the eclipse till it reaches totality. Once it reaches that point, the moon will only stay directly in front of the sun’s path for one to two minutes. You’ll have to act fast if you want to capture the moment.
According to NASA’s calculations, the first point of contact for the eclipse will be at Lincoln Beach, Oregon at 9:05am PST and slowly make its way across the U.S. over the following hour and a half. The last point of visibility will be in South Carolina at 2:48pm ET. An interactive map detailing eclipse times across the path of totality is available through NASA.
How to view an eclipse
Protect your eyes
Sometimes a lens can get in the way of fully taking in an eclipse. If you plan to leave your camera by the wayside, just be sure to protect your eyes.
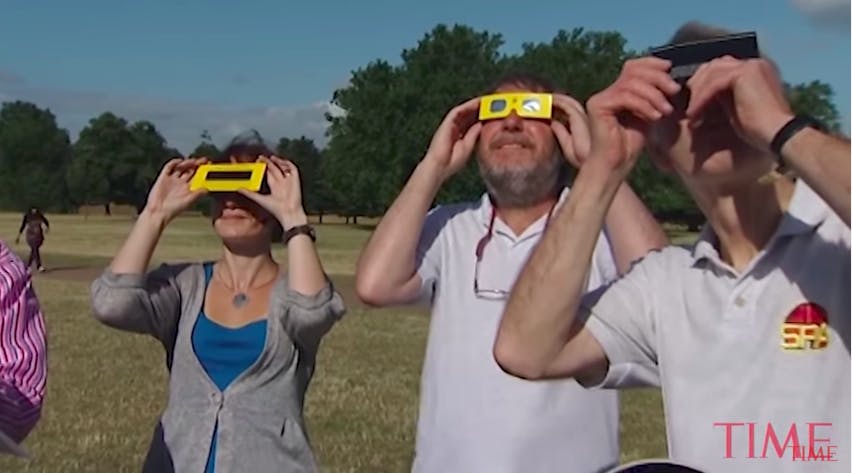
Staring straight at the sun is bad news—it could lead to permanent eye damage. To protect your peepers, one option is to purchase a product such as Eclipse Glasses (you can get 25 pairs for$23.75, so perhaps best if you’re hosting a viewing party). It’s also easy to find similar products on Amazon at different prices, for example, Celestron’s EclipSmart Solar Shades (which include four pairs of glasses and a viewing guide book, for $9.95).
If you’ve got a lasting interest in solar phenomena, you can alternatively invest in a pair of binoculars. Just make sure they include a solar filter, like the Meade 10×50 EclipseView Binocular with Solar Filters ($69.99).
You can also use a telescope—again, with a solar filter attached.
Know when it’s safe to take eye protection off
The only time it’s safe to view the sun with the naked eye is when the eclipse has reached full totality. At any other time before or after, you’ll need to cautiously don your eye protection.
READ MORE:
- NASA’s new Jupiter photos are some of the most stunning ever
- NASA is hiring someone to protect Earth from aliens
- No, NASA is not about to announce that it discovered alien life
How to photograph an eclipse
If you’ve driven four hours just to get a glimpse of this year’s eclipse, you don’t want to return home empty-handed. With the right equipment, you can get a great photograph of the eclipse.
Practice ahead of time
“The total eclipse will only last a few minutes, so it’s important you practice ahead of time to make you are comfortable, and be prepared with extra batteries or equipment to ensure you don’t miss the moment,” advises Ken Sklute, professional photographer and one of Canon’s Explorers of Light.
NASA recommends practicing your technique on the full moon to get an idea of how large the eclipse will appear in the sky (and through your camera’s lens). Practicing on the moon also gives you some idea of how you’ll need to adjust the focus and exposure. The next full moon will be visible on August 7.
Use a tripod
It will be far easier to track—and photograph—the sun’s movement across the sky if you’re not having to compensate for shaky hands. In the hours before the actual eclipse, you can also scope out exactly where you want to set up your shot.
Find the right equipment
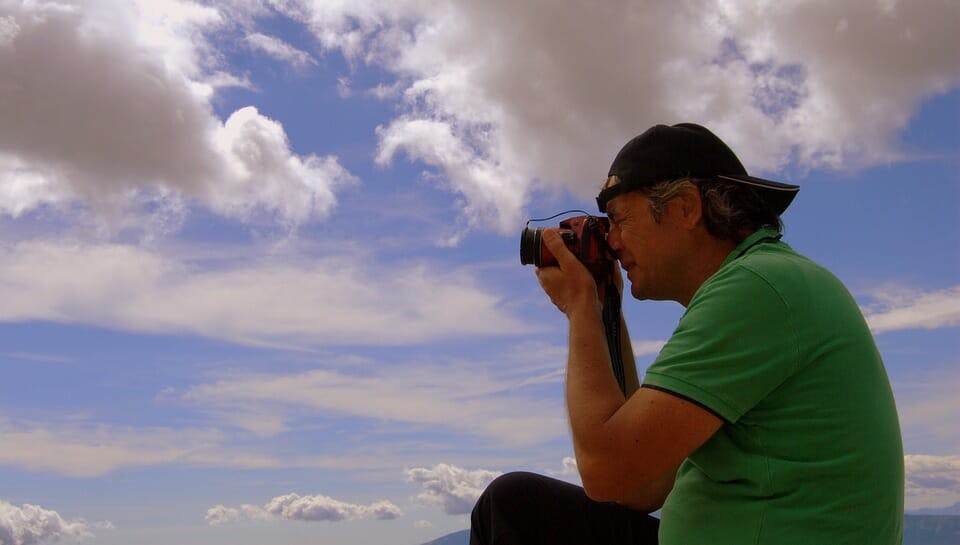
According to Sklute, smartphones aren’t built for capturing a moment like this. A DSLR will definitely do the job, but a point-and-shoot such as the Canon Powershot SX60 also has a powerful zoom that would be useful in snapping the eclipse. On top of that, Sklute says you’ll want to find a high-quality, long focal length lens (300-800mm). This will help frame a large sun disk in your shot. Make sure you use approved solar filters on all lenses. B&H Photo and Video has a wide selection available, with prices as low as $12.95.
Tips for using a smartphone
NASA recommends using a solar lens to protect your phone’s camera when you’re shooting just before or after the full eclipse. If you’ve purchased a pair of eclipse glasses, placing that in front of your phone’s camera should suffice just fine, according to astrophotographer Andrew Symes. You can shoot with just the phone itself, or through a telescope (and with a $19.99 adapter, you can make telescope-based photography much easier). If you do this, Symes recommends using burst mode with a three-second delay so your iPhone and telescope don’t accidentally shake each time you tap the shutter button.
If you’re not using a telescope, it’s still a good idea to use a tripod to hold your phone steady. Additionally, you’ll want to use manual focus rather than autofocus. To do this on most smartphones, tap the screen to select the area you want to focus on. From there, on iOS, you may also want to adjust the exposure levels for the shot to capture the most detail possible. Steer clear of your phone’s zoom feature. Instead, attach a lens (like this $35 option from Photojojo) to your phone instead. You’ll be able to zoom in up to 12x without reducing the quality of the image.
If you’ve got an Apple Watch, you can also snap photos with your phone using the camera remote app. For the most part, it’s useful if you want to snap a few good shots but avoid staring through your phone during the whole eclipse.
You may also want to experiment with a few third-party apps to better capture the occasion. Camera+ ($2.99 for the iPhone and $4.99 for iPad) is one solid option that can help your phone in low-light scenarios, as is NightCap camera ($1.99 on iOS) or Night Camera (free on Android). If you need to tweak some images after the fact, Adobe Lightroom (free on iOS and Android) can be helpful.
READ MORE:
- How to make your own DIY fidget spinner
- How to make slime: Inside Instagram’s world of teen ‘slimers’
- 9 intergalactic facts about ‘Starship Troopers’
Protect your eyes (and gear) from the sun
It’s never safe to look at the sun without proper eye protection. If you’re not in that 70-mile wide path of totality, or shooting pre- or post- eclipse, there will be a sliver of pure, unadulterated sunlight peeking through. Make sure you still use proper eye protection, like we mentioned above. During totality, you can safely look at (and photograph) the fully-covered sun without your eclipse glasses or solar lens.
Get creative
Let’s be real: Everyone and their dog will be photographing—and then Instagramming—the exact same solar eclipse shot. How can you make yours stand out? As one option, Sklute recommends using a time-lapse camera setting to capture the full eclipse from beginning to end.
“One way to creatively showcase the total eclipse is to create a composite photo that showcases its different stages,” Sklute says. “This can be done by capturing images both before during and after totality, and layering them in Photoshop.”
And if you’ve got multiple cameras at your disposal, you could also try setting them up at different vantage points. One angle could end up being more interesting than another.
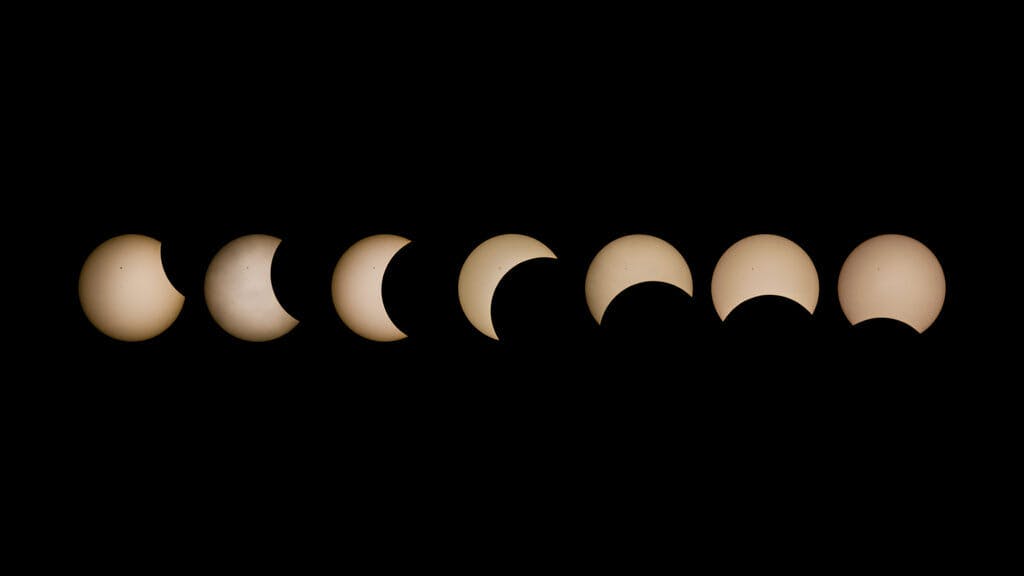
Taking a time-lapse photo of the scenery around you as the eclipse approaches is another option. The lunar shadow will pass over the landscape, and as the eclipse occurs, the world will seem to dip into twilight.
Capturing people’s reactions—family, friends, or strangers—as the eclipse occurs could also be a fun memento.

