Google Photos is a savior for avid photographers and online creators looking for a place to store and backup their pics and videos. Not only does it include a free tier, but it also lets you store as much content as you want (with some conditions). For Android users, Google Photos is an obvious choice given its rich feature set and mobile integration. But it’s also an excellent alternative for iOS, Mac, or Windows users who don't want to pay for rival services like iCloud and want more advanced search options. Whatever the case may be for you, here's how to use Google Photos like a boss.
How to use Google Photos
How to setup Google Photos
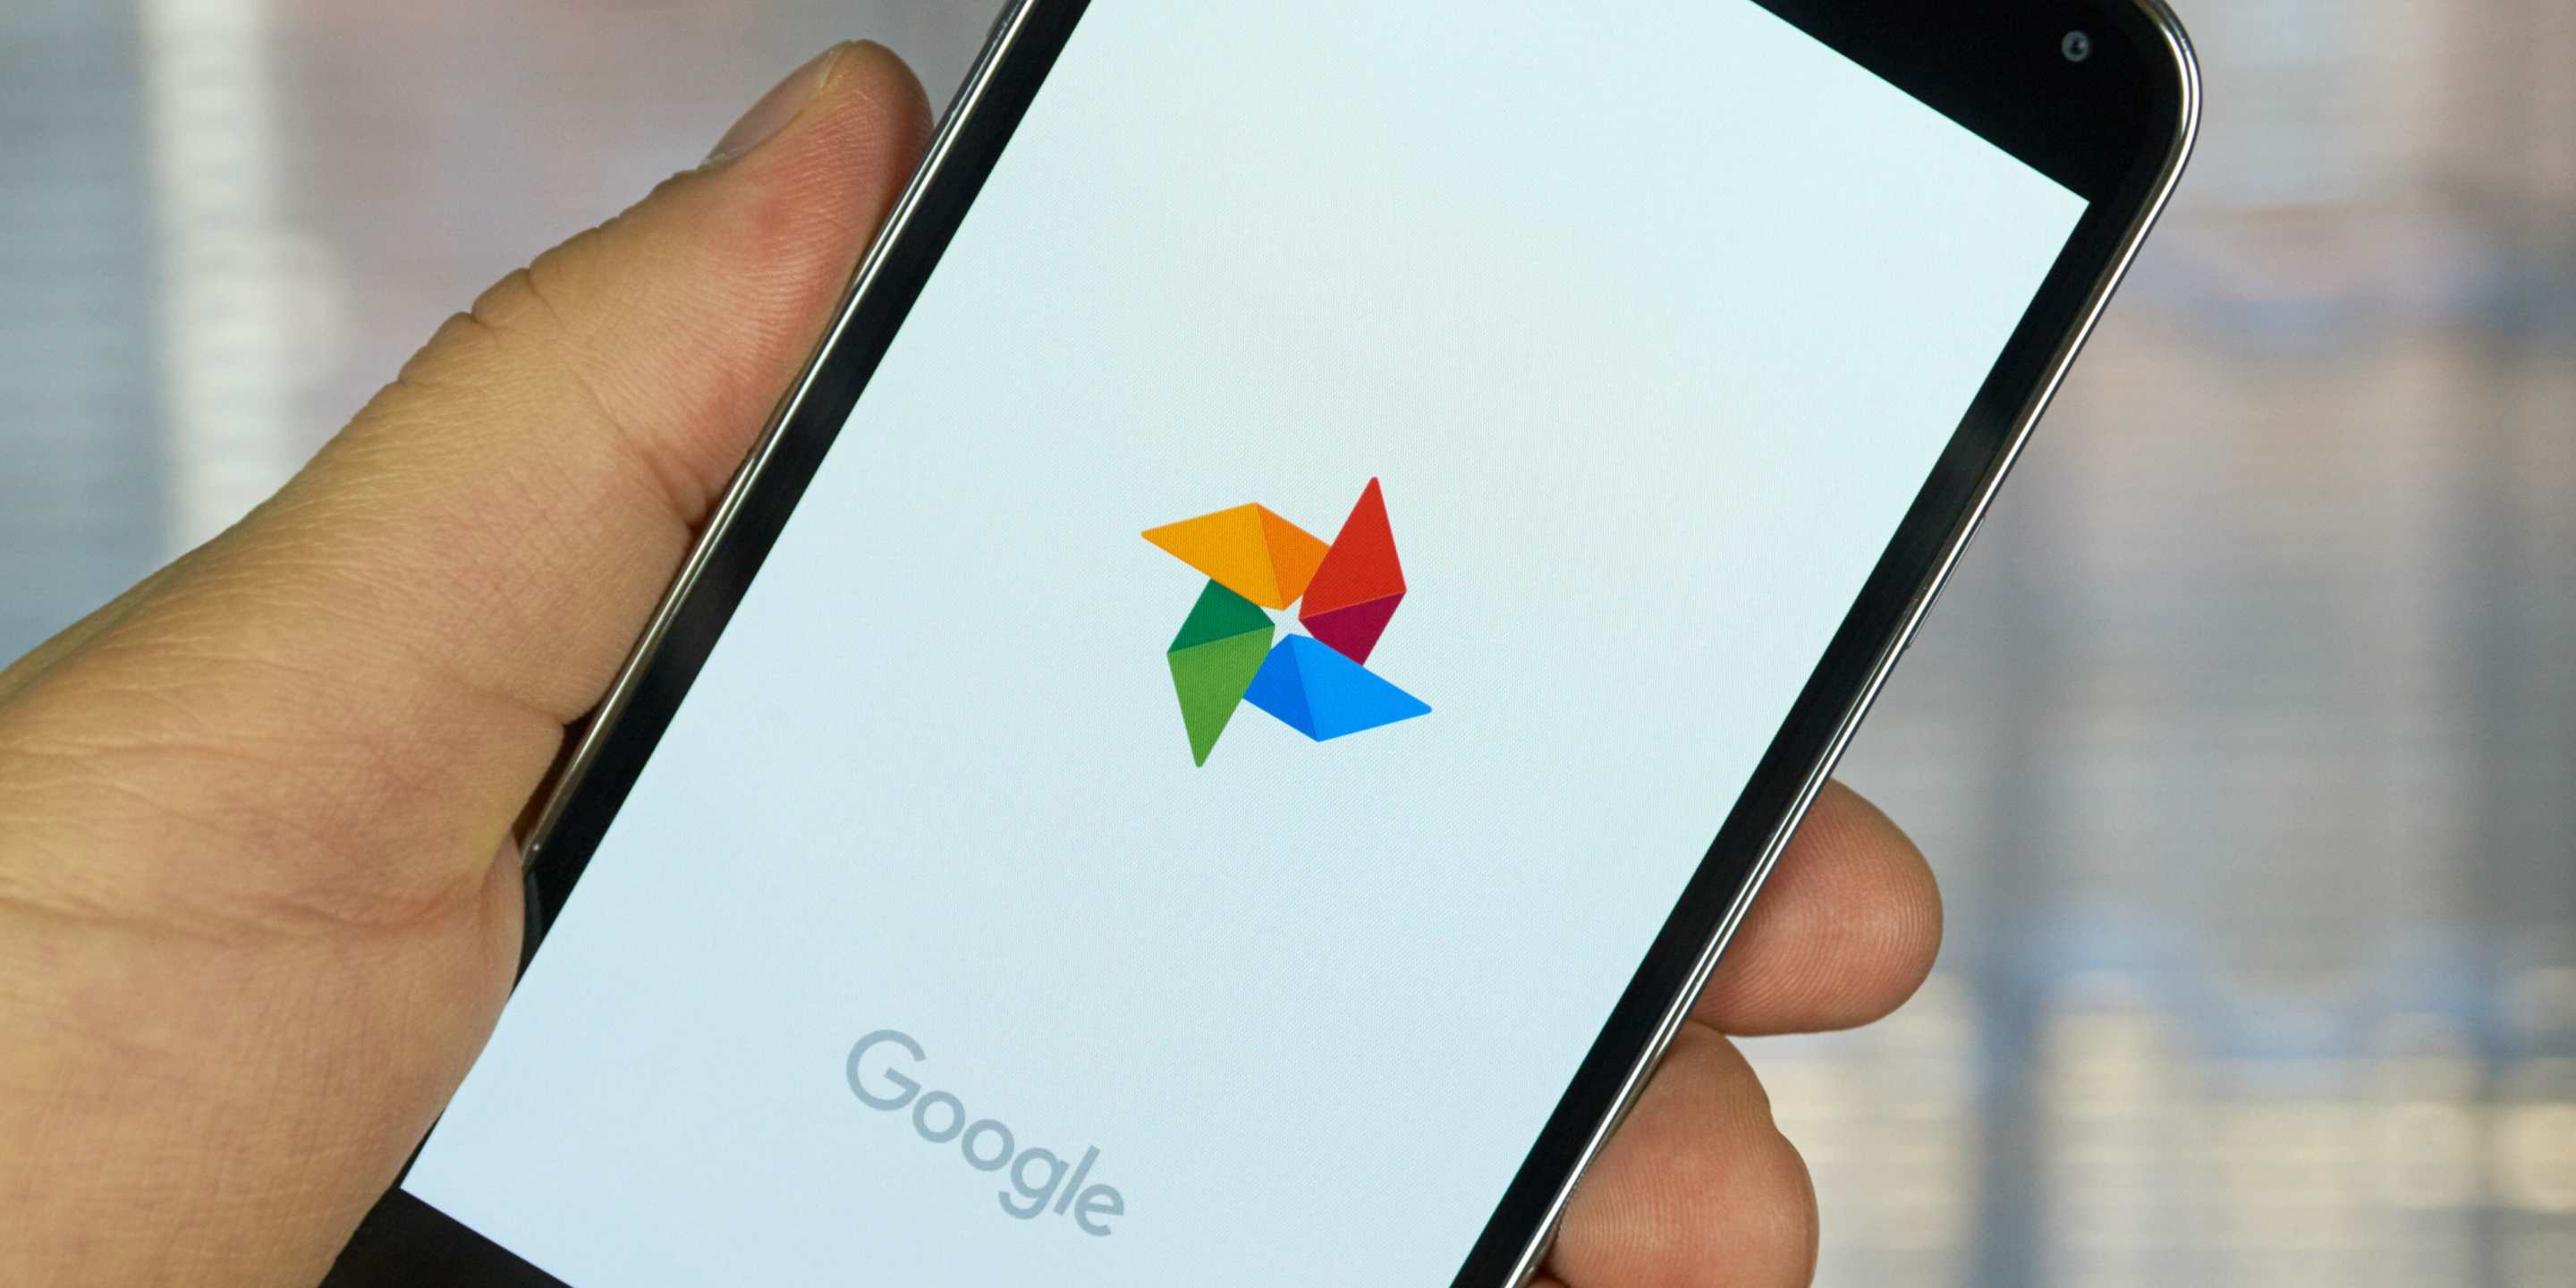
Google Photos is integrated into all Android devices and is set as the default application for storing images and videos. If you don’t see the Photos app pre-installed on your device, head over to the Play Store and download it. It will look like a colorful pinwheel from your home screen and app drawer.

Once you’ve downloaded and opened the app, you’ll be asked to sign into your Google account. The main page, or “Photos” tab, will show you all the images you’ve taken on your phone in a grid layout.

The first thing you’ll want to do is make sure "Backup and sync" is turned on. This is the most important setting in Photos. It ensures all your images are uploaded to your cloud account so you can search, organize, edit, or share them from any device. To enable the setting, select the overflow button (three horizontal bars) in the top left corner of your display and press on the “settings” gear.
Back up and sync should be the first option you see. Select it and move the slider to the right. If you have multiple Google accounts, you’ll be asked to select which one you want your photos synced to (Hint: You’ll probably want to backup your images to your personal account, not one linked to a work email address).

If you stay on the settings page, you’ll see the “back up device folders" option, which lets you automatically backup images that aren’t taken with your camera. For example, if you enable “screenshots,” all the screenshots you take will be added to the cloud. The same goes for photos saved on social apps, like Slack and Messenger.
You should also see settings for backing up photos or videos using cellular data. If these are unselected, the app will only upload your photos to the cloud when you’re connected to Wi-Fi.
How to change image quality in Google Photos
Yes, Google Photos is free, but only if you’re OK with the fine print. That includes having photos compressed down to 16MP and video at no greater than 1080p resolution. If you prefer to keep the original photos, go into the photo settings and press “Back up & sync.” Then under “Backup account” select “Upload size” and choose “Original.” Note: Once you make this change, the photos you upload will count toward your storage limit.

As a reminder, Google gives you 15GB of free, compressed (What Google considers “high quality") photos and videos before it starts charging you, so only use original quality images if you need to, like if you want to print them out.
How to navigate and search your Google Photos
Navigating through hundreds, even thousands of photos can sound daunting, but Google gives you several options to keep things organized. From the main photos tab, you’ll see your images arranged in small thumbnails by the date they were taken. If you want to see more images or increase their size, then press the drop-down menu in the top right corner and select “Layout.” There, you’ll see three options, excluding the one already enabled. The four layout options are Comfortable mode, Day view, Month view, and Year view. Alternatively, you can pinch and zoom on your smartphone to adjust the size of the images.

You can also make a custom album by selecting the top-right drop-down and choosing “Album” under “Create new.” This will take you to your photo library where you’ll select each image you want in the album and give it a name and captions.
Next to "Photos" is the “Albums” tab, which groups your images based on subject matter. For example, People will show you images with—you guessed it—people in them. Other automatically generated albums include Places, Things, Videos, Collages, and Animations, among others. There is even a dedicated Selfie section for all the shots you’ve snapped with your front-facing camera. You’ll also see photos organized by where they were generated: from your phone’s camera, screenshots, downloaded from apps, or taken from messages.
One feature that sets Photos apart from its competitors is an intelligent search function that relies on the company’s AI. You’ll find a search bar at the top of the Google Photos main page and each of the other main tabs: Albums, Assistant, and Sharing. Like the auto-generated albums, you can use the search to find photos based on their content.
If, for example, you want to look back at photos you took in Prague three years ago, you can simply type “Prague” in the search bar, and you'll see images taken in the Czech city based on location data and context clues.
READ MORE:
How to create photo books, movies, animations, and collages
Google Photos has a bunch of fun features that’ll help you customize your images and add life to old photos. Those include Photo book, Movie, Animation, and Collage.

To create any of these, either press on the top-right menu and select them from the drop-down or go to the “Assistant” tab and press on the colorful circle icons. Here is a brief rundown of each feature in Google Photos:
Photo book: In this digital age, it’s surprising that Google will print you a physical photo book. Sure enough, that's exactly what this feature does. Starting at $9.99, these Photo Books are created right on the app, and Google will ship it to your home.

Movie: This is a hands-off way to turn your photos into movies. Rather than powering up a CPU-intensive video editor, Google does all the work for you. Just select a category of photos, whether it be “doggie movie,” “meow movie,” or “selfie movie,” and Google will spit out an MP4 made with your photo collection.
Animation: Animations are similar to movies but are shorter and don’t have a scrollbar. An animation quickly flips through a series of images one after the next.

Collage: Just as you’d expect, the Collage feature will group between two to nine photos together into one large grid.
READ MORE:
How to edit photos in Google Photos
Google Photos has a built-in photo editor that is super easy to use. It won’t give you the same functionality as a dedicated photo-editing app, but it’ll do the trick for simple adjustments. To use it, open up an image and select the edit button.

From there, you can add a filter like you’d do on Snapchat or Instagram. If you press on the levels icon to the right, you can adjust lighting, color, and pop. The third icon lets you crop and rotate. There is even an “auto” button that’ll attempt to level your image for you. If you’re looking for a specific aspect ratio, select the square icon on the bottom left. The circular arrow icon on the right will rotate your image 90 degrees.
The last icon in the edit settings let you open up a third-party photo editing app from the Google Play Store.
How to delete images in Google Photos to free up space
One of the main reasons to use Google Photos is to send images up to the cloud so you can stop worrying about them taking up space on your smartphone. Of course, you might want a “physical” copy on your device. By default, the photos you capture will download onto your phone.
So what happens when you run out of storage space? You can either painstakingly delete all your images one-by-one—or let Google free up space for you. We’ll show you both ways in case you don’t want Google to delete all your backed up images.

To delete a single image, press to open it and select the overflow menu in the top right corner. Then choose “Delete from device.” It’s important you do it this way and not with the familiar trash can icon on the bottom of your screen as that will delete any backups you have.
If you want to delete multiple images from a folder, press and hold one you’d like to remove. After a few seconds, a circle icon will appear next to each thumbnail in the album so you can highlight multiple images. Once you’ve chosen all the photos you want to delete, press the three vertical dots in the top right corner and choose “Remove from device.” Again, it’s important you don’t use the trash can icon as that will delete the photo from your Google account and synced devices.
The fastest way to clean up your device is to have Google remove all the photos you’ve already backed up to your account. This is done with the “Free up space” setting found in the account settings menu on the left side of your device. Just press the three horizontal lines and select “Free up space.” Note: This will clear your device’s storage space but won’t remove photos from your account.
How to share photos with your friends on Google Photos
If you want to share a photo with a friend, tap the photo to open it. Then select the share icon in the bottom-left corner of the photo. A dialogue box will pop up with two sections: contacts and apps.
The top section will house your most recent contacts where you can send photos via text message, email, or social media. The bottom section lets you send photos to friends on third-party apps.
READ MORE:
How to share your Google Photos Library
In 2017, Google added the ability to share your photos with another account. If you’re tired of sending photos of your kids one-by-one to your spouse, you can now share your entire library with them, or, if you prefer, a select group of photos.
To set it up, tap the horizontal overflow menu and select the settings icon. From there, hit “Shared libraries” under “Sharing.” Then press “Get started” and follow the prompts to send an invitation to the person you want to share with. Note, you can only set up one shared library.
You can also share individual photos and albums from the “Sharing" tab in the bottom-right corner. Just press on an album, select “Review” to see which photos will be shared, and add a contact in the “To:” blank. After tinkering with the feature, we discovered Google will search through the recipient's photos and suggest an album to add the shared photo to. For example, if I sent my friend photos taken during our trip to the Omaha zoo, it will ask if they want to add them to the photos they took at the same location.
How to Use Google Photos on iOS, Mac, and Windows
Like most of Google’s other popular services, Photos isn’t only available on Android devices. You can use Photos on your iPhone, Mac computer, or Windows PC.

You’ll need to download the free Google Photos app on iOS. You can do so from the Apple App store or using this link. You'll first be asked to log in to your Google account. If you don’t have one, you’ll need to create one. As with the Android app, you should turn “Back up and sync” on to have your iPhone photos sent to your cloud account. The features, icons, and interfaces on the iOS app are practically identical to their Android counterpart.
To access Photos on Mac or Windows, visit https://photos.google.com/. Once you login to your Google account, you’ll have access to all the same features as the Android app, just laid out in a different format.
