Instagram is basically synonymous with “filters.” The photo-sharing network is known for its editing tools that users have come to love (and even name their babies after). But did you know you might not have every single Instagram photo filter enabled? If you want access to every single Instagram filter available, from Aden to X-Pro II, here’s how to enable Instagram filters.
How to see which Instagram photo filters you have enabled
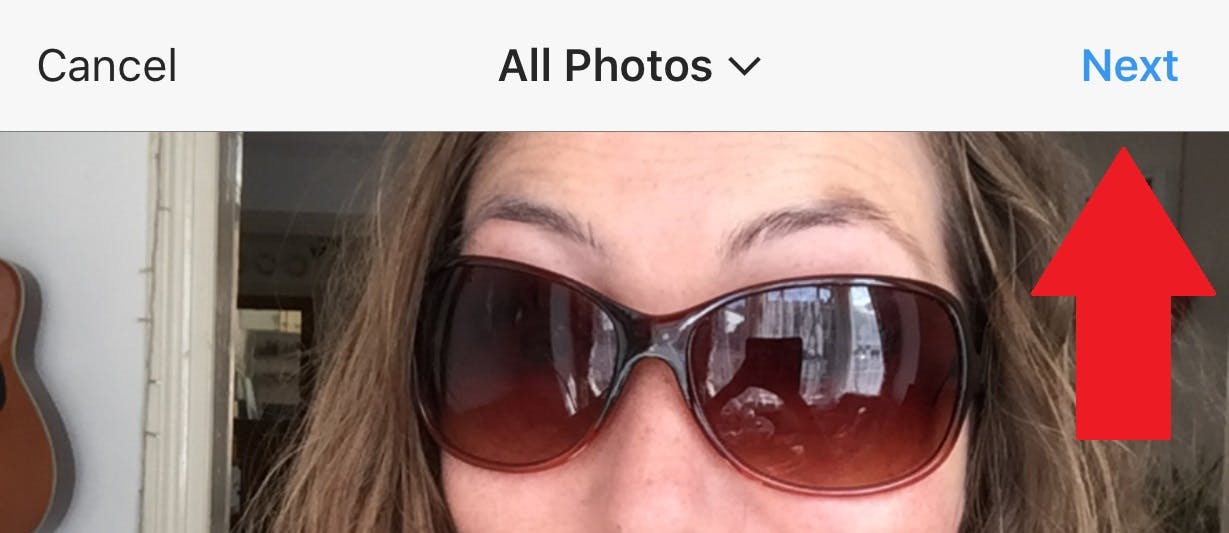
To check which filters you have access to, open the Instagram app, hit the “plus” icon in the bottom middle of your screen to add a new image (don’t worry about what the photo is, you don’t actually have to post it) and then click the “Next” option at the top right of your screen.
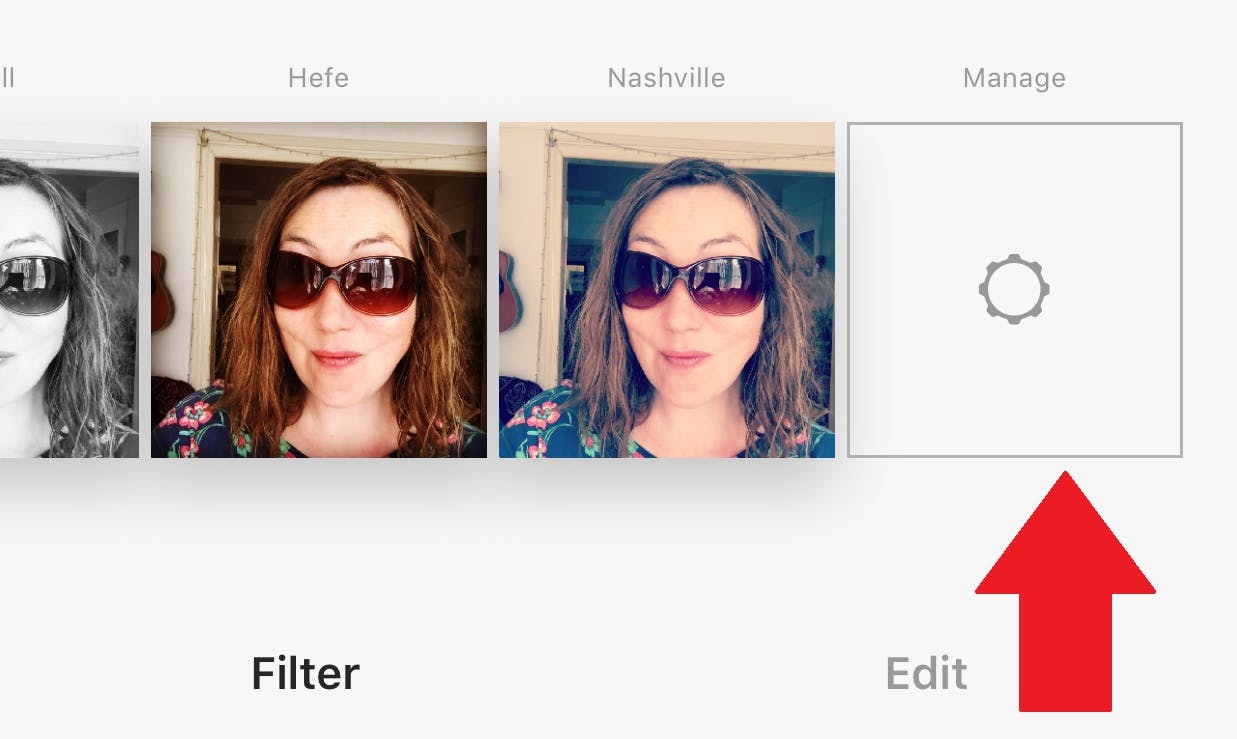
This will take you to Instagram’s filters. Scroll through the filter options at the bottom of your screen by swiping left (so moving all the way to the right) until you see the “Manage” option. Click this.
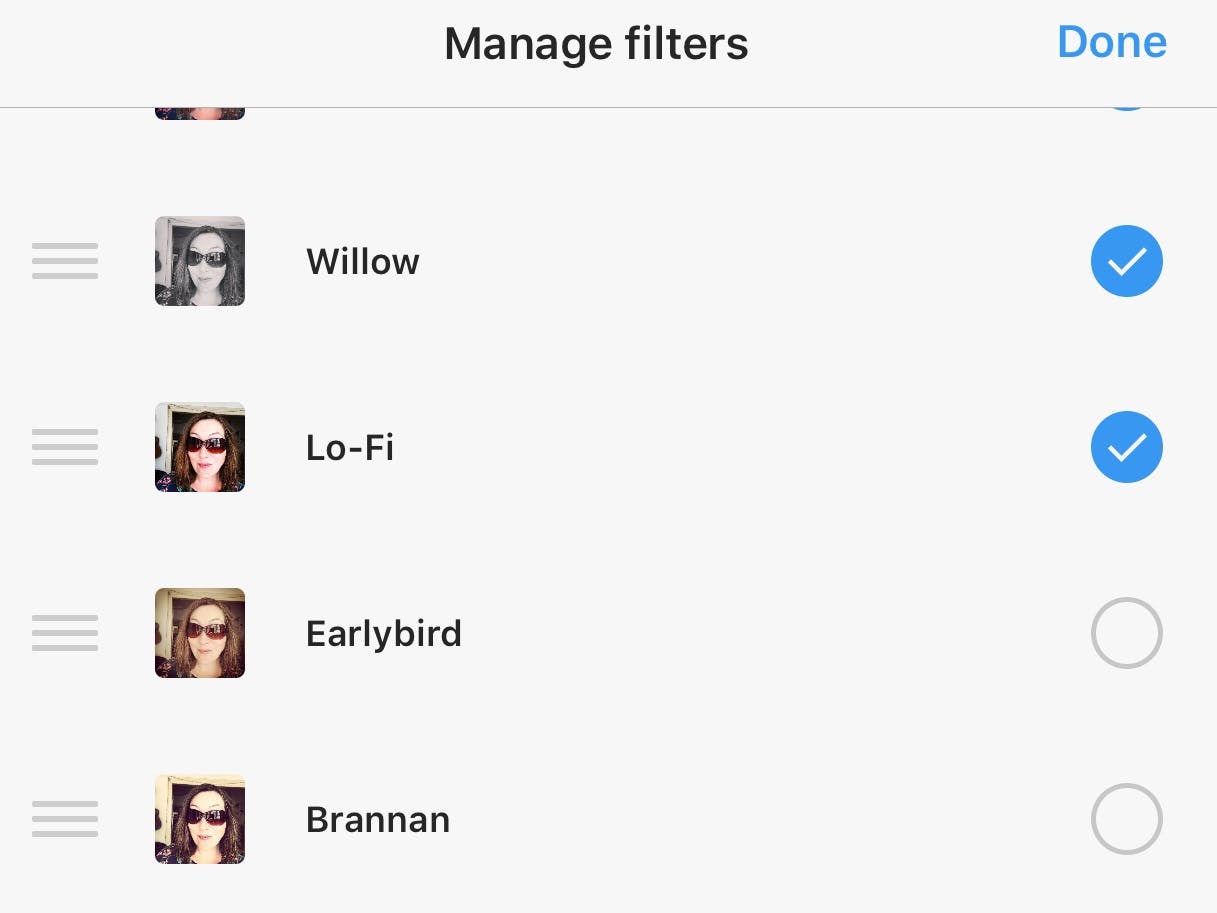
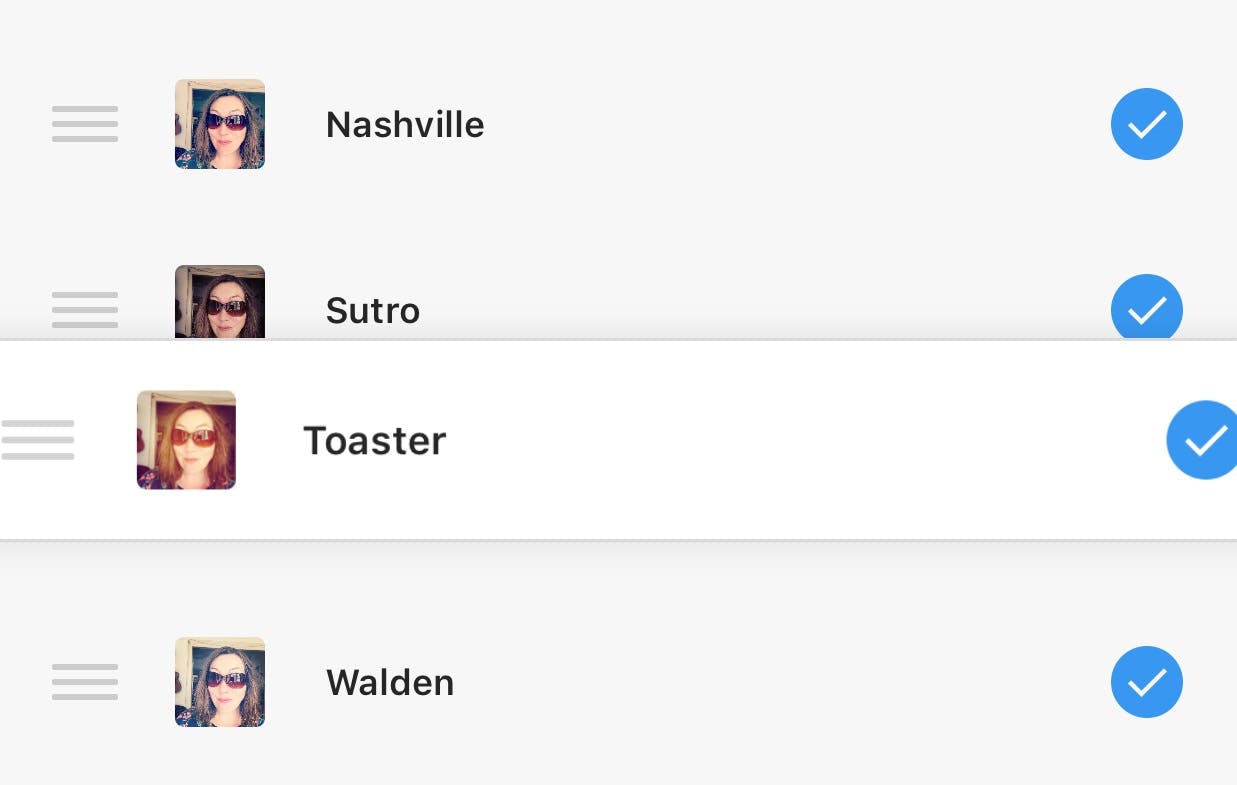
You will now see a complete list of Instagram filters. The ones with blue checkmark dots to the right mean you have access to them; you don’t have access to those without this icon.
If you scroll down to the end of the list you’ll see all the unchecked filters you have not enabled. Simple press the circular icon to toggle them to blue, turning them on.
Manage your filter preferences
While you’re managing and enabling Instagram filters, you may want to reorder them so that your favorite filters, or new ones that you want to try out, appear further up the scrollable list, giving you quicker access.
To do this, in the manage filters section, simply tap on the hamburger menu icon (the three dashes) on the left-hand side of your screen next to the filter you’d like to move and drag and drop it to rearrange its position in the list.
You can also tap to de-toggle filters that you know you don’t like so they won’t ever appear in your filter options. Now, next time you want to post a pic, you’ll see the filters you prefer first and you won’t see the ones you hate at all. So now you can enable Instagram filters–and disable them–to your liking.
READ MORE:
- How to repost on Instagram
- The simple way to add music to your Instagram videos
- The secret trick to downloading full-resolution Instagram photos

