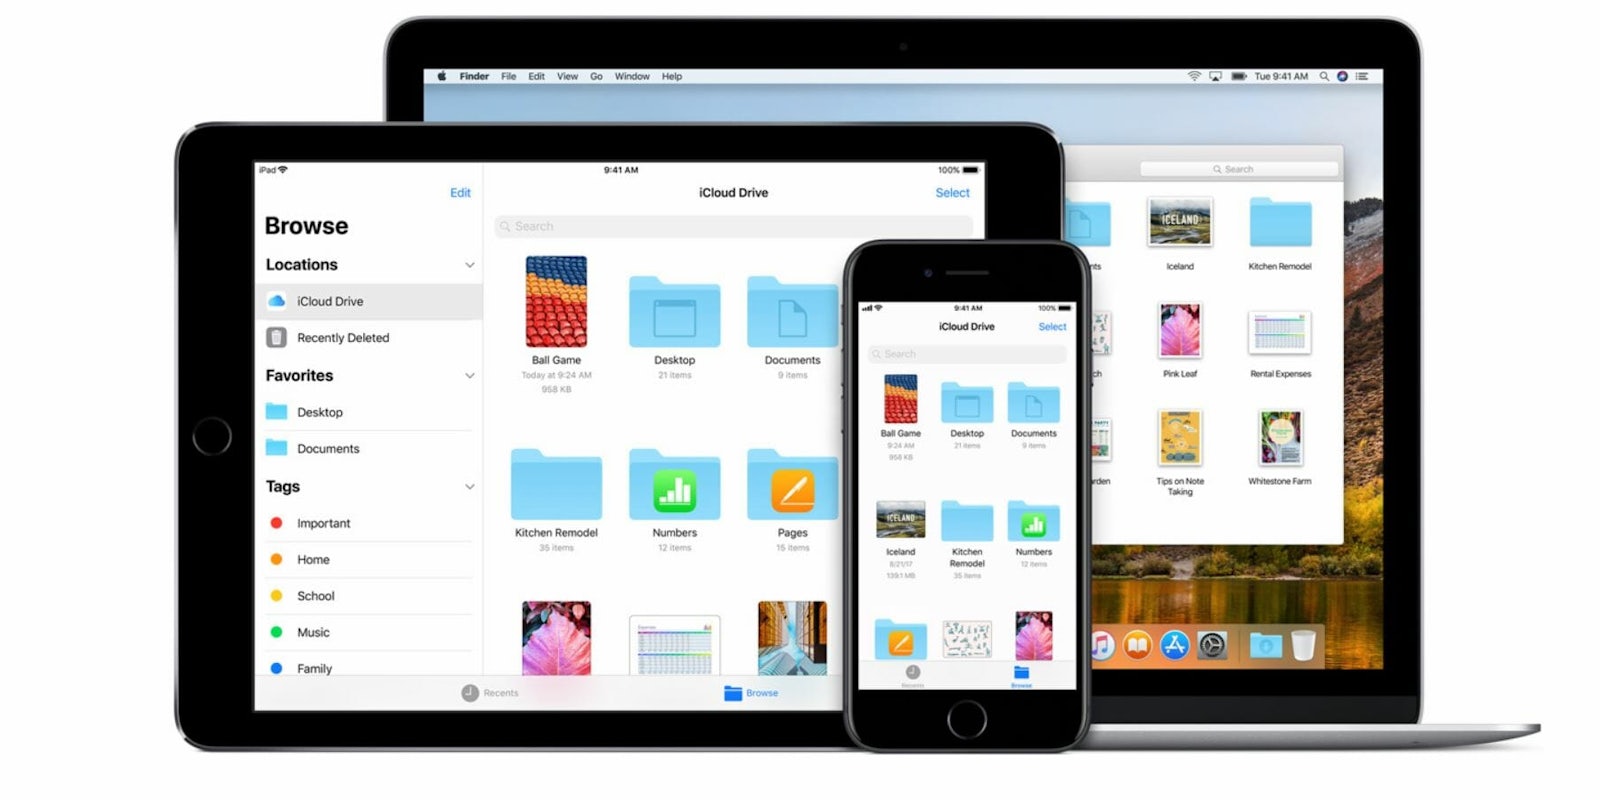
Apple’s storage service iCloud is a handy way to save documents, images, videos, and apps from your iOS, macOS, and Windows devices on the cloud. Once it’s enabled, all the content you select is automatically backed up to your Apple devices and Windows PCs so you can access them from anywhere.
When you set up iCloud, you’ll get 5GB of space for free. If you prefer to protect all your memories, you can pay up to $10 per month for a maximum of 2TB of storage. That should be enough to save all your important iPhone and MacBook files.
But what should you do when you need to go back and see those documents, photos, or videos? And where are they located? Here’s how to set up and access your iCloud files on any device.
How to set up iCloud on iPhone and iPad
Before you set up iCloud on your iPhone or iPad, make sure its updated to iOS 11. To do so, tap Settings from the home screen, then press General, and Software Update. Here, you should see Download and Install if your device isn’t up-to-date. Go ahead and select it.
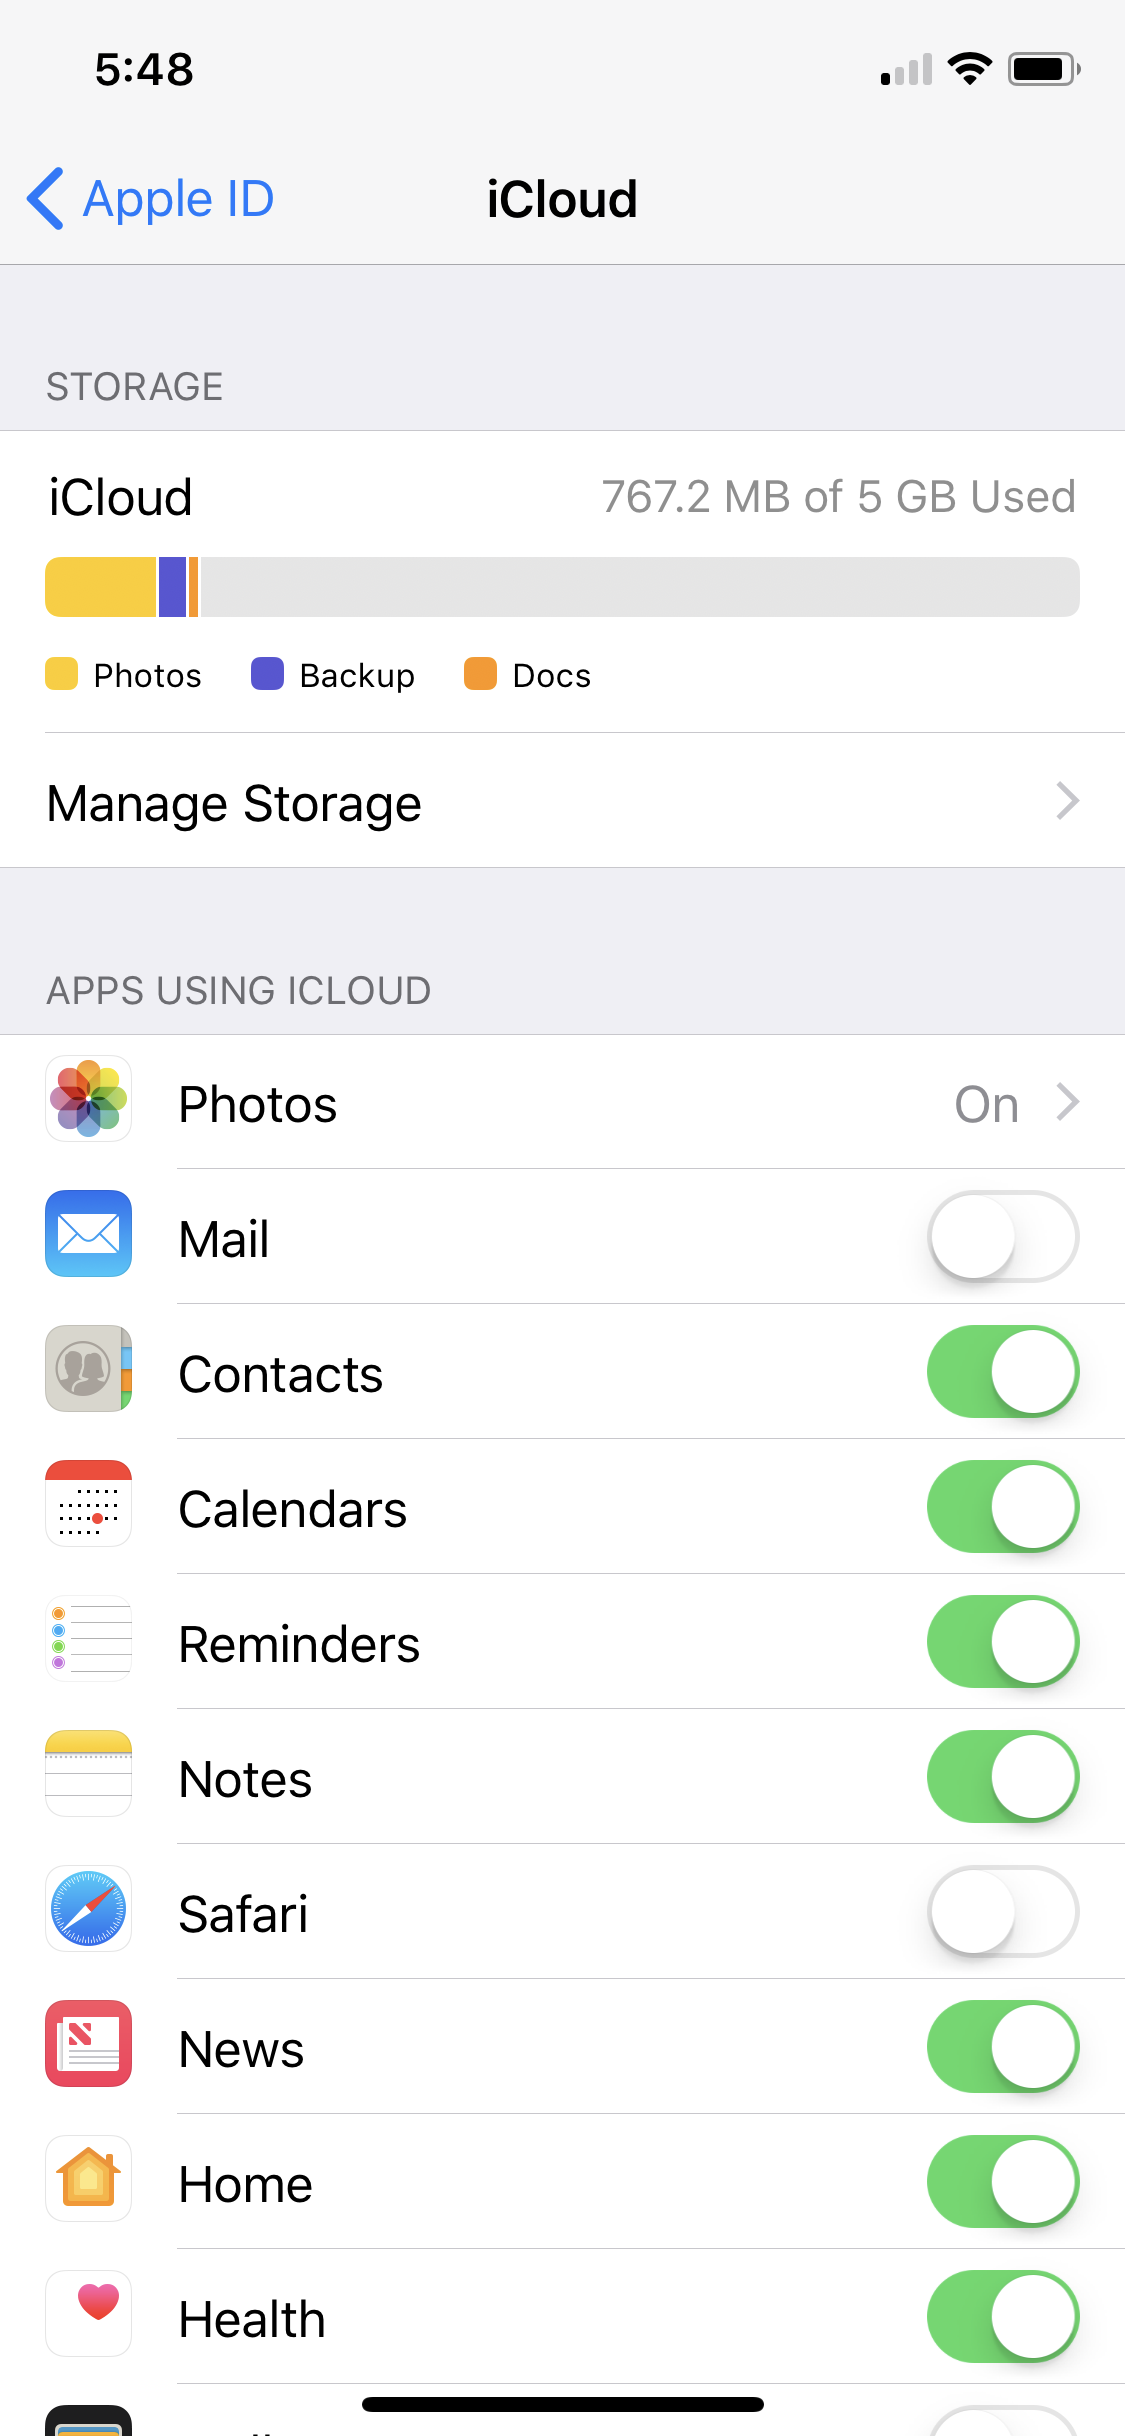
Once your phone is done updating, you’ll want to set up the storage service. First, tap Settings (the gear icon) on the home screen and select your name at the top. After logging in with your Apple ID, press iCloud. The next screen will show you how much storage you’re using and how much is still available.
Below is a list of apps that support iCloud. To enable iCloud for individual apps so saved files get synced to the cloud, move the sliders to the right until they’re green. For example, if you want to sync photos to all of your devices, make sure “iCloud Photo Library” is enabled.
READ MORE:
- Is the Apple Upgrade Program really worth it?
- The best speaker booster apps for iOS and Android
- How to leave a group text message once and for all
How to access iCloud on iPhone and iPad
Unfortunately, there isn’t a single application or settings page where you can view all of your iCloud backups. You will need to go into separate apps to see what you have synced on other devices.
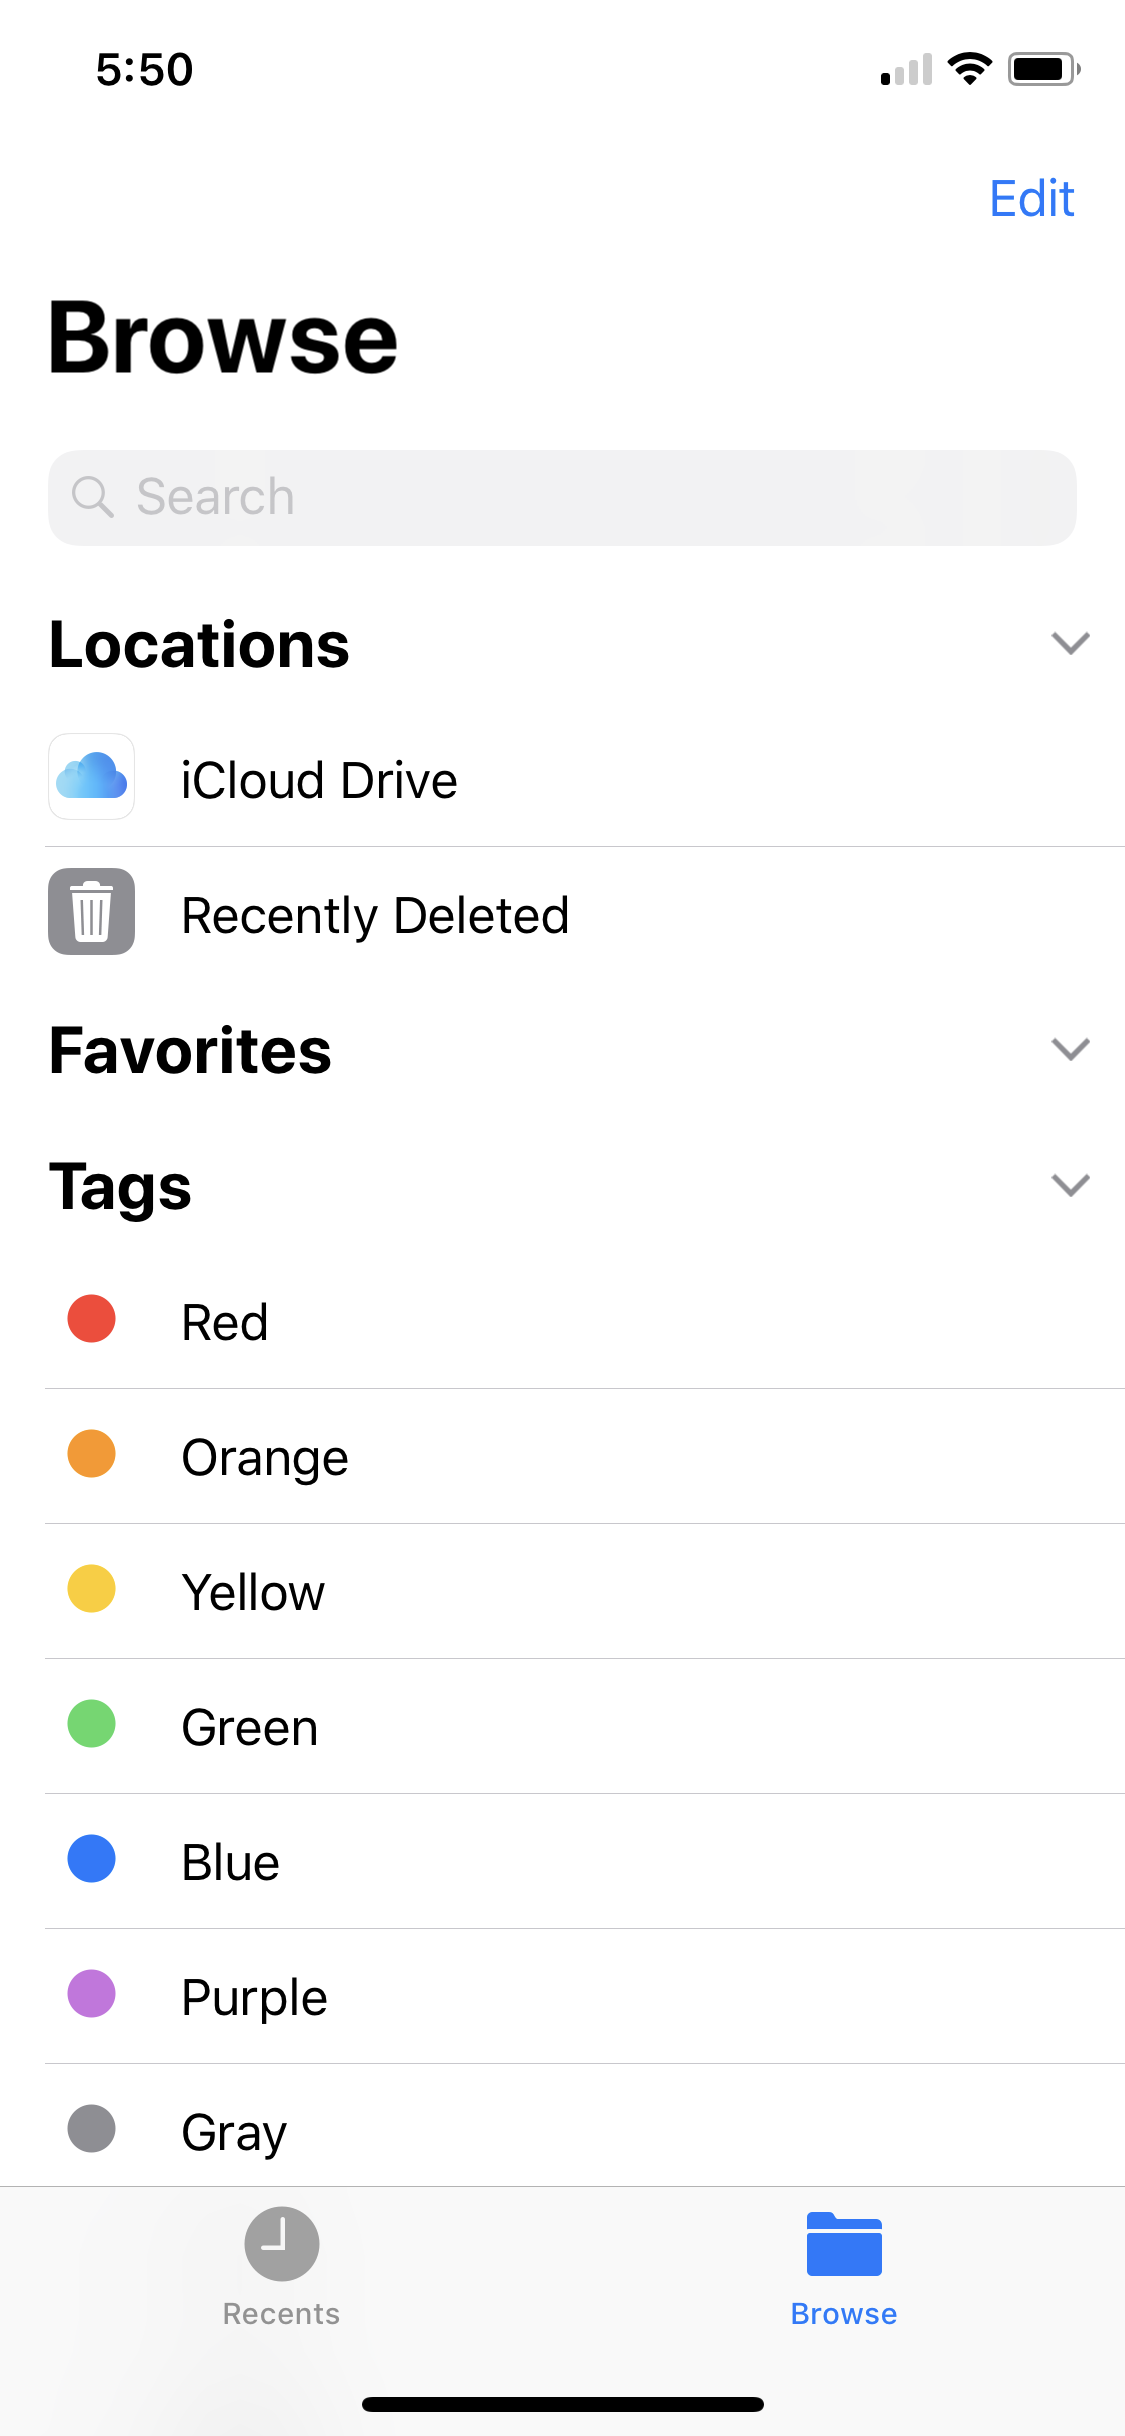
Open the Photos and Files (formerly iCloud Drive) apps from the bottom dock on the home screen of your iOS 11 device. If you don’t see them, search through all your apps. Both should be preinstalled on your phone or tablet.
When you upload an image to another iCloud-enabled device, it will automatically appear in the Photos app on your iPhone. The same goes for downloaded files, which sync to the Files app. When you add content to these apps, either by taking a picture or downloading a file, it will appear on all your devices automatically. One of the best features in the new Files app is the ability to add third-party apps, so you can keep files from all the cloud services you use in one place, like Box, Dropbox, OneDrive, Adobe Creative Cloud, Google Drive.
How to set up iCloud on macOS
Again, the first thing you’ll want to do is to make sure macOS is updated to the latest version. Go to the main settings menu (press the Apple in the top left corner) and select Software update… That’s it. Your device will start looking for updates and notify you if any are available.
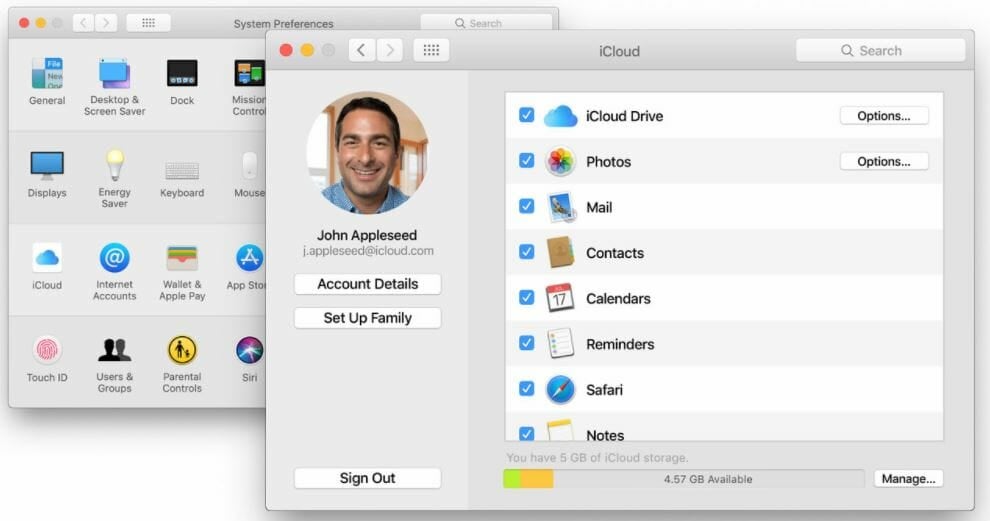
Now that your device is updated, select System Preferences from the same Apple menu on your Mac. A pop-up will appear. Press iCloud. The next menu has the same basic features as the iOS iCloud settings. You can enable or disable any apps from syncing data to iCloud by selecting the checkbox next to their name. You can also track the amount of available storage on your plan and upgrade if needed.
How to access iCloud on macOS
The easiest way to access everything you’ve synced on iCloud from a Mac computer is by visiting www.icloud.com. Once you’re on the site, you’ll be asked to sign into your iCloud account using your Apple ID.
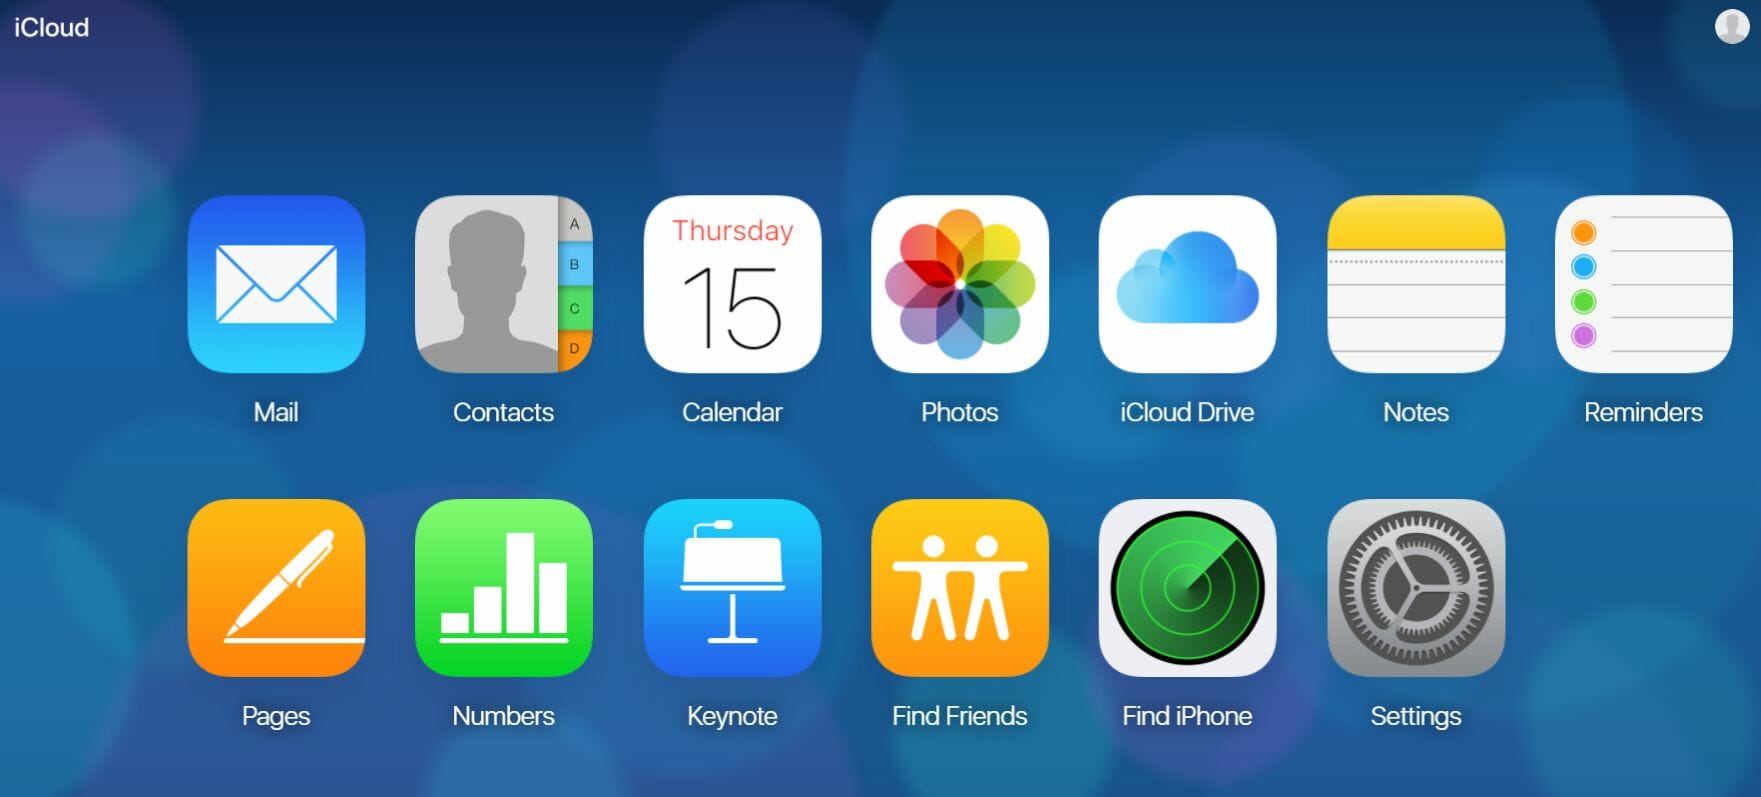
The website’s main page neatly displays all the apps using their iOS icons. You should see all synced data for each service as you open them. So, for example, if you press the Photos icon, you’ll see all the photos you’ve backed up in iCloud. The same goes for Notes, Reminders, Calendar, etc. Note: To see saved files, select iCloud Drive.
If you prefer a more familiar interface, you can also view saved iCloud files from the Finder file manager. Open Finder by pressing the blue face icon from the bottom dock bar on your computer. iCloud appears in the Finder sidebar and contains separate folders for apps that support iCloud Drive, like Preview, TextEdit, Pages, Numbers, and Keynote. When you select these folders, you can view their contents or drag-and-drop supported content to sync them in iCloud.
READ MORE:
- How to customize Control Center in iOS 11 to your liking
- The simple trick to using screen recording in iOS 11
- The best iPhone X cases for every budget
How to set up iCloud on Windows
Because you’re using a third-party operating system, setting up iCloud isn’t as straightforward on Windows. Thankfully, Apple has software you can download that will give you all the features you need to sync content from your Apple devices to your Windows PC.
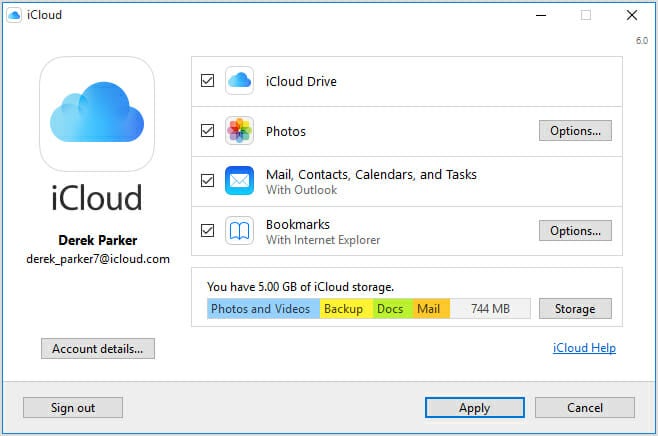
First, you’ll need to download the “iCloud for Windows” software from Apple’s website. Once you’ve followed the prompts and it finishes installing, restart your computer. Next, open iCloud, which you’ll either find on your desktop as a shortcut or by searching “iCloud.”
You’ll need to login to your iCloud account with your Apple ID and password when the program opens. Once you’re in, you’ll be able to manage the services you want to sync to your computer by pressing the check mark next to each app.
How to access iCloud on Windows
Just like on macOS, the simplest way to access iCloud files from a PC is by going to www.icloud.com. You can then follow the same steps from above: log in with your Apple ID and select the apps you want to view.
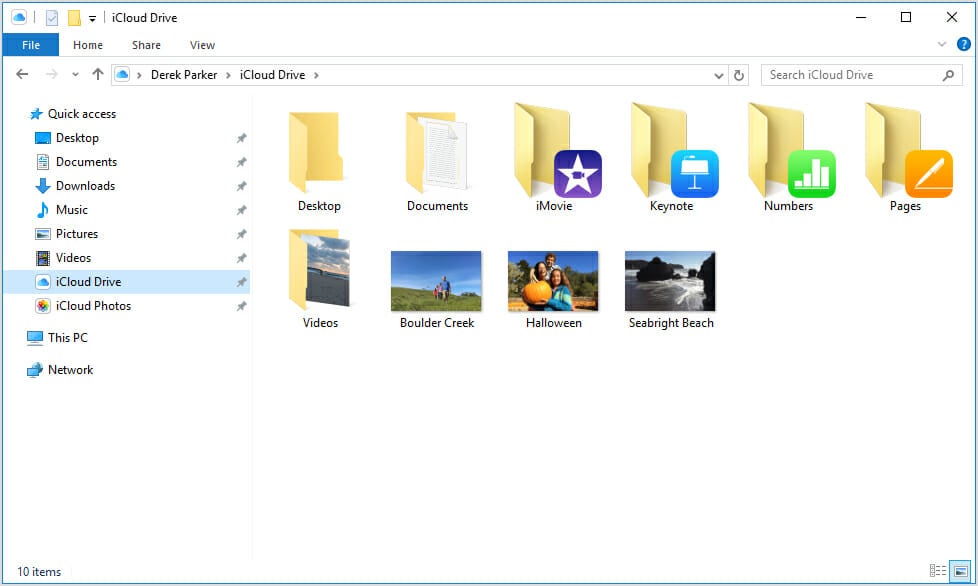
You can also browse the Windows File Explorer and open separate iCloud Drive and iCloud Photos folders that are automatically created once you enable iCloud Drive and Photos. When you add an image or file to iCloud, the contents will automatically download to these folders. And like on macOS, dragging files to iCloud folders will automatically sync them to your personal cloud.

