The iPhone 6 camera is great to use as a point-and-shoot snapper, but delve beneath the surface and there are some pretty nifty tricks you can employ to get more out of your iPhotography experience.
From restoring lost photos to manually altering your image’s exposure, we have some tips that will make you better at both the Camera and Photos apps.
1. Record video at 60 fps
The default video resolution on the iPhone 6 is set to 30 frames per second, however, you can change this to record HD video at a higher frame rate, resulting in better quality video.
To make the change to 60 fps, head to your “Settings” menu, tap on “Photos & Camera,” and scroll down to see the option to “Record Video at 60 FPS.” Toggle the option on to start recording in beautiful 1080p HD at 60 fps.
In your Camera app, when you’re in video mode, you will now see a reminder at the bottom right of your screen that you are recording at the higher rate.
2. Restore photos you’ve deleted
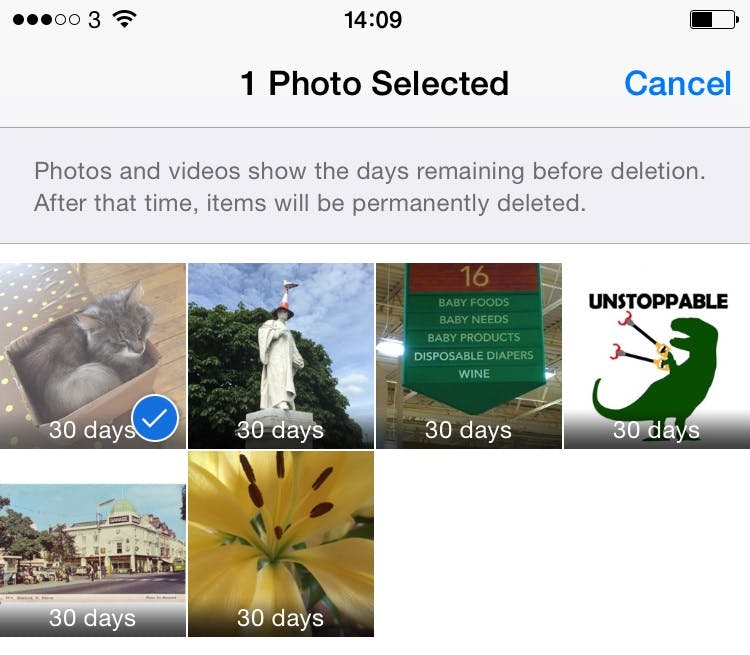
If you’ve deleted an image or video from your Photos app in error, all is not lost. Your iPhone stores deleted files for 30 days before actually deleting them.
To view deleted pics and videos in the Photos app, tap on the “Albums” option at the bottom right of your screen and scroll down until you see “Recently Deleted.” Once you’ve clicked on that, hit “Select” at the top right of your screen, check the files you want to keep, then click on “Recover.”
There is also the option to delete permanently if you’d like the files gone before the 30-day deadline.
3. Use your EarPods as a remote shutter release cable
In addition to the on-screen button, there are other options to capture an image. You can use either of the iPhone’s volume buttons on the side of the handset to snap a photo or start recording video.
You can also use Apple EarPods as a remote shutter release option. Once the headphones are plugged in, pressing either of the volume buttons will make the headphones act as a shutter release cable. This is handy if you want to minimize camera shake.
4. Search your Photos app
You can search the images in your Photos app by some simple keywords. You can search by year, month, name if you’ve tagged faces and, if you’ve enabled Location Services for your iPhone camera, by location.
In Photos or Albums view, if you tap on the search icon at the top-right of the screen, you can start typing to see a dynamically-generated list of results.
5. Get a grid view
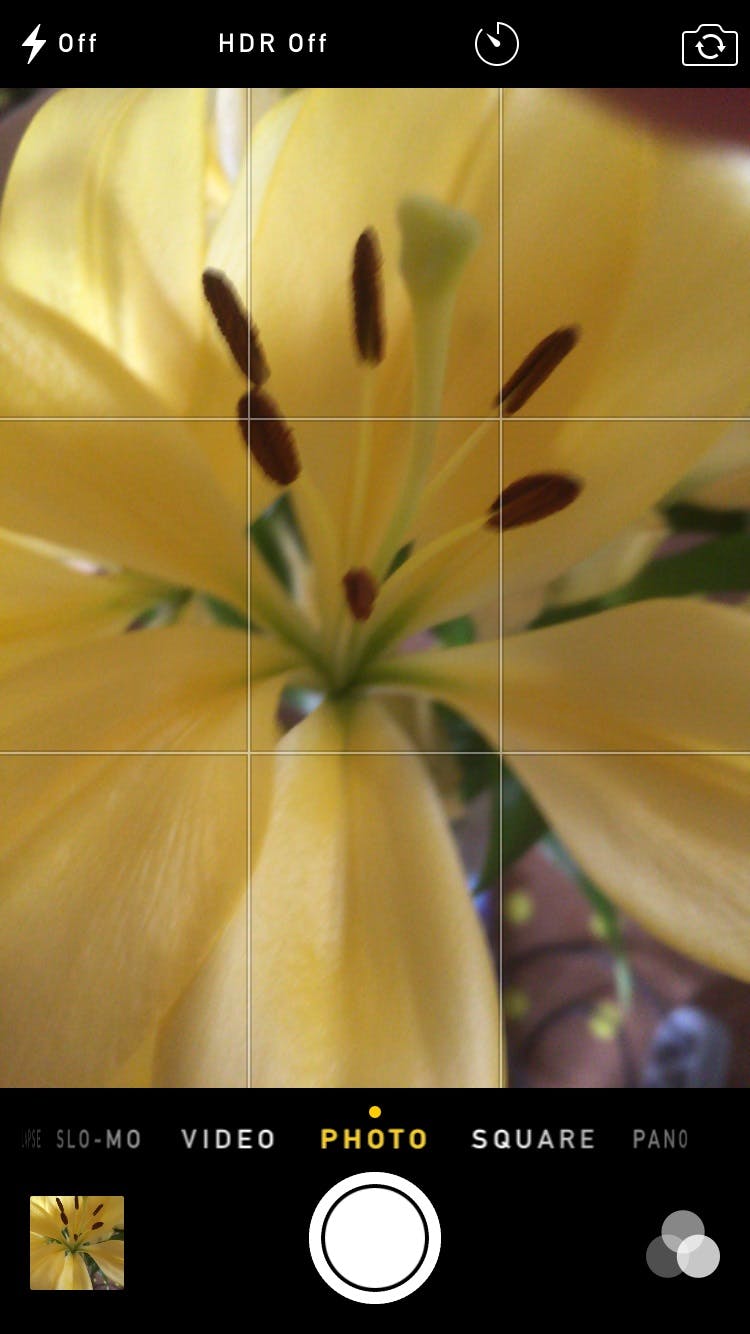
This is a useful tool hidden in the Camera app’s settings. You can overlay a grid onto your camera’s screen to ensure your images are perfectly level.
To activate the grid view, go to “Settings,” scroll down to see “Photos & Camera,” then scroll again to toggle “Grid” to on.
You may also find the grid a useful compositional tool because it breaks the screen up to easily view the world via the “rule of thirds” maxim.
6. Manually adjust exposure
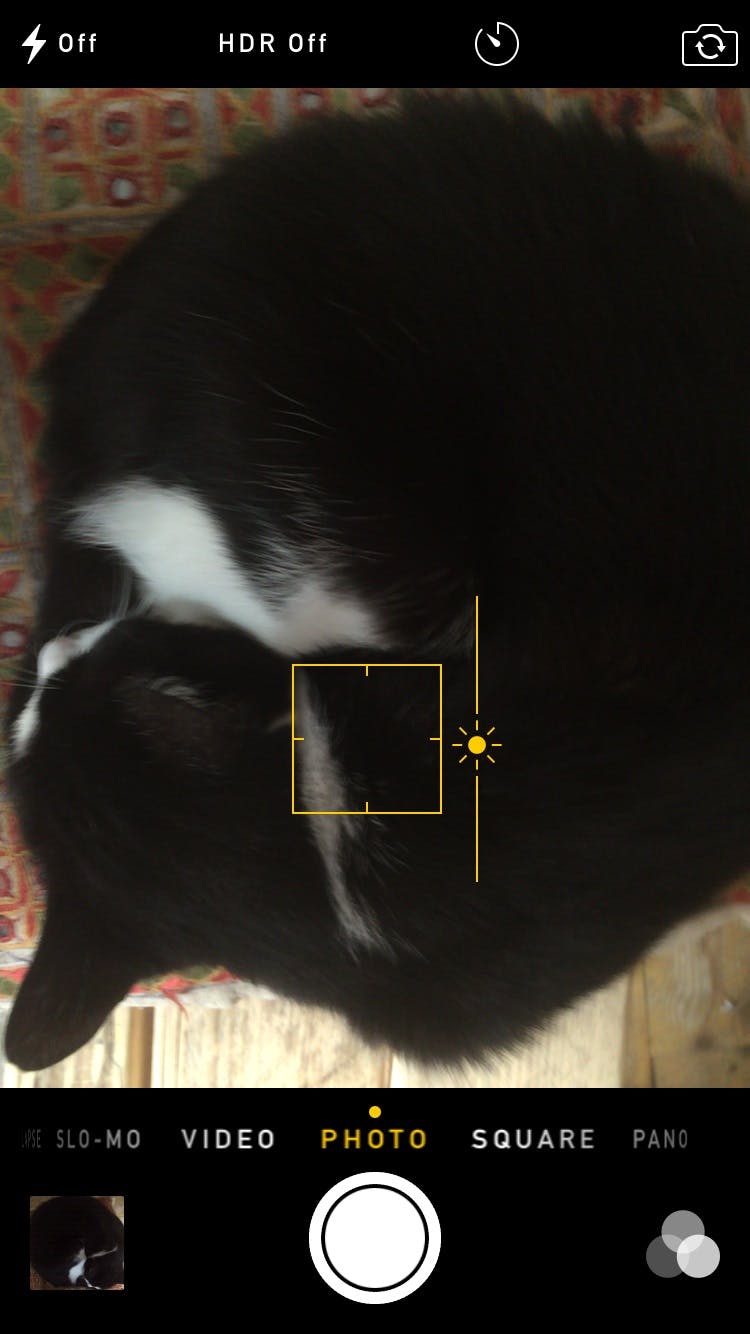
It is possible to manually adjust the exposure levels of your iPhone imagery. Simply tap on an area of the screen so a yellow box (to show the point of focus) and a sun icon appear.
Touch the sun icon to bring up a sliding line which you can move the sun up or down to make your photo brighter or darker.
7. Share entire “Moments”
Your iPhone groups photos taken at the same time or place into what Apple calls “Moments.” You can view these in the Photos app by selecting the “Photos” tab at the bottom of the screen and tapping the screen until you’re in the “Moments” view.
It’s useful to share entire—or selected snaps—from these Moments. This is handy if you want to upload some party pics to a Facebook album, email holiday images to friends, or share a selection of photos via messenger services.
Simply tap “Share” at the right side of the screen, and depending on how many images you select, you’ll be able to send via email, messenger apps, and social networks.
8. Choose the best pic in “Burst mode”
The iPhone 6’s “Burst mode” snaps an impressive 10 images a second. The camera’s software then analyzes the shots, looking at qualities such as sharpness and whether eyes are closed, to select the best image.
While the software is quite good at automatically choosing the best image, sometimes it is useful to view all of the frames to see which is your preference, especially if you’re being creative or experimental.
To manually look through images in a Burst mode collection, tap on the option to “Select….” at the bottom of the screen and scroll through the photos. The one the iPhone has picked as the fave has a grey dot beneath it, but you can override this by checking the circle at the bottom-right of an image. You will then get the option to keep just the photos you’ve favorited, or all of them.
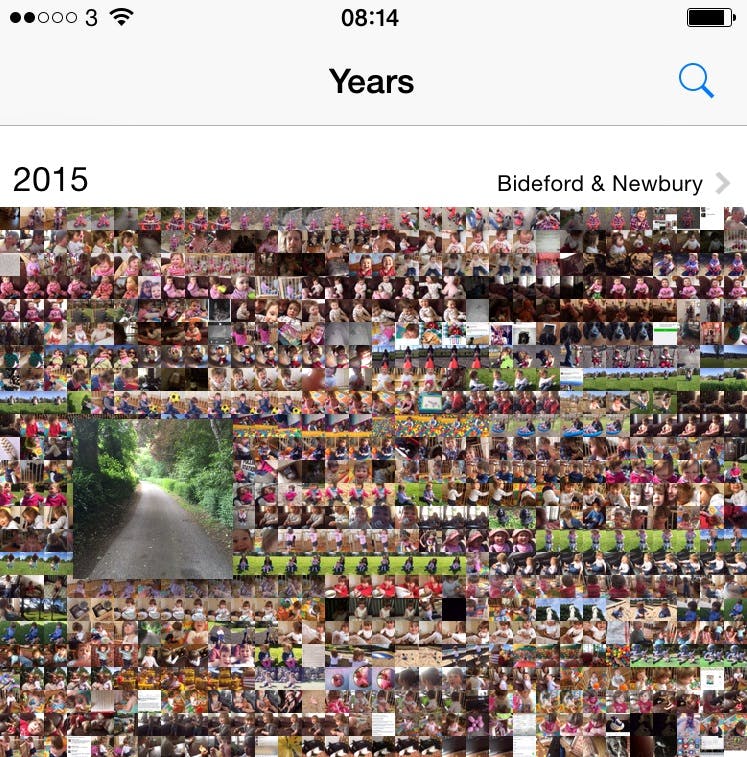
9. View enlarged thumbnails in the “Years” view
There’s a fun way to view images in the “Years” view in the Photos app. If you touch the screen and move your finger around, you’ll see enlarged thumbnails of the images you’re touching.
This can also be a speedier way to find certain pics if you can’t remember enough about the image to do a keyword search.
10. Create better black and white images
The iPhone 6 has some impressive tools for black and white photography under the hood of the “Edit” settings.
Although there are three built-in monotone filters you can apply before or after you snap a pic to be found in the filters options, you are better off going into the full-fat “B&W” menu.
To find this, tap “Edit” at the top right of the screen when you’re viewing an image. Now click the third icon along (it looks like a dial) on the bottom menu bar. Hit the expand arrow on the “B&W” options.
From here you can manually adjust the intensity, tone, and grain of the image.
Photo via berlinrider/Flickr

