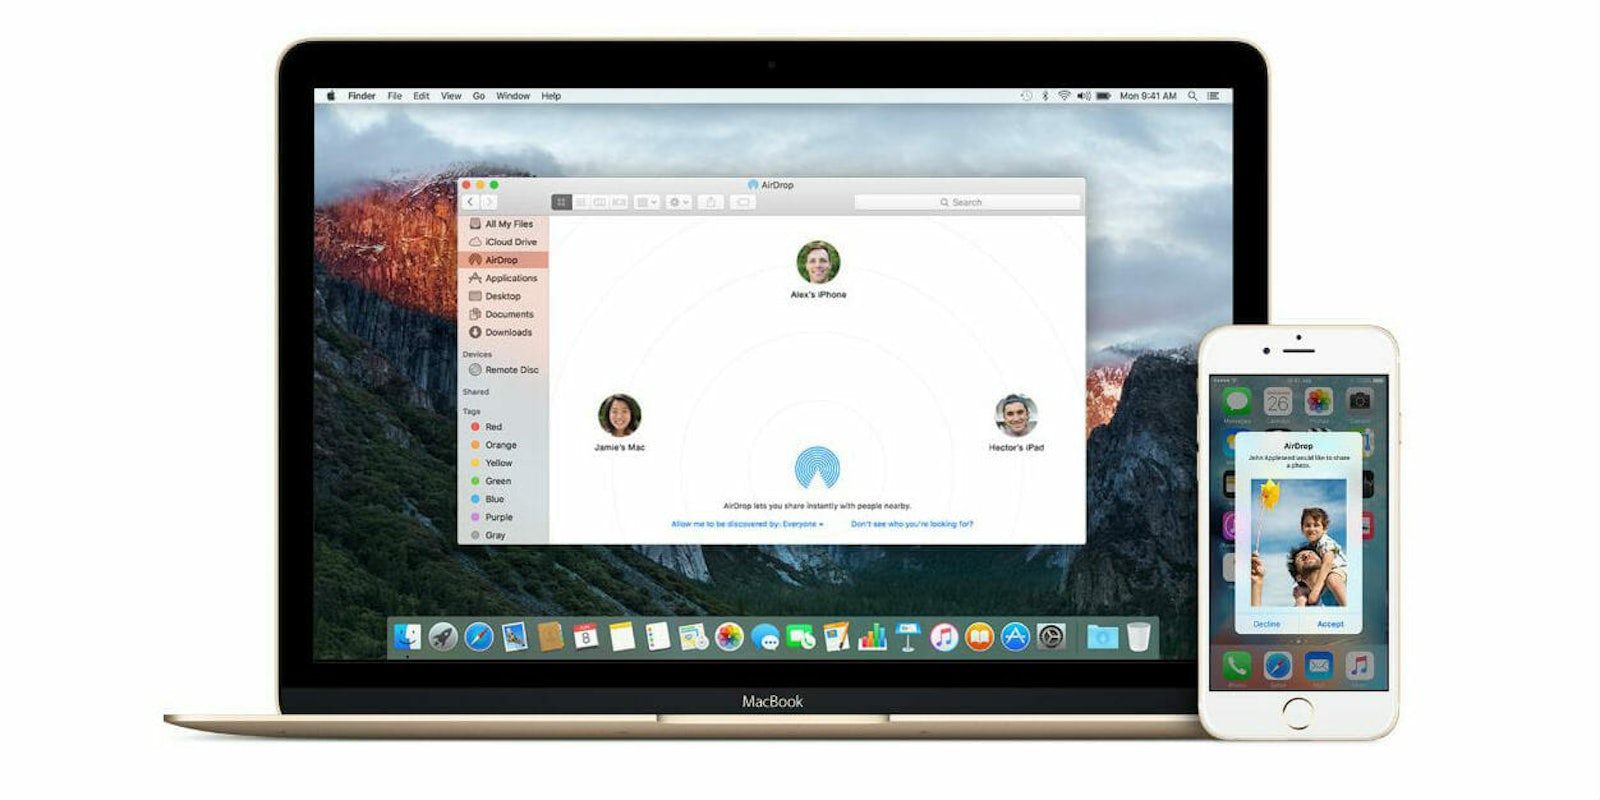
Though it’s been around for the better part of a decade, AirDrop isn’t a feature many Apple users are aware of. Those who have heard of it probably think it sounds unnecessary or even overwhelming. The truth is AirDrop is very easy to use, and once you start to, you won’t ever go back.
We live at a time when flying cars are becoming a reality, rockets are completing simultaneous landings, and humanoids seem an inevitability, and yet, the methods people typically use to share content remain archaic. For all the social apps we have on our devices, people still upload photos, videos, and files into emails or text messages and send them to their friends where they have to be downloaded. This clunky multi-step process takes considerable time and effort.
That’s why it’s time to modernize the way we share content. Fortunately for iOS and Mac users, AirDrop solves this problem.
Here is what you need to know about AirDrop so you can send files of any kind—photos, videos, contacts, map locations, web pages, etc.—to other nearby devices like a pro.
What is AirDrop?
First released in 2011, Apple‘s AirDrop is a file transfer service that uses Bluetooth 4.0 and point-to-point Wi-Fi to instantly send content—photos, videos, files—to and from nearby devices. If you’ve ever used Near Field Communication (NFC) to make mobile payments or pull up ad promo deals, you know how convenient it can be. AirDrop uses that technology to seamlessly send information wirelessly between Mac computers and iPhones.
There are several reasons why you’d want to use the feature over traditional methods like email or text. First, it’s completely free, in fact, it comes integrated into any new iPhone. It’s also a lot easier to use and yields instantaneous results.
A seemingly limitless maximum upload size is another reason to use AirDrop instead of, say, email. Email clients typically limit the size of attachments for individual posts and force you to upload them to the cloud. With AirDrop, you can send an entire photo gallery in a matter of moments. You also don’t have to worry about the type of file you’re sending. You can share just about anything you want from your device, including photos, videos, links, web pages, documents, screenshots, messages, and other forms of media.
To summarize, AirDrop is easier, safer, and more flexible than other sharing methods.
READ MORE:
- What is a good internet speed, really?
- 5 free fax services that will help you fax online in seconds
- Free reverse phone lookup with Google: How it works
- Song Identifier: 7 free apps to identify music
How does Airdrop work?
What makes AirDrop feel truly innovative is that it works without any wireless connection. No Wi-Fi? No problem. Turn off mobile data to spare your monthly bill? AirDrop will function just as well. That’s because AirDrop uses a direct peer-to-peer Wi-Fi connection between devices. Best of all: It’s encrypted, which means whatever you send through it will be protected from prying eyes.
Before you can use AirDrop, you’ll need to own a compatible device. As you’d expect, only Apple products (sorry Android users) support file transfer through AirDrop. Fortunately, any iPhone and Mac from the past few years will do the trick.

If you only want to use Airdrop to send content from one Mac to another, you’ll need a computer running Mac OS X Lion or later. Here is the official list of compatible devices:
- MacBook Pro (Late 2008) or later, excluding the MacBook Pro (17-inch, Late 2008).
- MacBook Air (Late 2010) or later.
- MacBook (Late 2008) or later, excluding the white MacBook (Late 2008).
- iMac (Early 2009) or later.
- Mac Mini (Mid 2010) or later.
- Mac Pro (Early 2009 with AirPort Extreme card, or Mid 2010).
If you want to use Airdrop to send or receive to and from an iPhone, iPad, or iPod Touch, AirDrop requires a laptop from at least 2012 running Mac OS X Yosemite or later.
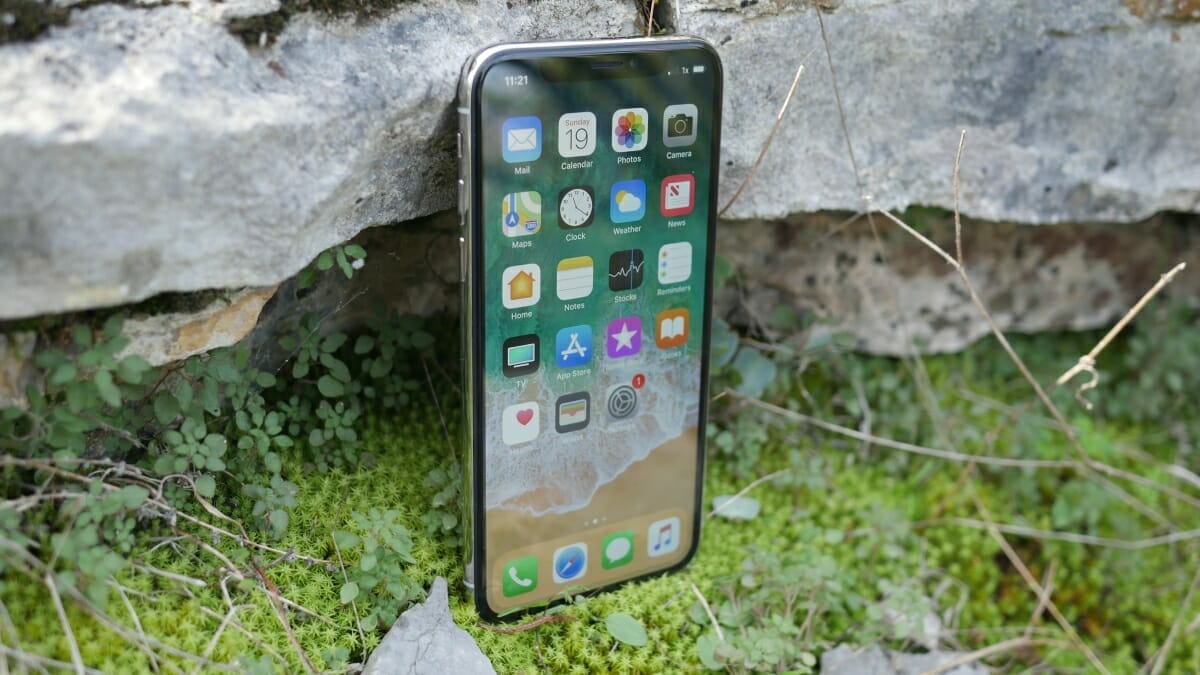
AirDrop is available without restriction on smartphones and tablets running iOS 7 or newer. This includes the following:
- iPhone 5, iPhone 5s, iPhone 6 and iPhone 6 Plus, iPhone SE, iPhone 7, iPhone 7 Plus, iPhone 8, iPhone 8 Plus, iPhone X.
- Fifth-generation iPod touch and newer
- Fourth-generation iPad, iPad Air and iPad Air 2 and newer
- Original iPad mini, iPad mini 2 and iPad mini 3 and newer
How to turn on AirDrop on iPhone
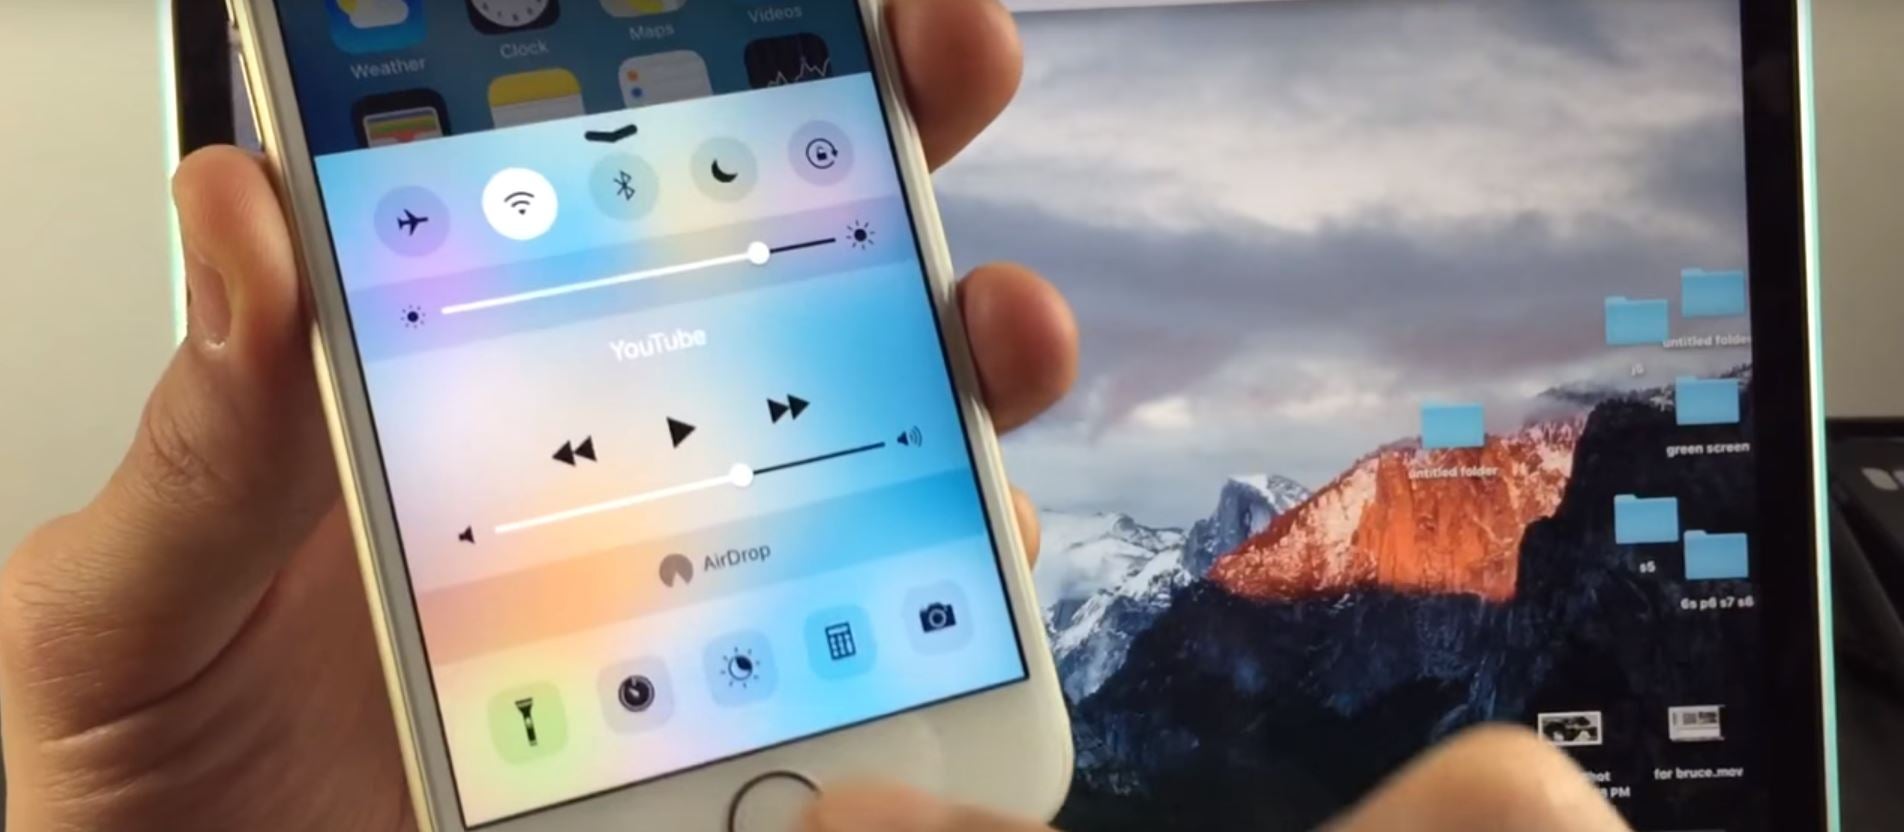
You’ll need to turn on Bluetooth and NFC before you can use AirDrop. You can do this on your mobile device by swiping up from the bottom of the screen (on iPhone X, swipe from the top right) and adjusting your Control Center settings. On iOS 11 you’ll need to 3D touch or long press the Wi-Fi button.
How to use AirDrop on iPhone
After you enable the AirDrop feature from the Control Center on your iPhone, it will ask you who to set permissions. You can choose to accept AirDrop content from everyone, your contacts only, or nobody.

Here is what that means:
- Receiving Off: This protects your device from receiving any AirDrop requests.
- Contacts Only: Only your contacts can see you on AirDrop and send content to your device.
- Everyone: All nearby iOS or MacOS users can send any files to your devices.
The beauty of AirDrop is that it’s integrated into iOS applications. Any app with a built-in share button (the box with an upward arrow) can use the feature. We’ll use the Photos app as an example. Open the photo you want to send to another iPhone or Mac and select the share button in the bottom right.
You should see an AirDrop section above the apps list. There, you’ll see the name and photo of any nearby users who you have permission to send content to. Tap the name of the person you want to share with.
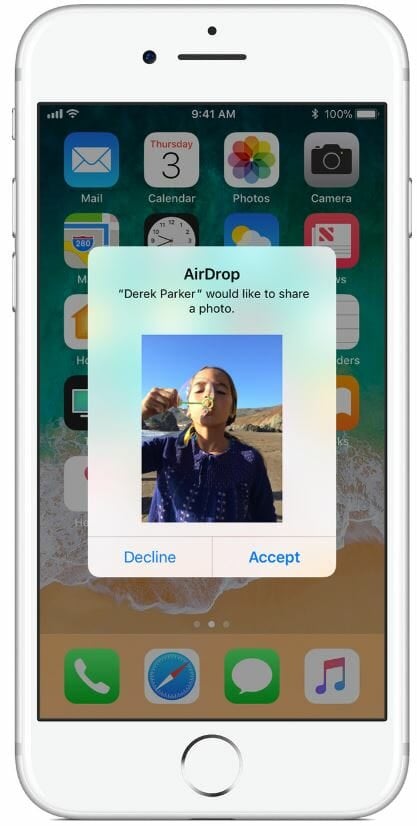
The recipient will receive a pop-up notifying them of your request to share. The alert will contain a preview of the content and the option to either accept or decline. If accepted, the content will be stored in the app it was sent from. For example, an image shared from iCloud Photos will be stored in the recipient’s photo app. Similarly, shared websites will open in the Safari app.
To share content with yourself, make sure you’re logged into both devices with the same Apple ID. You will not have the option to decline.
READ MORE:
- How to download iCloud photos on all your devices
- The best iPhones of all time
- How to setup and access iCloud on iPhone, Mac, and Windows
- How to zoom in on Mac
How to turn on AirDrop on Mac
Using AirDrop on macOS computers takes a little more know-how, but you won’t regret making it a habit. To transfer content between two Mac computers, open the Finder app where all your files are stored. Click AirDrop, which should be listed on the left panel under “Favorites.” An AirDrop menu will open up. Again, you’ll be asked to enable both Bluetooth and Wi-Fi before you can use the feature.
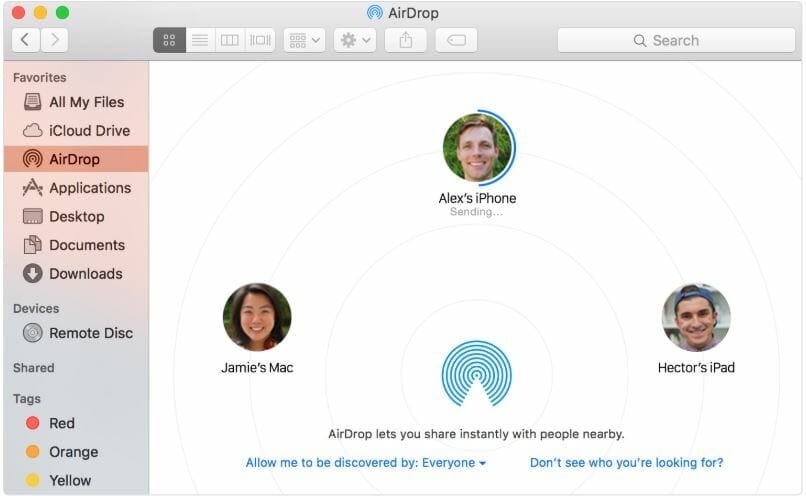
How to use AirDrop on Mac
Your computer will automatically begin searching for other AirDrop-enabled devices. Their profile pictures will show up in the middle of your display. The easiest way to share files is by simply dragging and dropping them onto the names of the users you want to send them to. Tip: This step may be easier if you pin files onto your desktop.

As with AirDrop on iOS, the files you send between your own devices will automatically be added to their respective apps. However, files sent to other users will prompt a pop-up window asking them to accept or decline. You can also send information directly from apps by using the share button just as you’d do on iOS.

