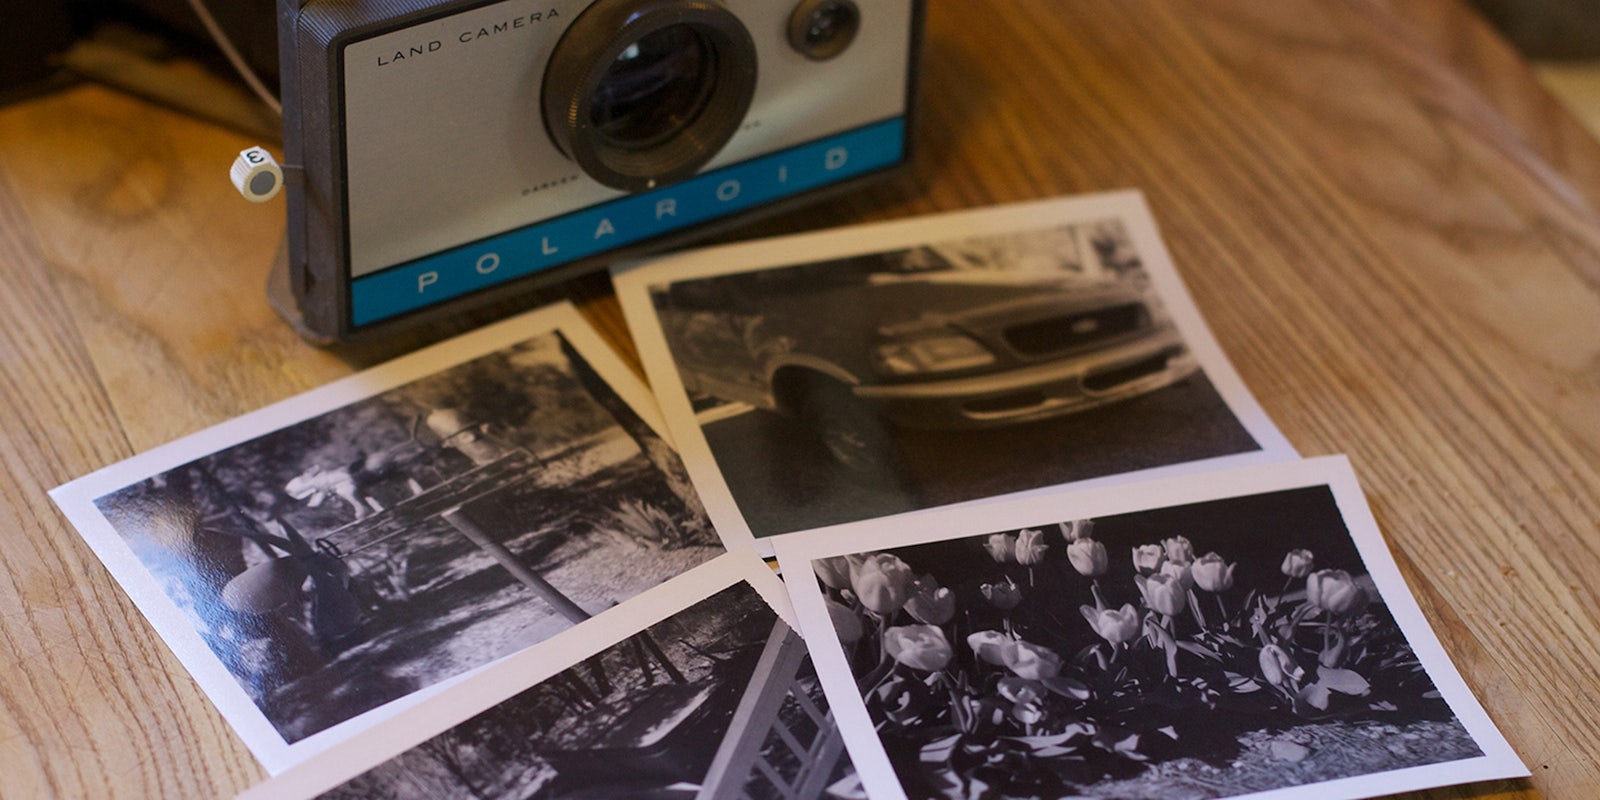
Before photos existed only as .jpgs, backed up on Flickr and Facebook and Imgur and in cheap portable hard drives, they were subject to the ravages of time.
Prints only lasted so long. The negatives, from which they were originally made, were lost or destroyed. Saving these analog memories from their inevitable destruction can be as easy as a one-click desktop scanner, but sometimes the images have already suffered from damage.
Software like Adobe Photoshop can breathe life back into faded photos—if you know how to do it right.
This is not meant to be an in-depth dissertation on photo restoration, but a quick and easy how-to guide to get you started. Experimentation is key; take these tools and combine them to impress your friends and family (and turn them into likes, karma, RTs, and reblogs, of course).
FADED IMAGES
Channel surfing
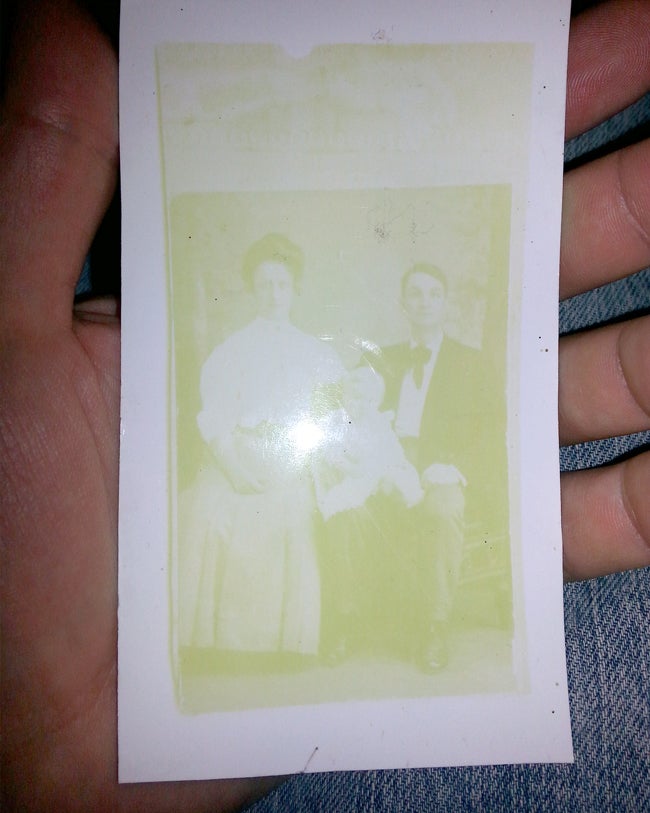
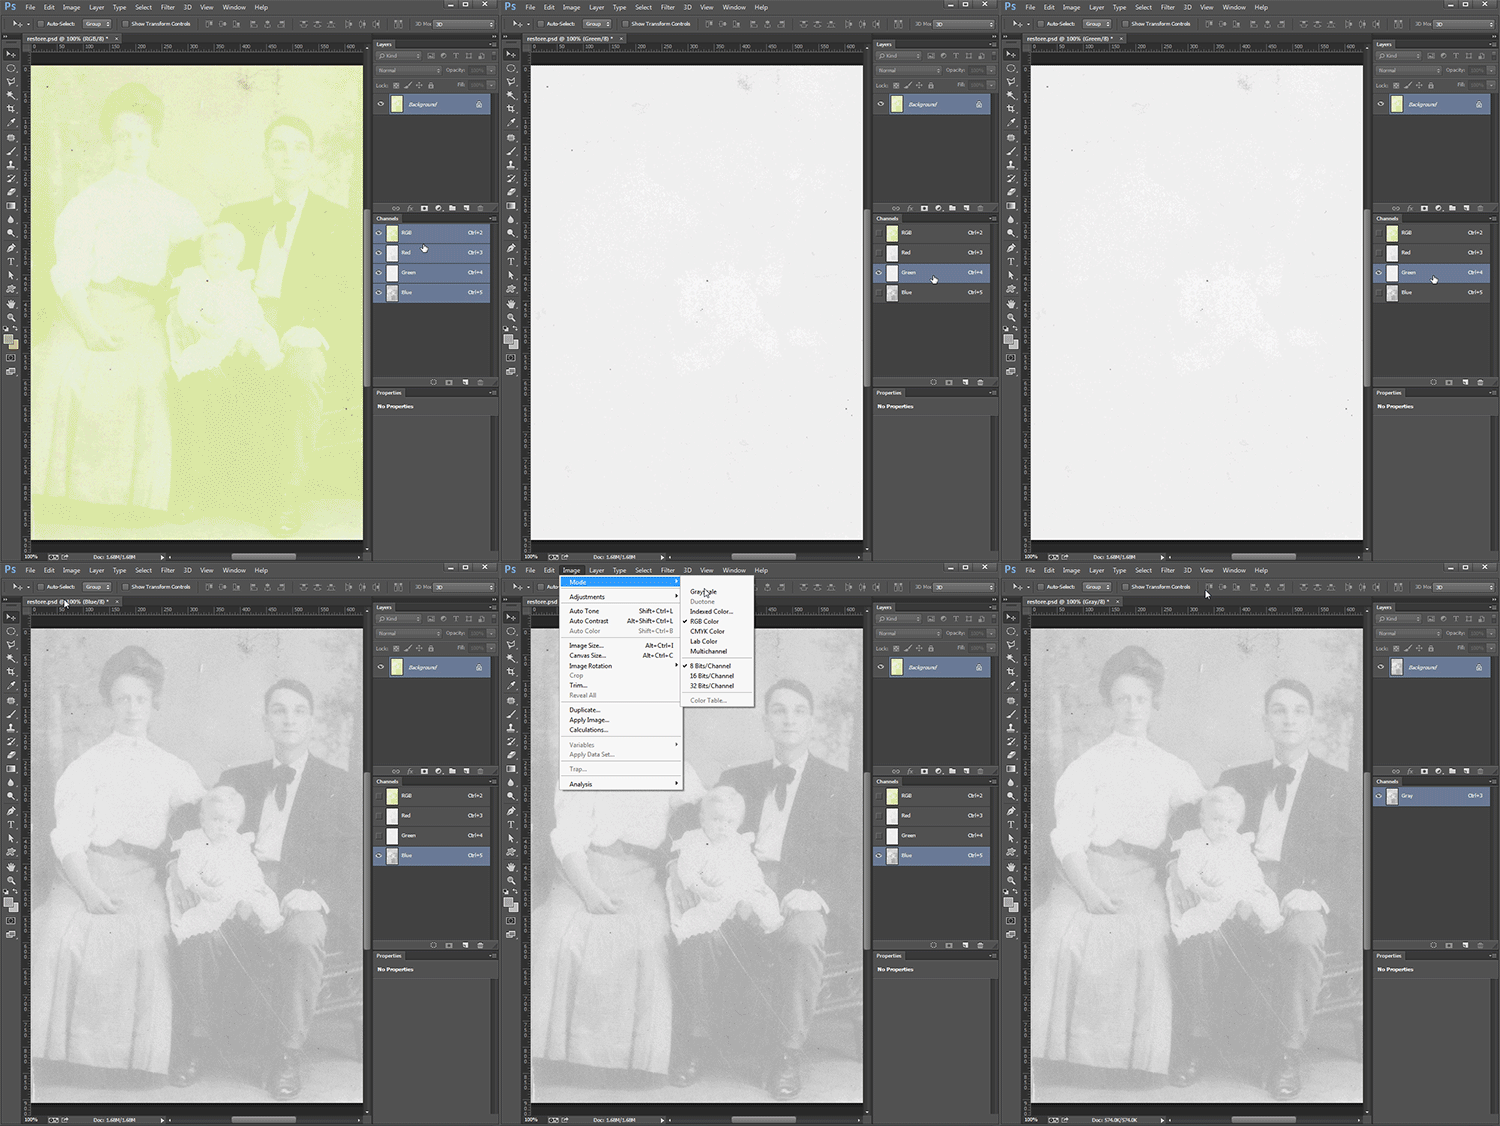
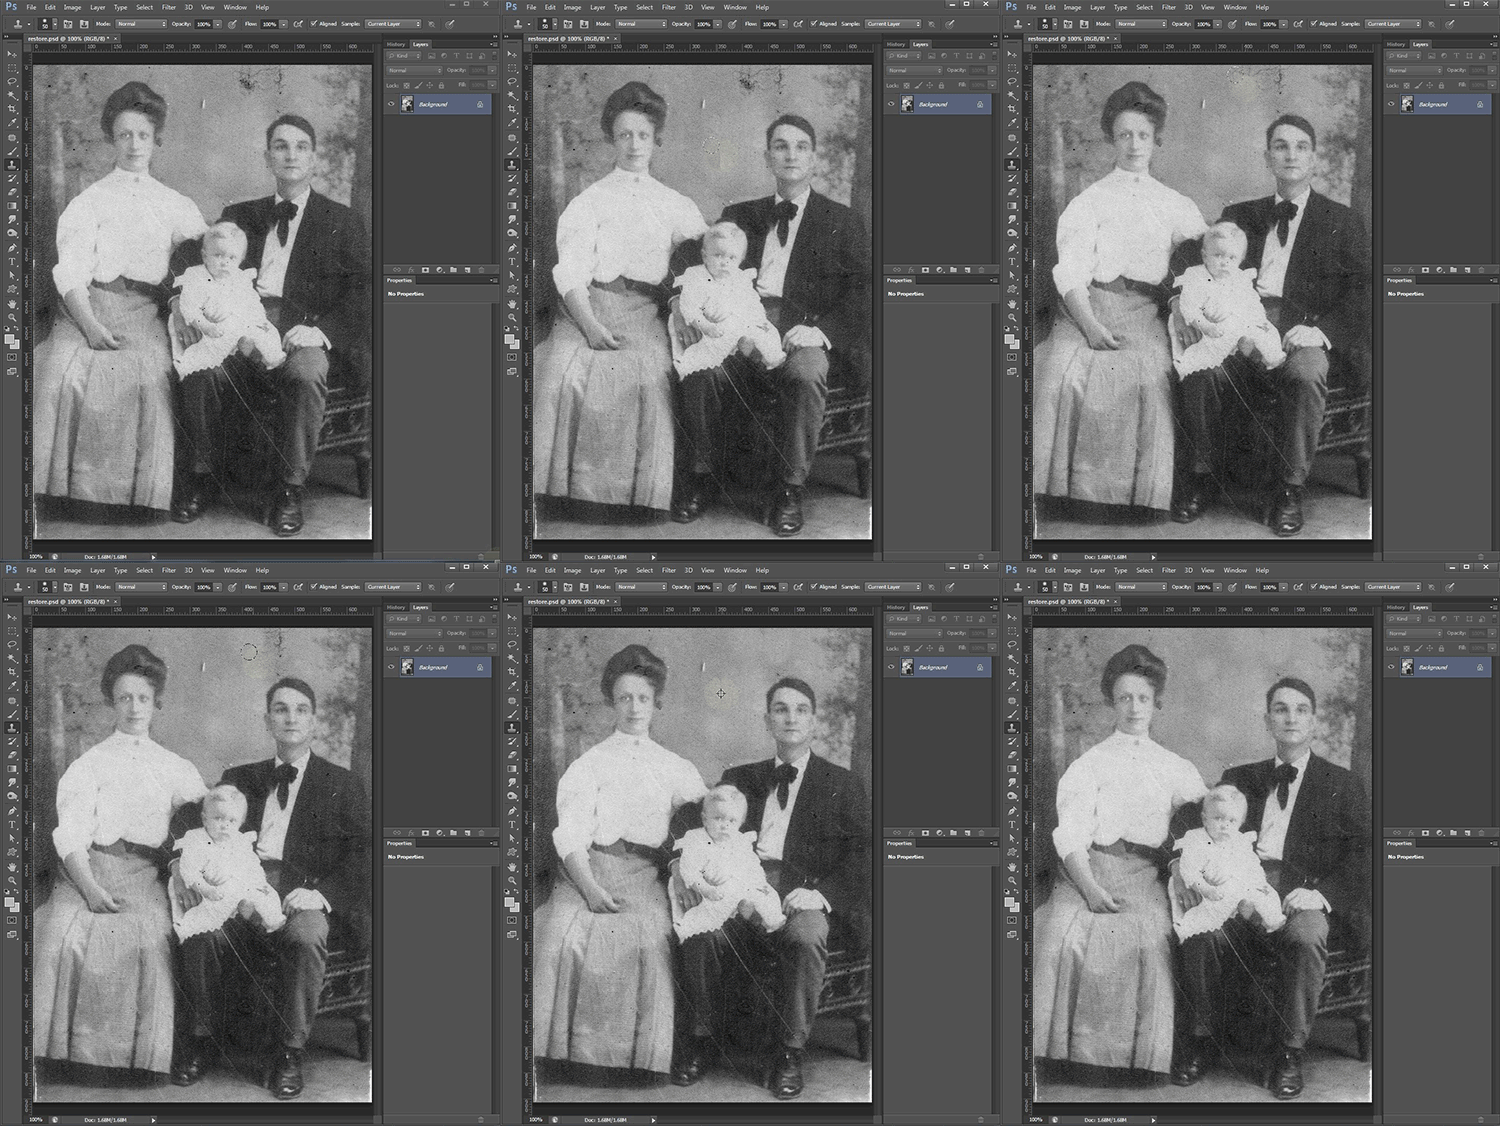
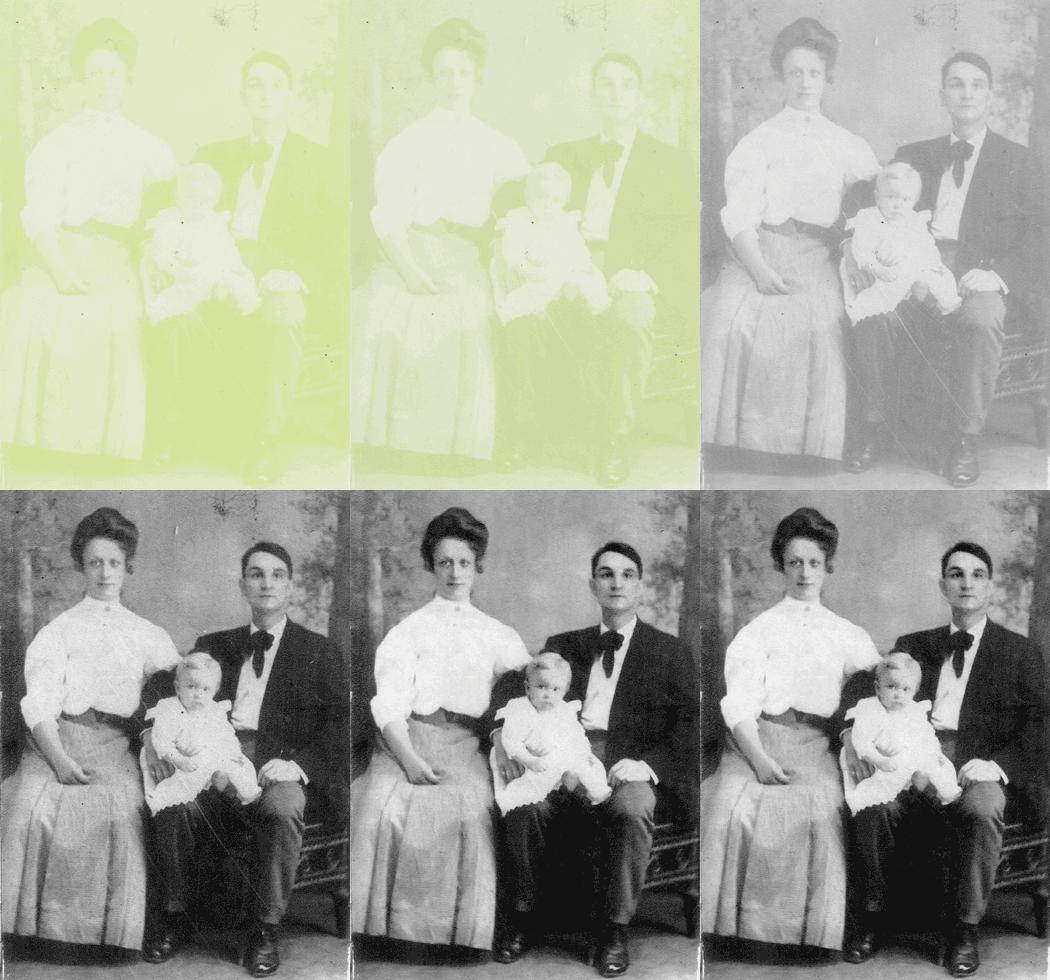
For images that are washed out, look to Channels (Window>Channels). In a file with an RGB color space, each color is held separately in “channels” of Red, Green and Blue. More often than not, there is information available that can be used. Find the channel that shows most of the image.
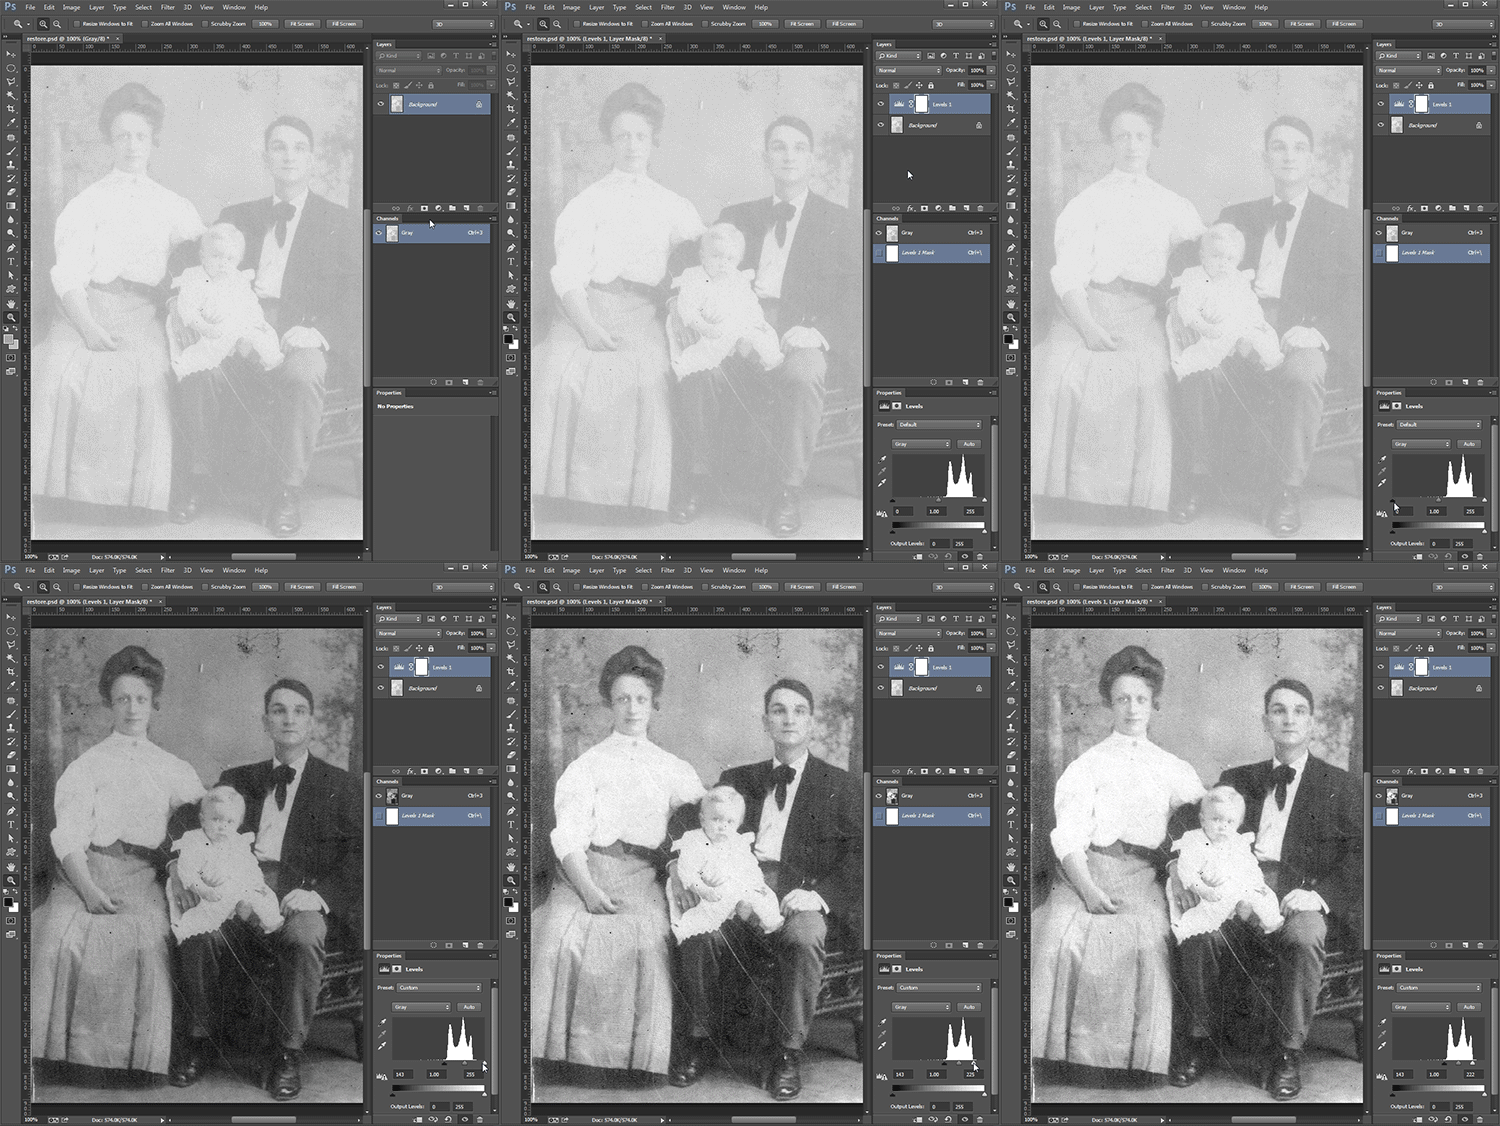
Discard the others by changing your color space to Grayscale (Image>Mode>Grayscale), then bump it up with Levels (Layer>New Adjustment Layer>Levels). Dragging the black arrow from the left will bring up your shadows, while dragging the white arrow from the right will bring up the highlights.
MISSING PIECES
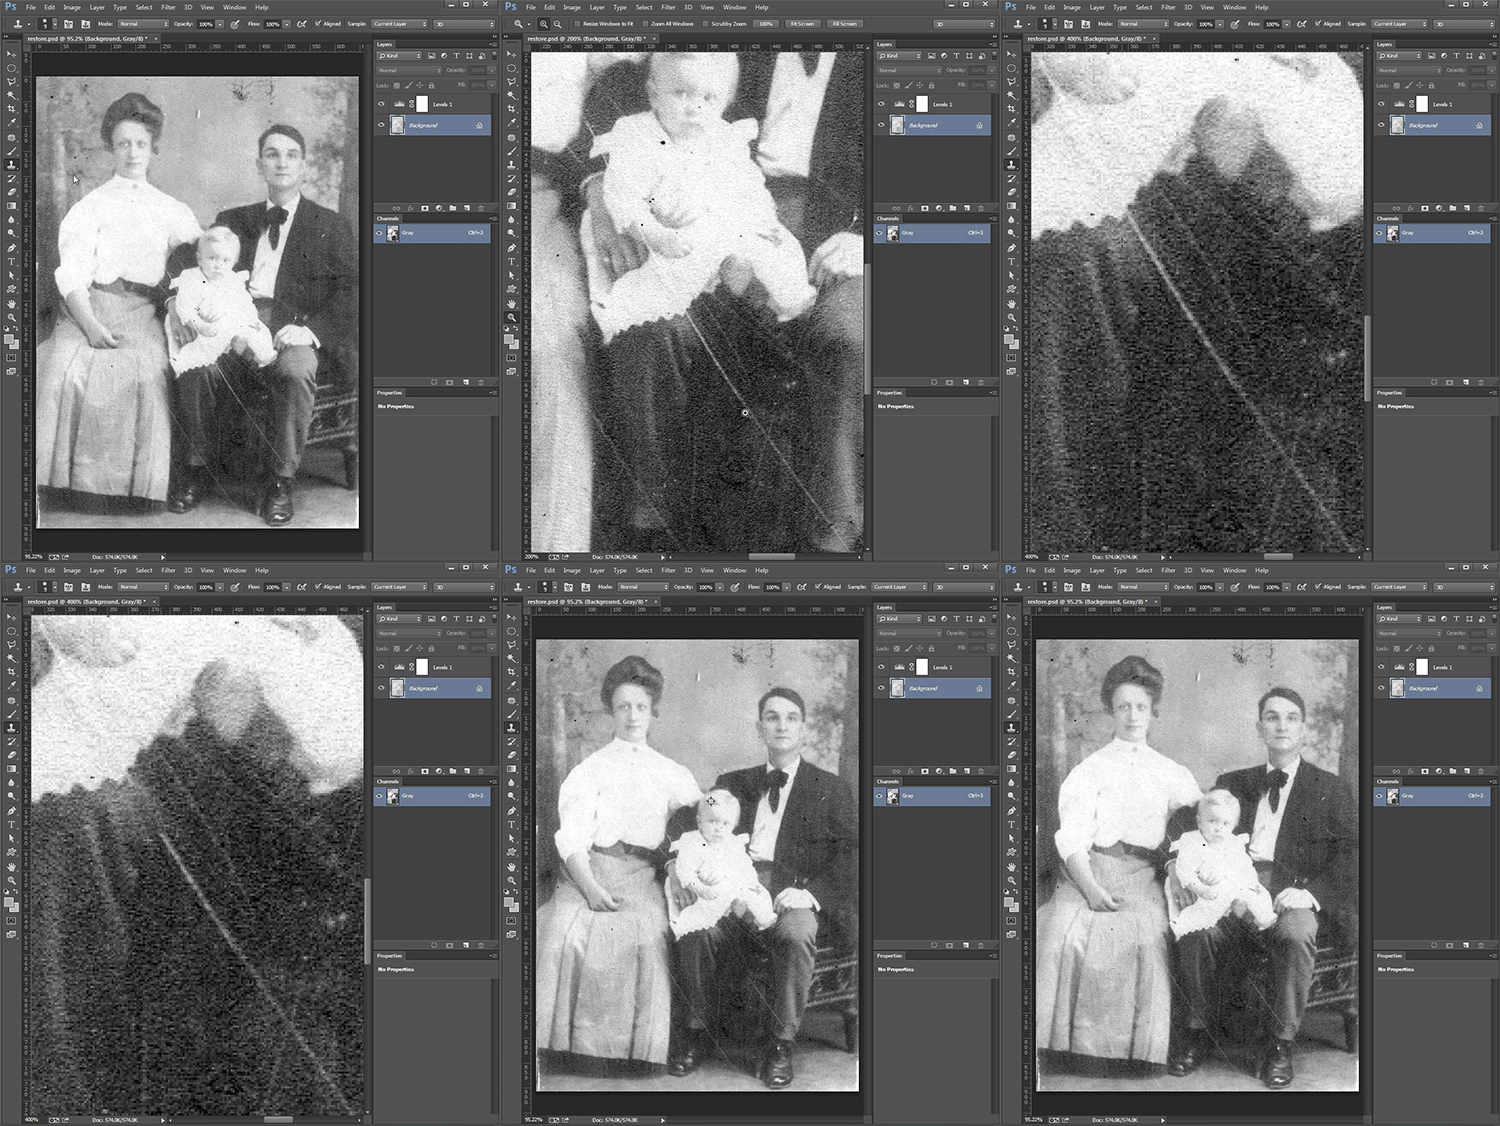
Meet the clone tool, your new best friend.
Photos get folded, torn, and worse. I’ve been asked to fix many things—pinholes, pen, crayon, tape, gum—and it’s almost always the clone tool that does the heavy lifting.
Clothing tends to have patterns, which can be tricky, but once you get used to it, the clone tool can fix most of your problems. The trick is to zoom in and use a small brush with a little give around the edge. I usually work with 95 percent softness at a 300 percent zoom.
To select the “source” part of the image for the brush, hold the Alt key while clicking your mouse. That sample will be used as the origin of the clone tool, allowing you to paint with whole sections of the image.
COLOR
It’s just like a coloring book.
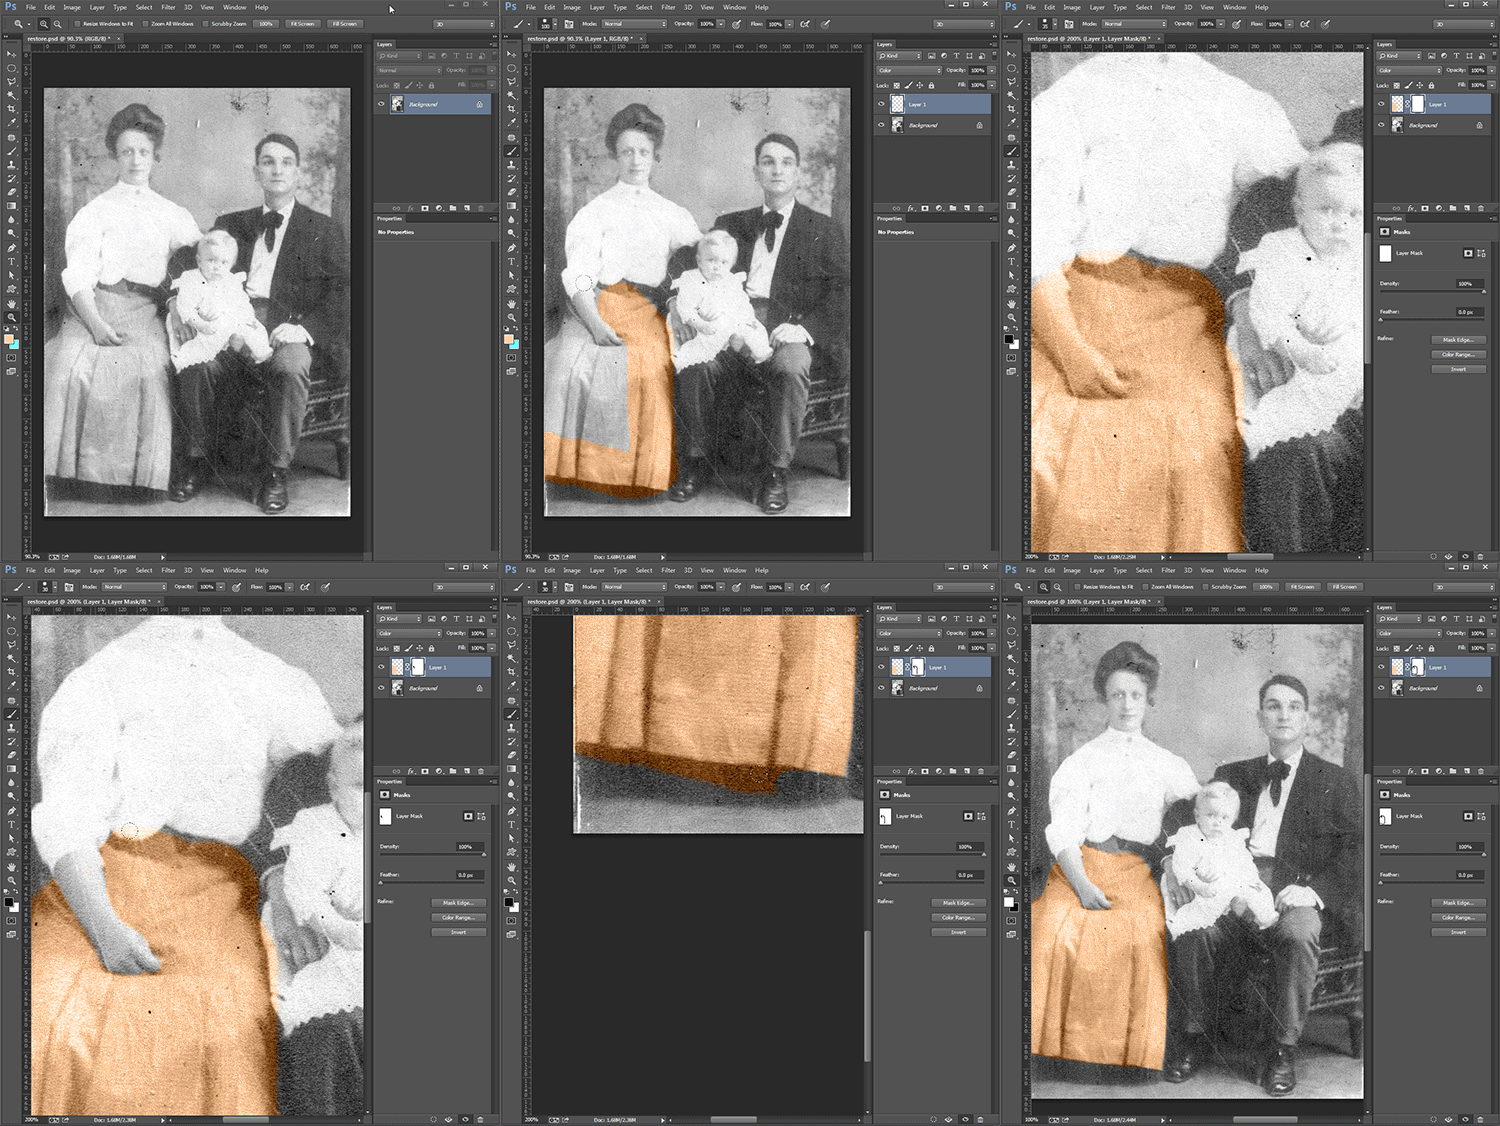
Create a new layer, set it to the blending mode “Color,” choose a shade from the Color Picker, and start painting with the brush tool.
There are several schools of thought regarding colorization. Some people prefer realistic coloring, while others try to reproduce the look and feel of early color photographs, many of which were done by hand with colored pencil directly on the negative. Check out some vintage pictures to get a feel for the color palette. Play around to see how different color values change the context of the photo. If the color is too saturated, you can always lower the opacity of the layer until it suits you. Make new layers for each piece of clothing so you can alter them separately. Take it easy with the hues—no one wants to remember their relatives IN TECHNICOLOR.
SELECTIVE COLOR REMOVAL
Get the stains out.
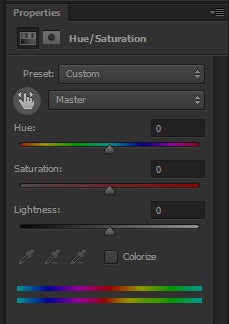
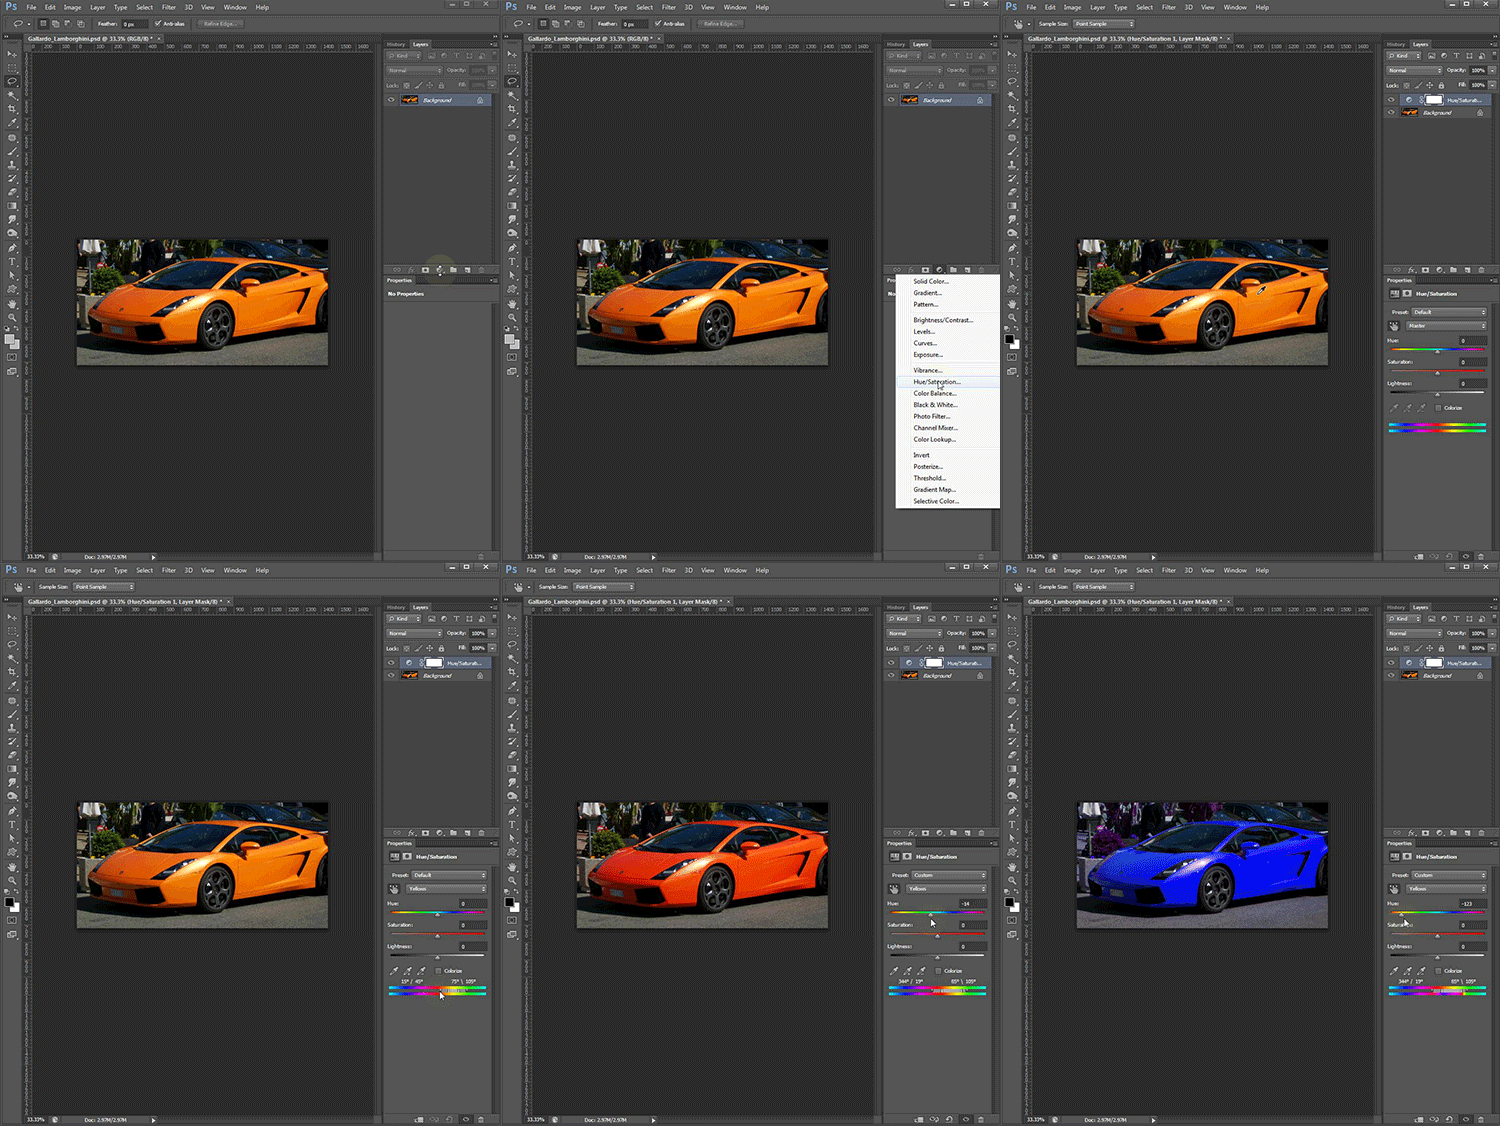
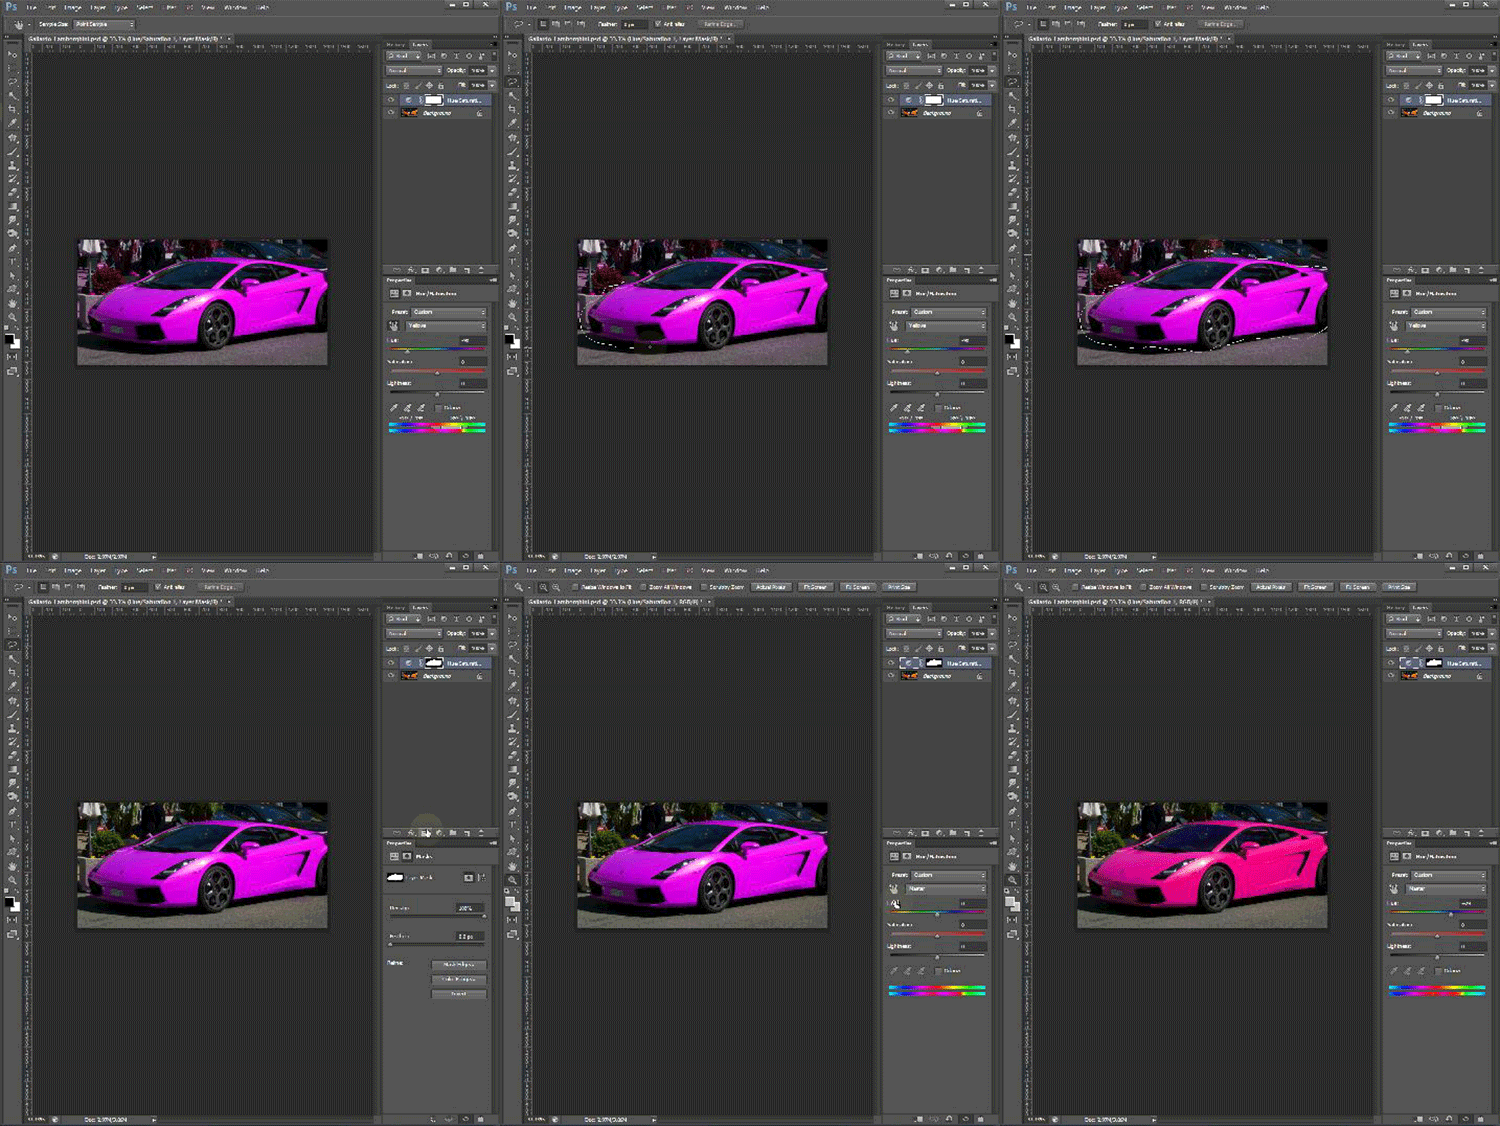
Some old pictures will have strange discolored spots that appear as they age. Sometimes this is due to the old retouching techniques, which were done directly on the print. Other times, as they age, the chemistry of the print breaks down, silver first, leaving blue spots. An easy way to get rid of these is with a Hue & Saturation adjustment layer (Layer>New Adjustment Layer>Hue & Saturation). Under the preset menu, click the icon of the hand between two arrows.
This will bring up a color sampler. Select the color you’re trying to eliminate and then slightly increase the range in the Properties window. Use the Hue/Saturation controls to bring it back to the skin tone. You may need to mask out parts or use the clone tool to clean up the edges, but selective color control can be used to get rid of yellowing tape stuck to pictures and for many other applications, like changing the color of a single object within an image.
MAKE IT BIGGER
Just say no
This is the request I get the most often. People have a grainy cellphone image of a blurry, old 4×6 (of a group shot, for example) and they want to take a single head and blow it up to an 8×10 suitable for framing. Allow me show you approximately what that would look like.
Yeah, don’t do that.
Yes, there are great (currently incredibly expensive) scanners and Photoshop has cool algorithms to upsize images, but the “garbage in, garbage out” supposition applies here as it does in life.
Experiment, have fun with the images. Save often. Take History states so you can play with different approaches to solving these visual problems and quickly compare the results. Ask Reddit, or bug me on Twitter (@bakedinapie).
A warning: You might get sucked in and find yourself unblinking, hours at a stretch, hand cramped, legs asleep, tinkering. That’s the burden you must bear.
Want more? Try making a GIF.
Photo via cogdog/Flickr (CC BY SA 2.0)

