We’re living in the age of 3D GIFs on Tumblr. These images, which use optical illusions to make visuals appear to pop out of the screen, have gotten to be so popular on the website that last year Tumblr’s official year in review roundup devoted an entire category to them.
But even though they’ve been making the rounds on Tumblr for ages, 3D GIFs are only just now making their way into other parts of the Internet. Luckily for you, it’s easy to impress other non-Tumblr users with their special magic: All you really need to make one is a few minutes and a copy of Photoshop.
1) Picking an image
Use a GIF with forward visual motion
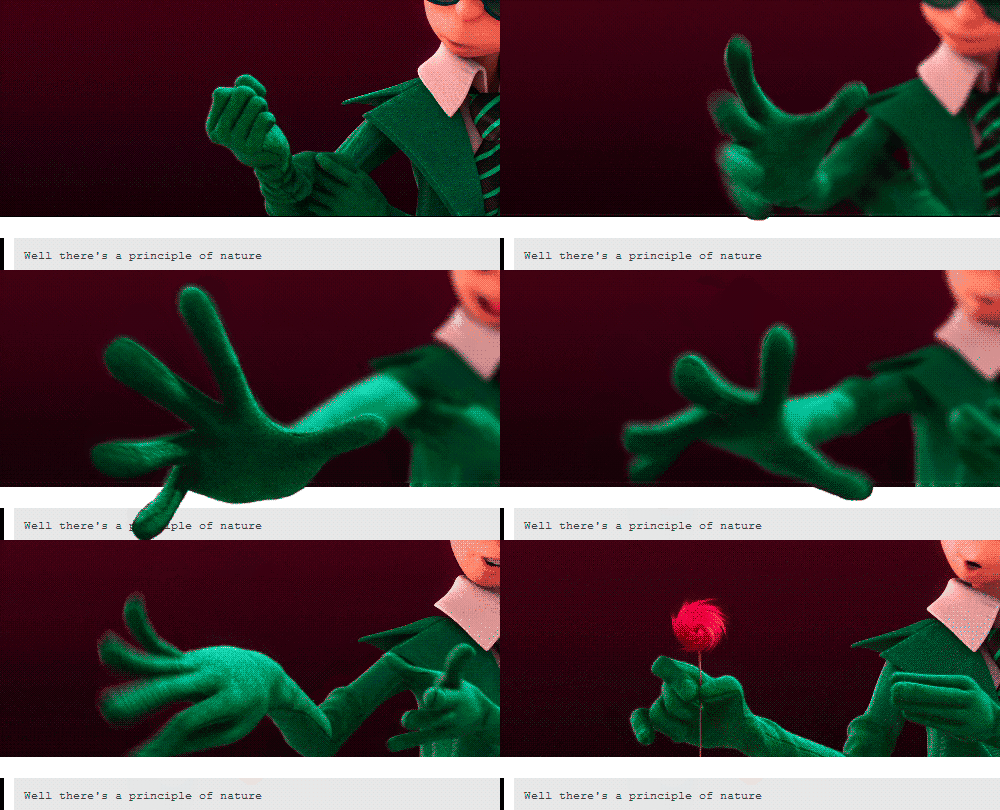
The goal of a good 3D image should be to produce an effect that pops out of the frame “toward” the viewer, so you want to pick images that already naturally have some kind of forward movement, like this:
Use a GIF with smart, even composition
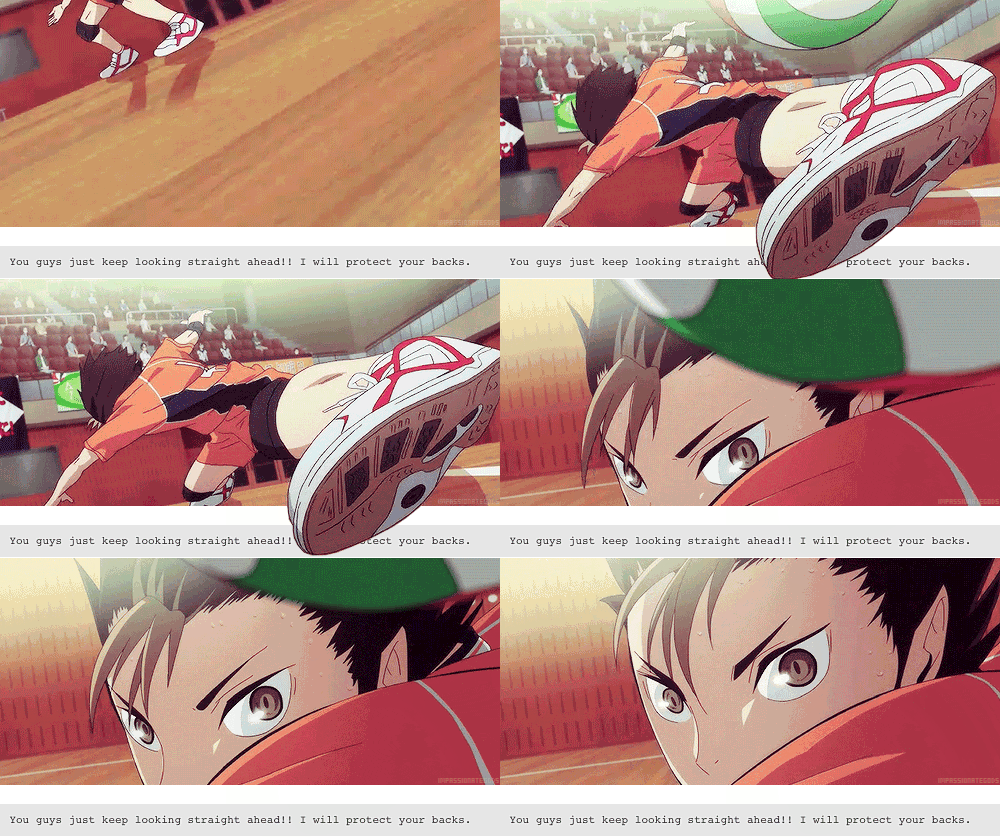
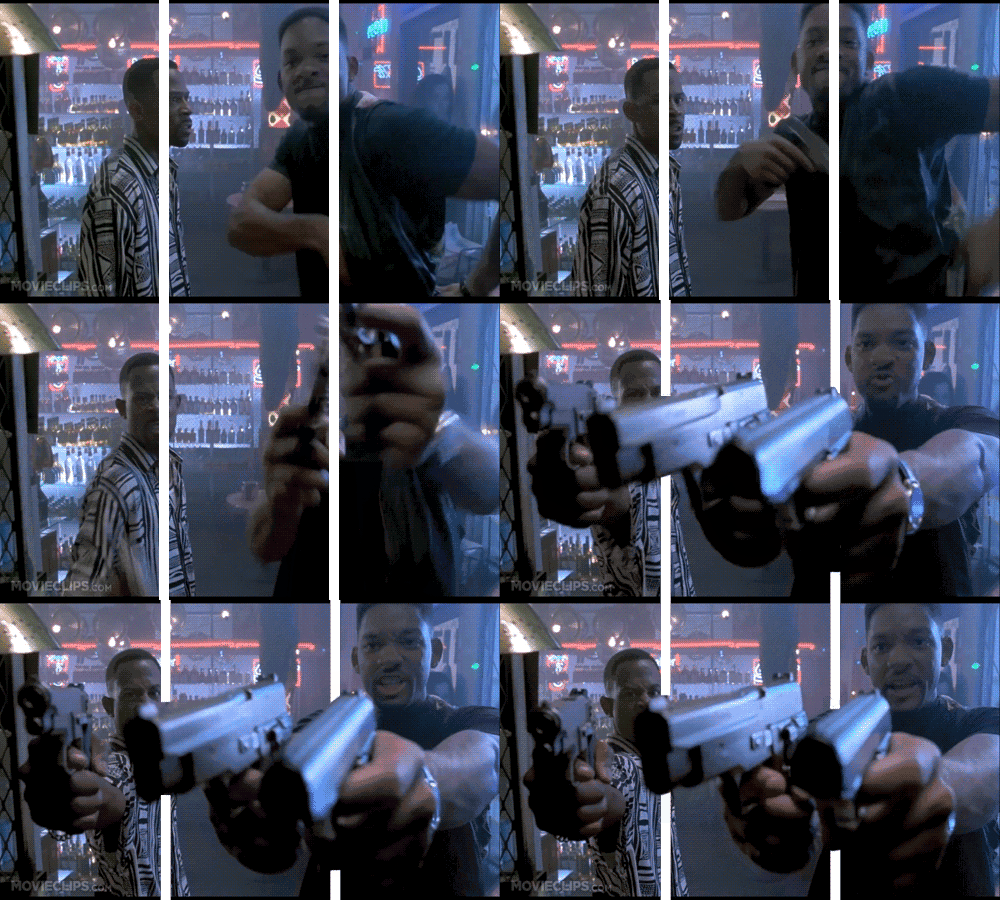
The best images also have a visual composition that can easily be broken into even divisions across the frame. There are two common kinds of 3D GIFs. One type, like the GIF above, relies on a fake Tumblr “frame” that the image then breaks out of, usually on the bottom of the GIF. The other type, which is more common, breaks the image composition into three horizontal panes across, like this:
Notice that the image above uses the composition of the scene from Bad Boys II to fit the movement on screen evenly between these three evenly spaced panes. If you’re on the lookout for smart visual composition like this, it will make selecting scenes and GIFs to modify and turn into 3D versions that much easier.
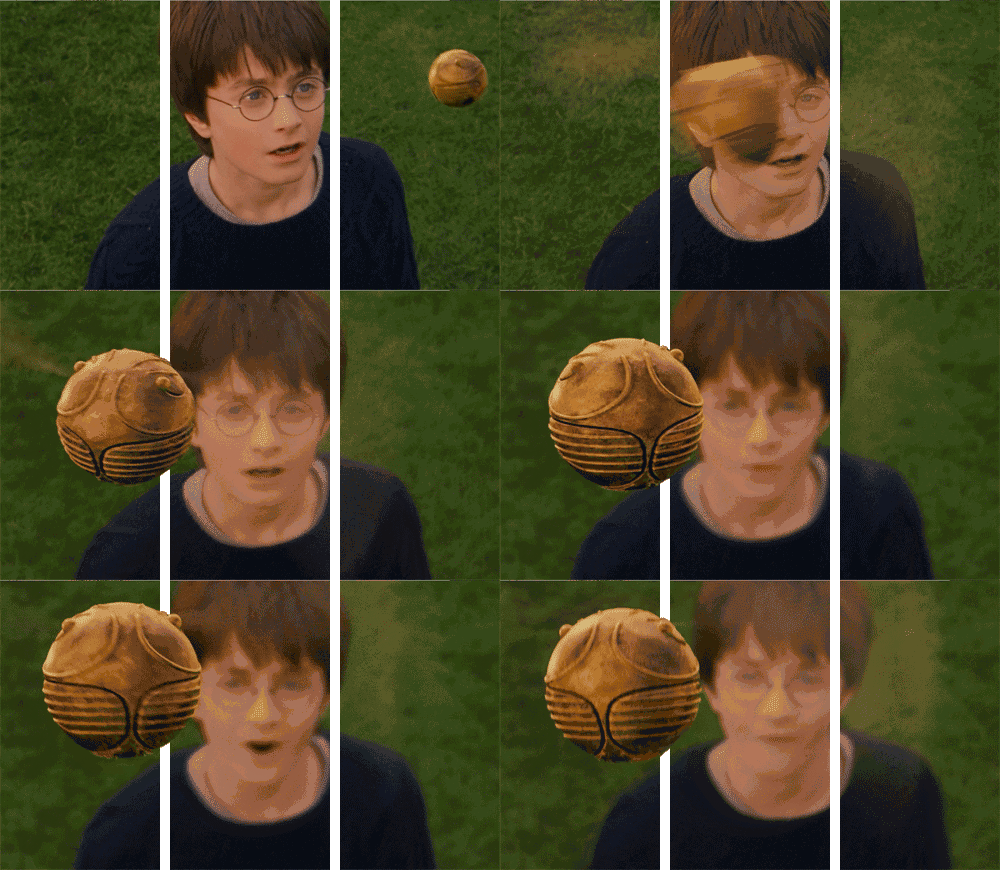
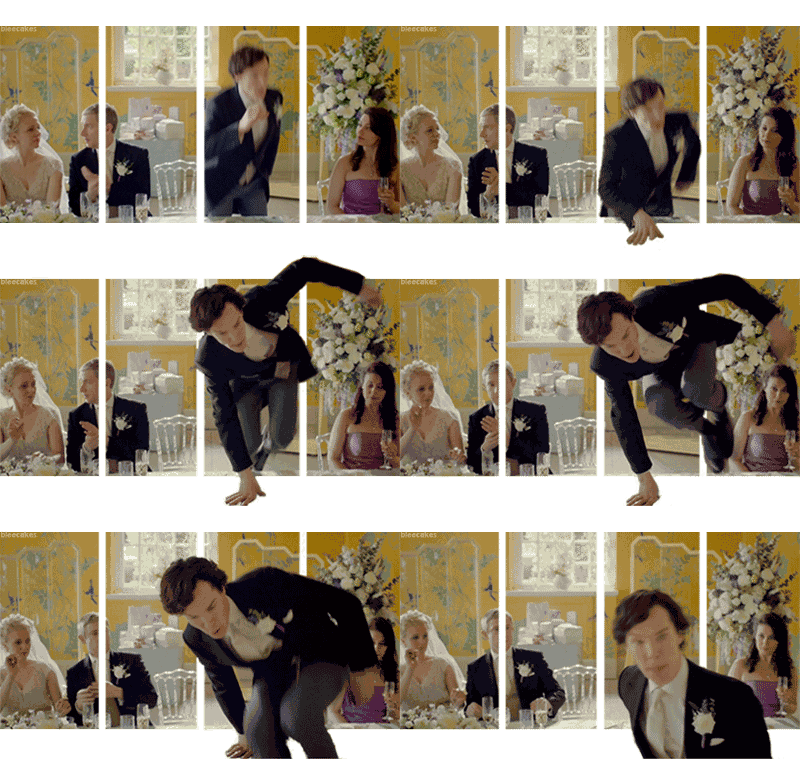
In some cases, a GIF may use both the bottom of the screen and the horizontal panes across the composition for maximum effect:
For the purposes of this tutorial, we’ll be focusing on making a simple 3D GIF with three horizontal panes across the image.
Capture your own GIF, or borrow a pre-existing one to modify
If you don’t yet know how to make a basic GIF, you will first need to learn how to capture video footage using any of the many available pieces of software for Mac, Linux, or Windows computers. You will then want to learn how to edit your footage in Photoshop using any of the many, many GIF tutorials that exist on Tumblr and other websites. You can also see our tutorials for how to make GIFs from your mobile or web device or from Imgur.
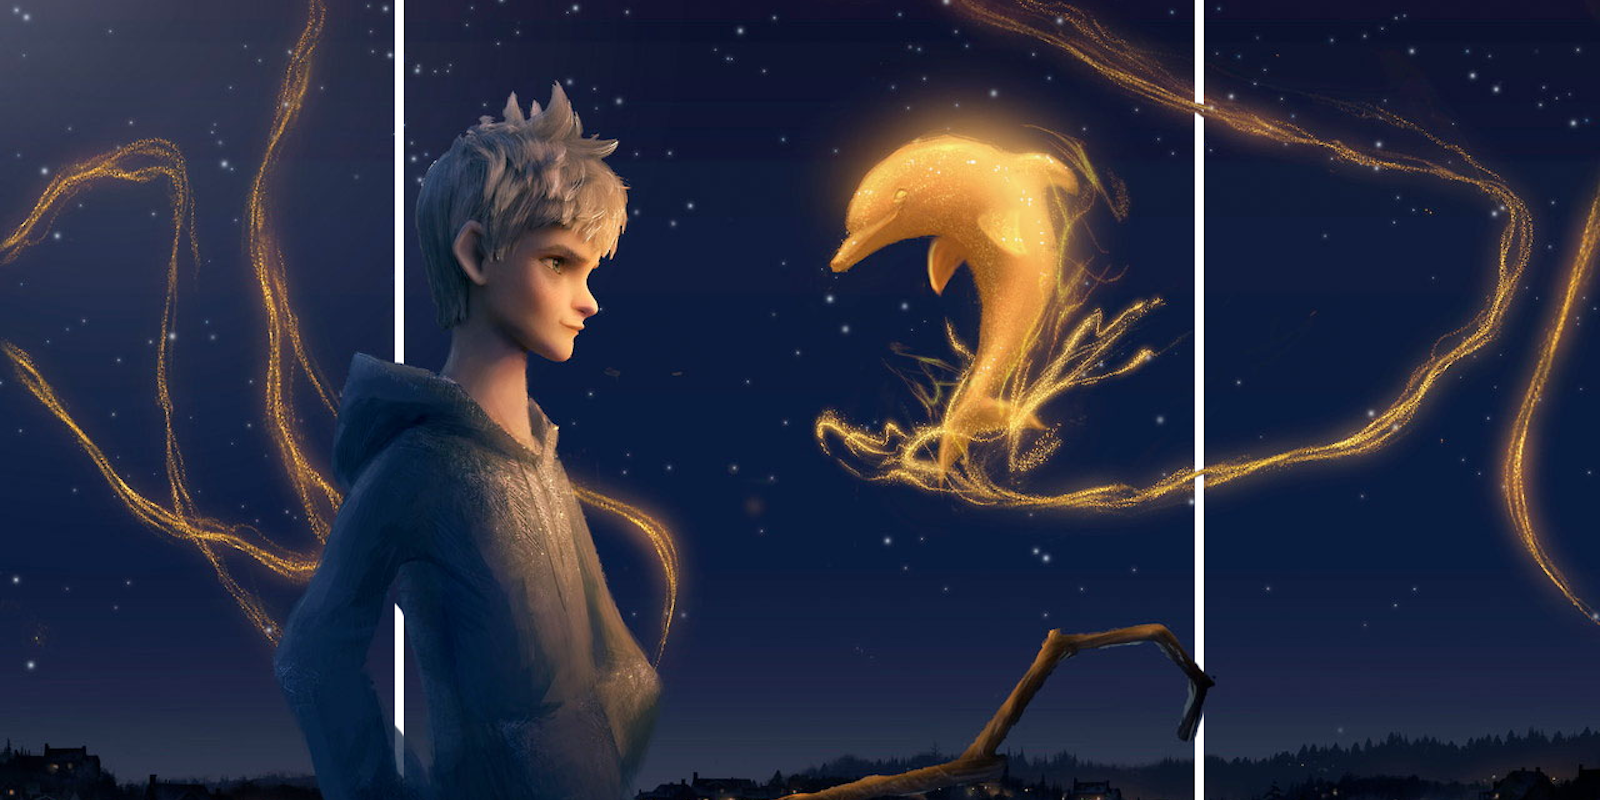
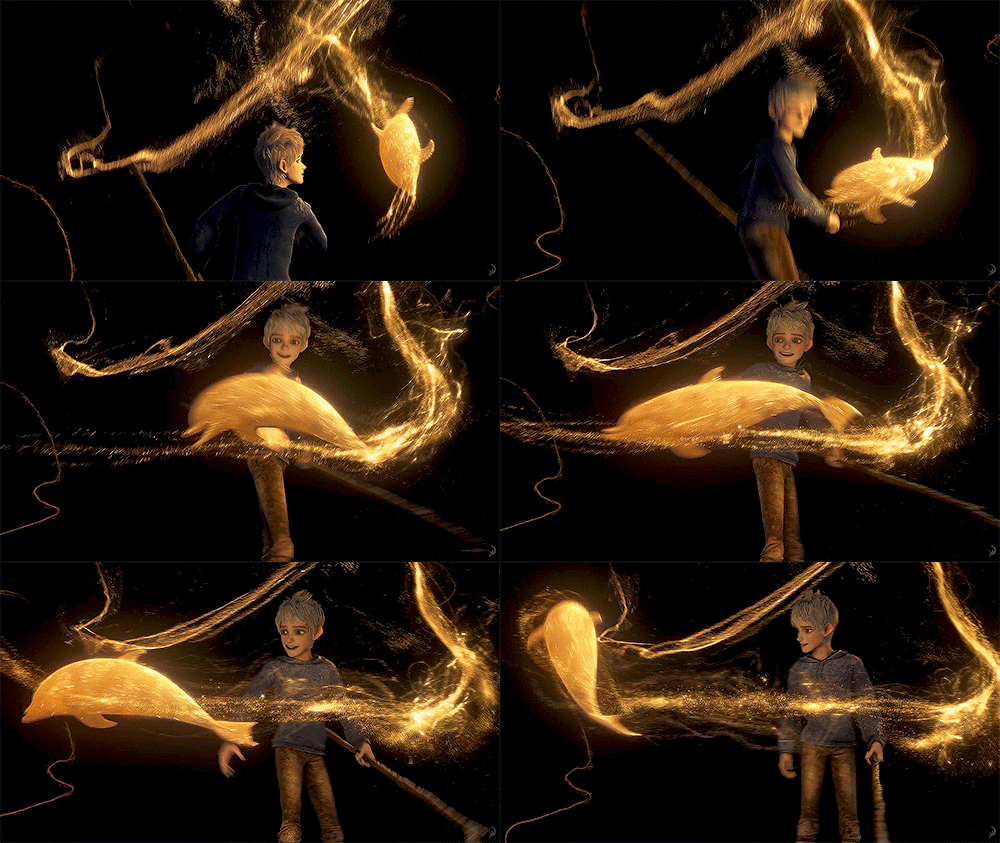
Or, use one of the many image capture tools that automatically convert footage into GIF format, like Licecap for Windows or GIF Grabber for Macs. Or you can simply save and modify a pre-existing GIF. For this tutorial, we’re going to show you how to modify this GIF from the film Rise of the Guardians.
As you can see, it’s got the basic requirements we need: forward motion, and movement that can be divide easily into three evenly spaced frames.
(Note: Daily Dot staff artist Jason Reed helped with the nuts and bolts of this tutorial from here on in.)
2) Splitting the image:
Set up guides.
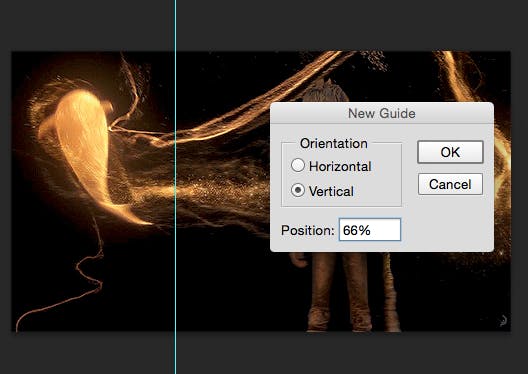
Most 3D GIFs are split into three panes across. In Photoshop, open the GIF. Now go to the navigation menu and choose View and then New Guide from the dropdown menu.
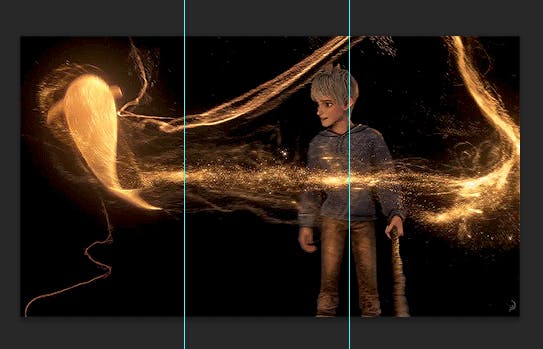
For a GIF that uses three panes across, you will want to set the guide to 33 percent and 66 percent. Here’s how the screen should look after you’ve set up your first guide and are inputting your second at 66 percent:
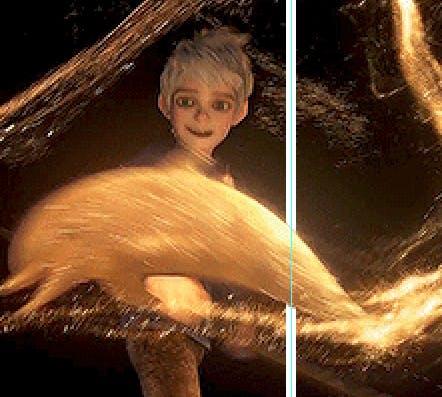
And here’s how both guides will look:
For a GIF that you want to divide into two panes instead of three, you will want to set one guide at 50 percent; for four panes, set the guides in increments of 25, 50, and 75 percent.
Place a white line over the guides.
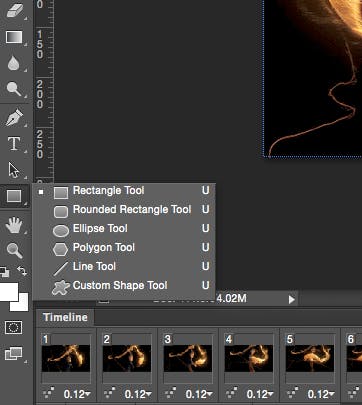
Next, place a white line vertically on each guide using the Line tool in the Shape menu. To get there, go to the vertical Tools sidebar on the left and locate the Rectangle Tool option toward the bottom. When you right-click on this tool, you will be given a list of shape tool options to choose from, like this:
Choose the Line Tool. This is how it will appear in the menu bar:
Make sure the Fill color is set to white and the Stroke option is set to 0. Now make the weight of your line 5 pixels. This option will be on the far right side of the menu:
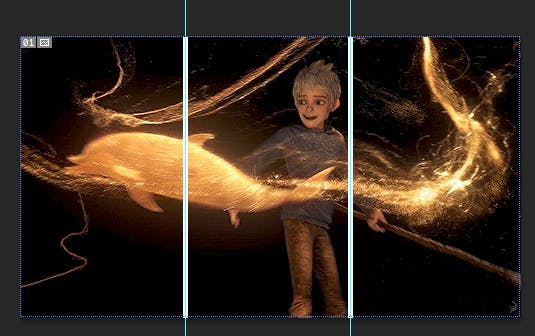
Add the lines over the guides by clicking and dragging. They’ll automatically fill out to 5 pixels, and now you have your three-panel image to work with.
3) Adding the Masks.
Setting up.
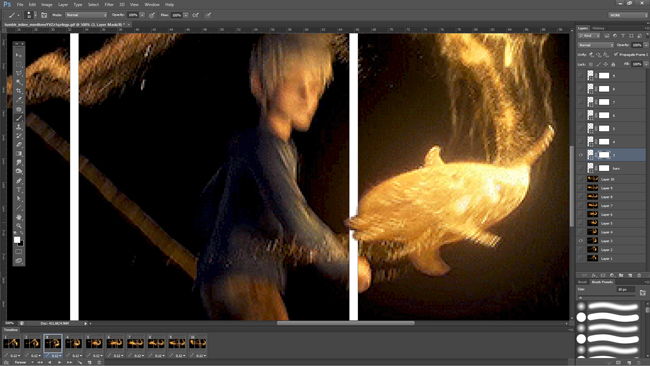
Select and merge those line layers (CTL-E) and add a layer mask (Layer>Layer Mask>Reveal All).
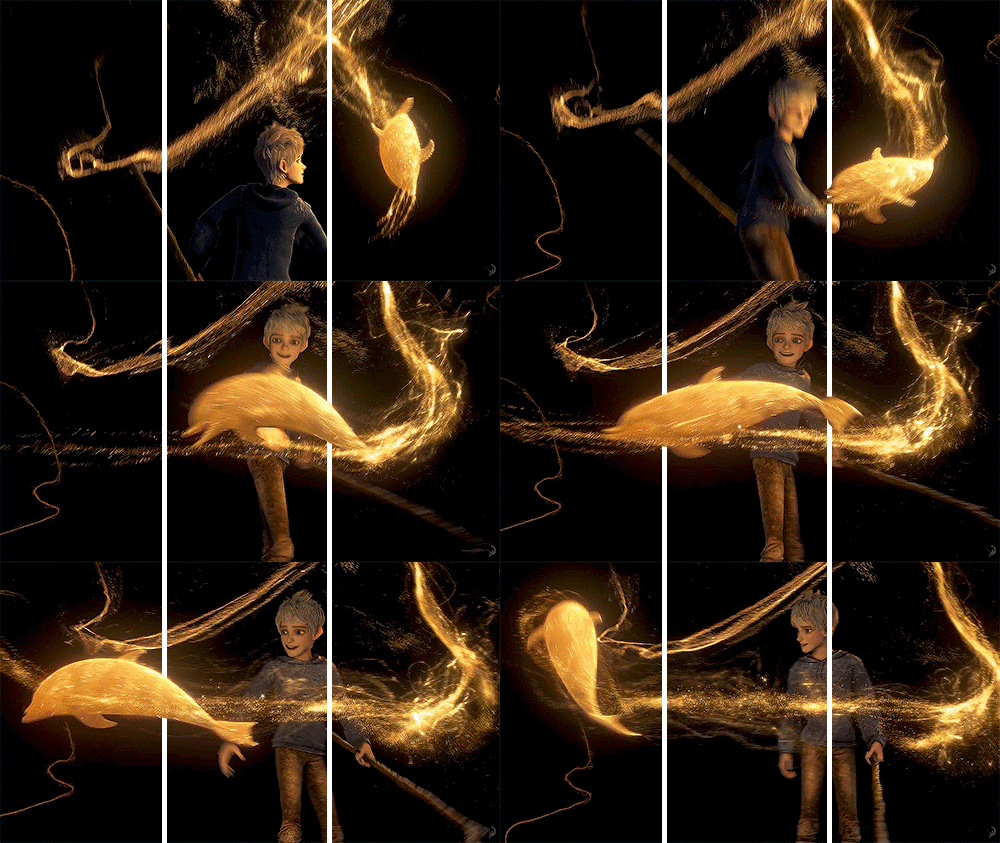
Check each frame of the GIF (by clicking on the frames in the Timeline) to see how your subjects—in this case Jack Frost and his magical dolphin—are interacting with the two white lines.
You will need to create a copy of the line layer for each frame, so if you don’t want your GIF to be have an enormous file size, it’s helpful to choose or create a GIF with as few frames as possible.
You will only need to modify each one of the frames in the GIF that shows the dolphin passing in front of the bars. For instance, in the first two frames and the very last frame, the dolphin is behind the bar on the right, so you don’t need to modify those frames.
In this case, we need to modify 7 of the frames, so we will need to make 7 copies of the masked layer:
For your own sanity, label each new copy of the masked layer something that matches the frame it will be used in. For instance, name the first masked layer you modify “Frame 3,” because you will be matching it to the third frame.
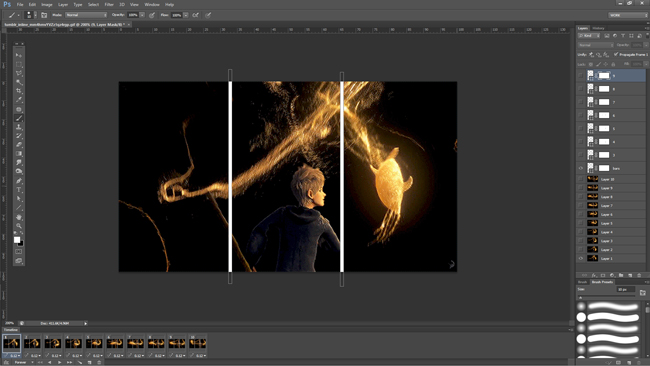
Now, zoom in and begin masking. Painting black on the mask will make the bars ‘disappear’, and painting white will make it ‘reappear’.
Do this for each frame where the dolphin is in front of the bars. Don’t forget to only make one masked layer visible at a time for each frame that you modify.
Once you’ve painted every frame that needs it, zoom out and press play on your GIF to make sure everything looks good.
And voila! One flying 3D dolphin:
And here’s the version I made after following Jason’s tutorial:
Super easy, right? All you need is a little bit of time and the patience to color in, or erase, a couple of white bars.
And as you can see, the results are totally worth it. One might even say… magical.
Illustration by Aja Romano

